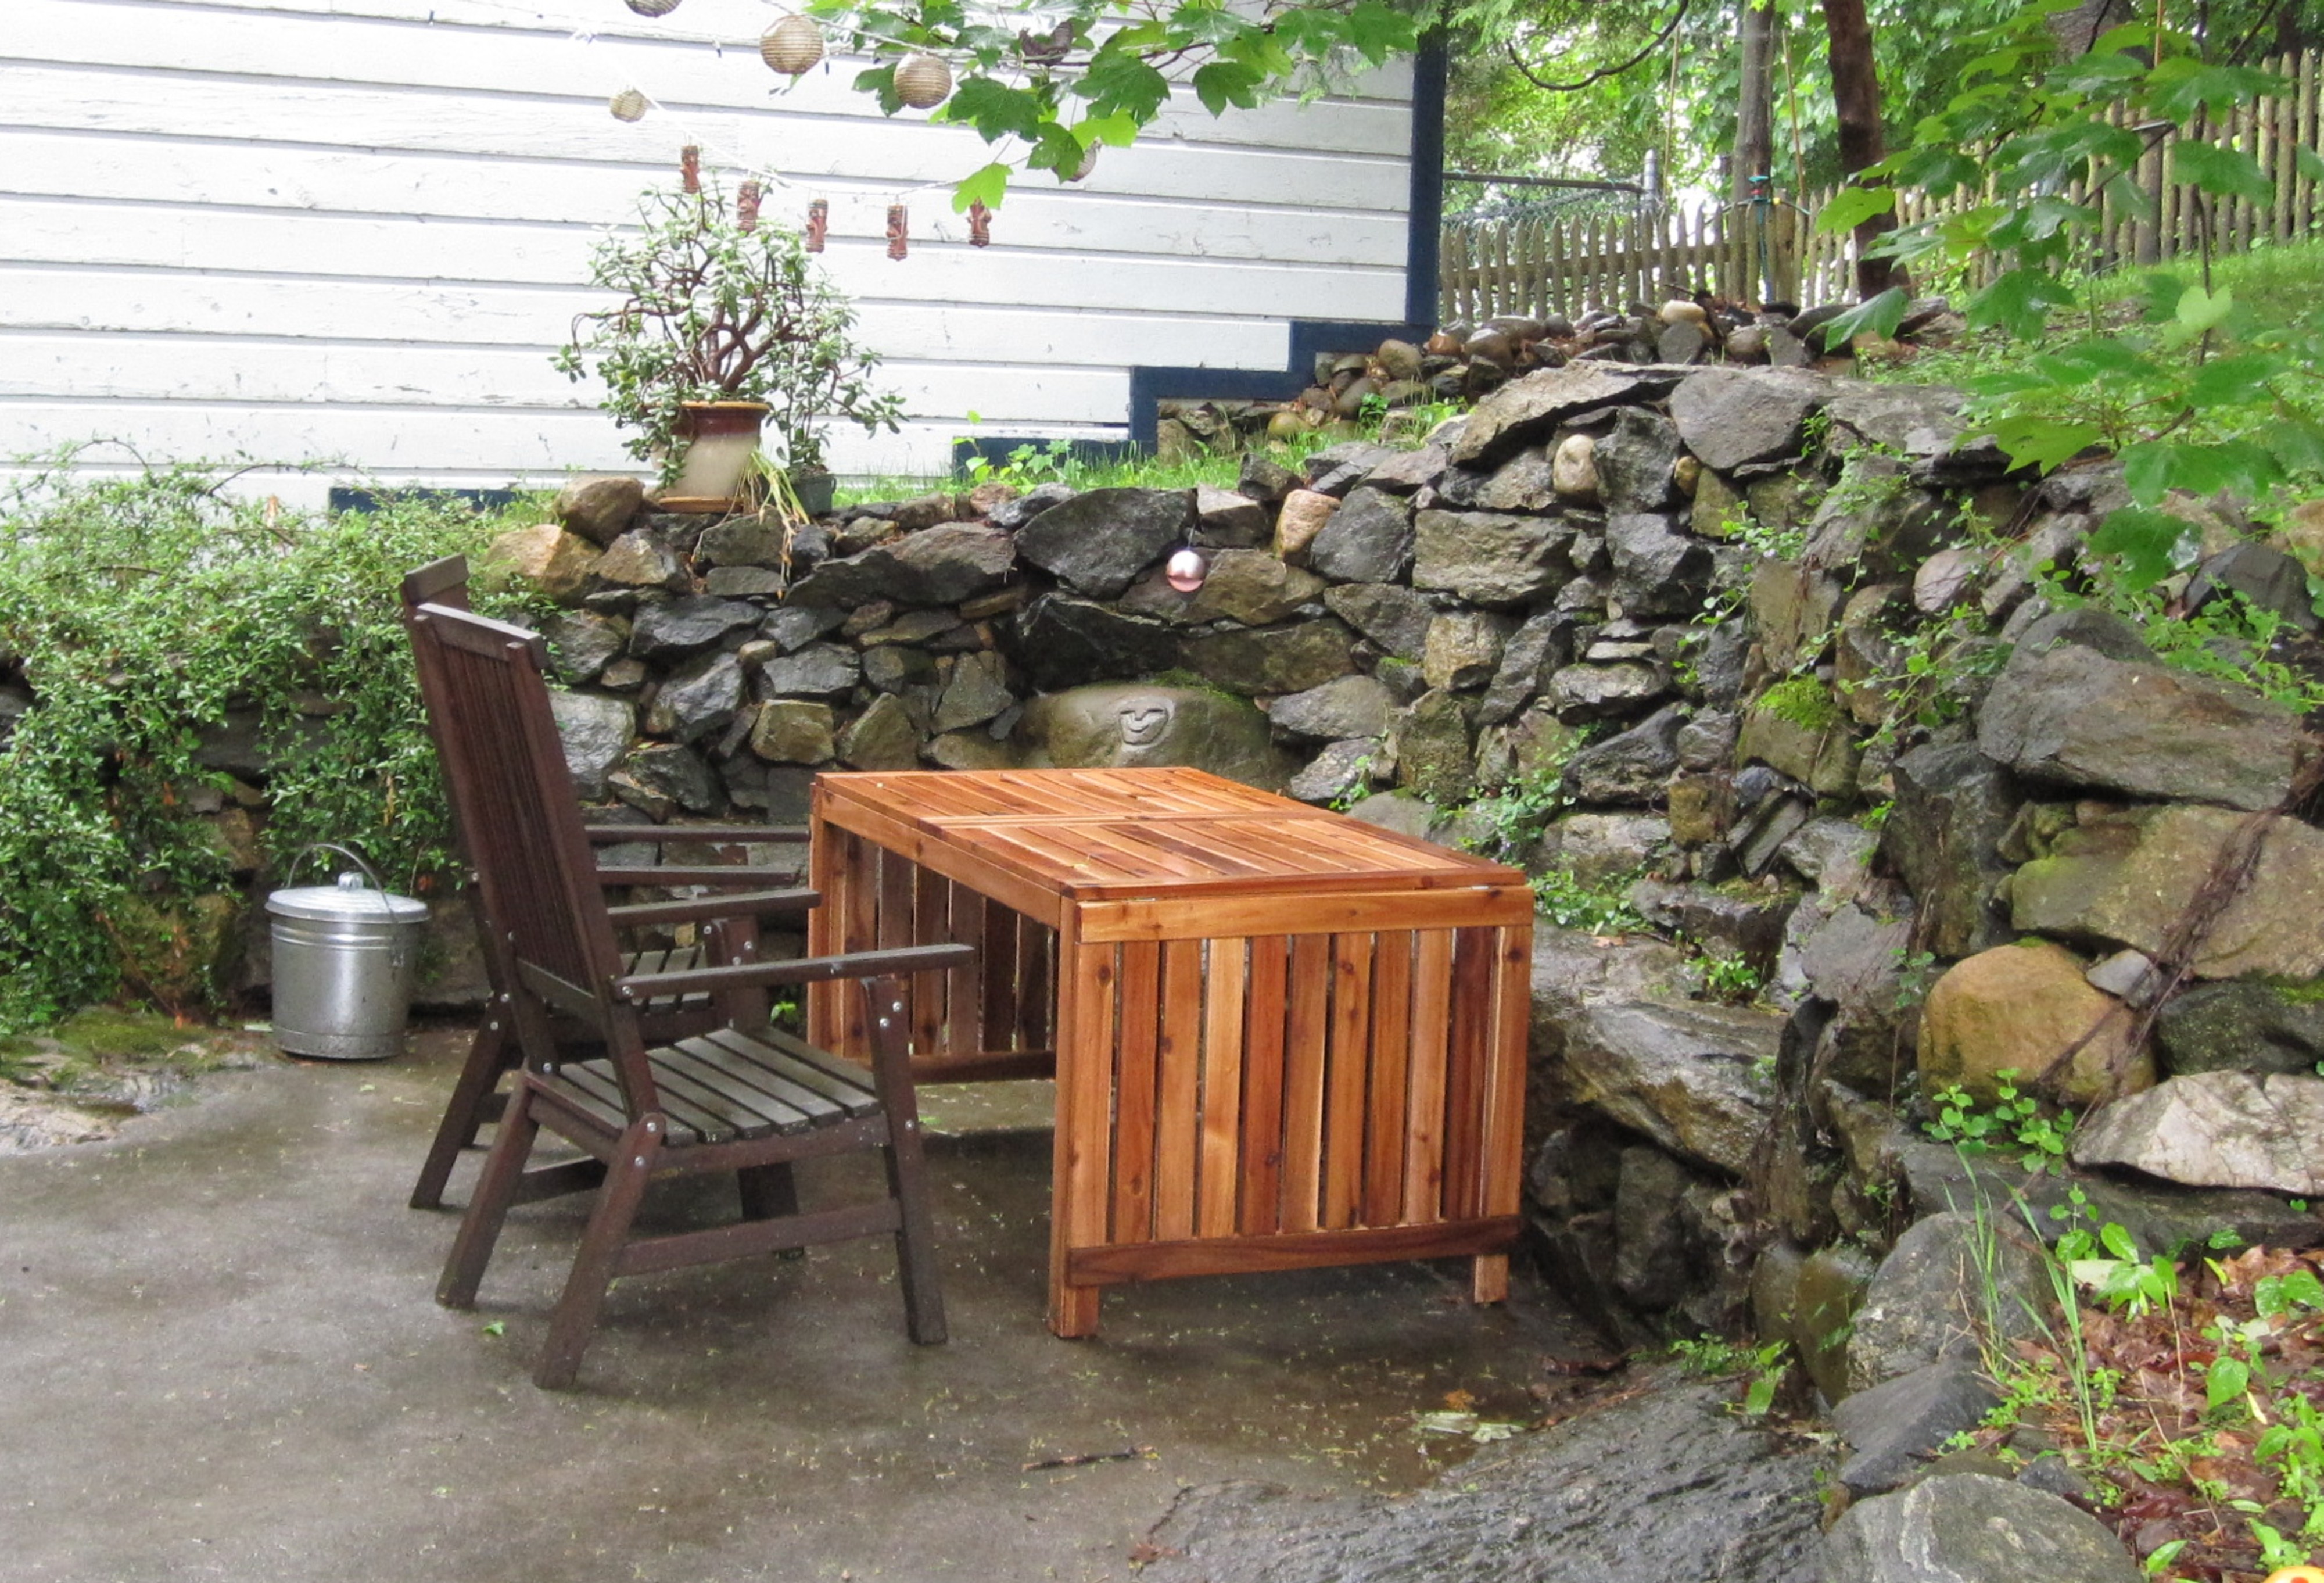
Here is what the backyard looked like "before." The wall is a dry-stacked stone wall that I built quickly
back in 2005 when we put the addition onto the house. It clearly lacks something. A backyard pizza oven, obviously!
I downloaded a set of plans for the Pompeii Oven from the Forno Bravo website for $1, and got to work.
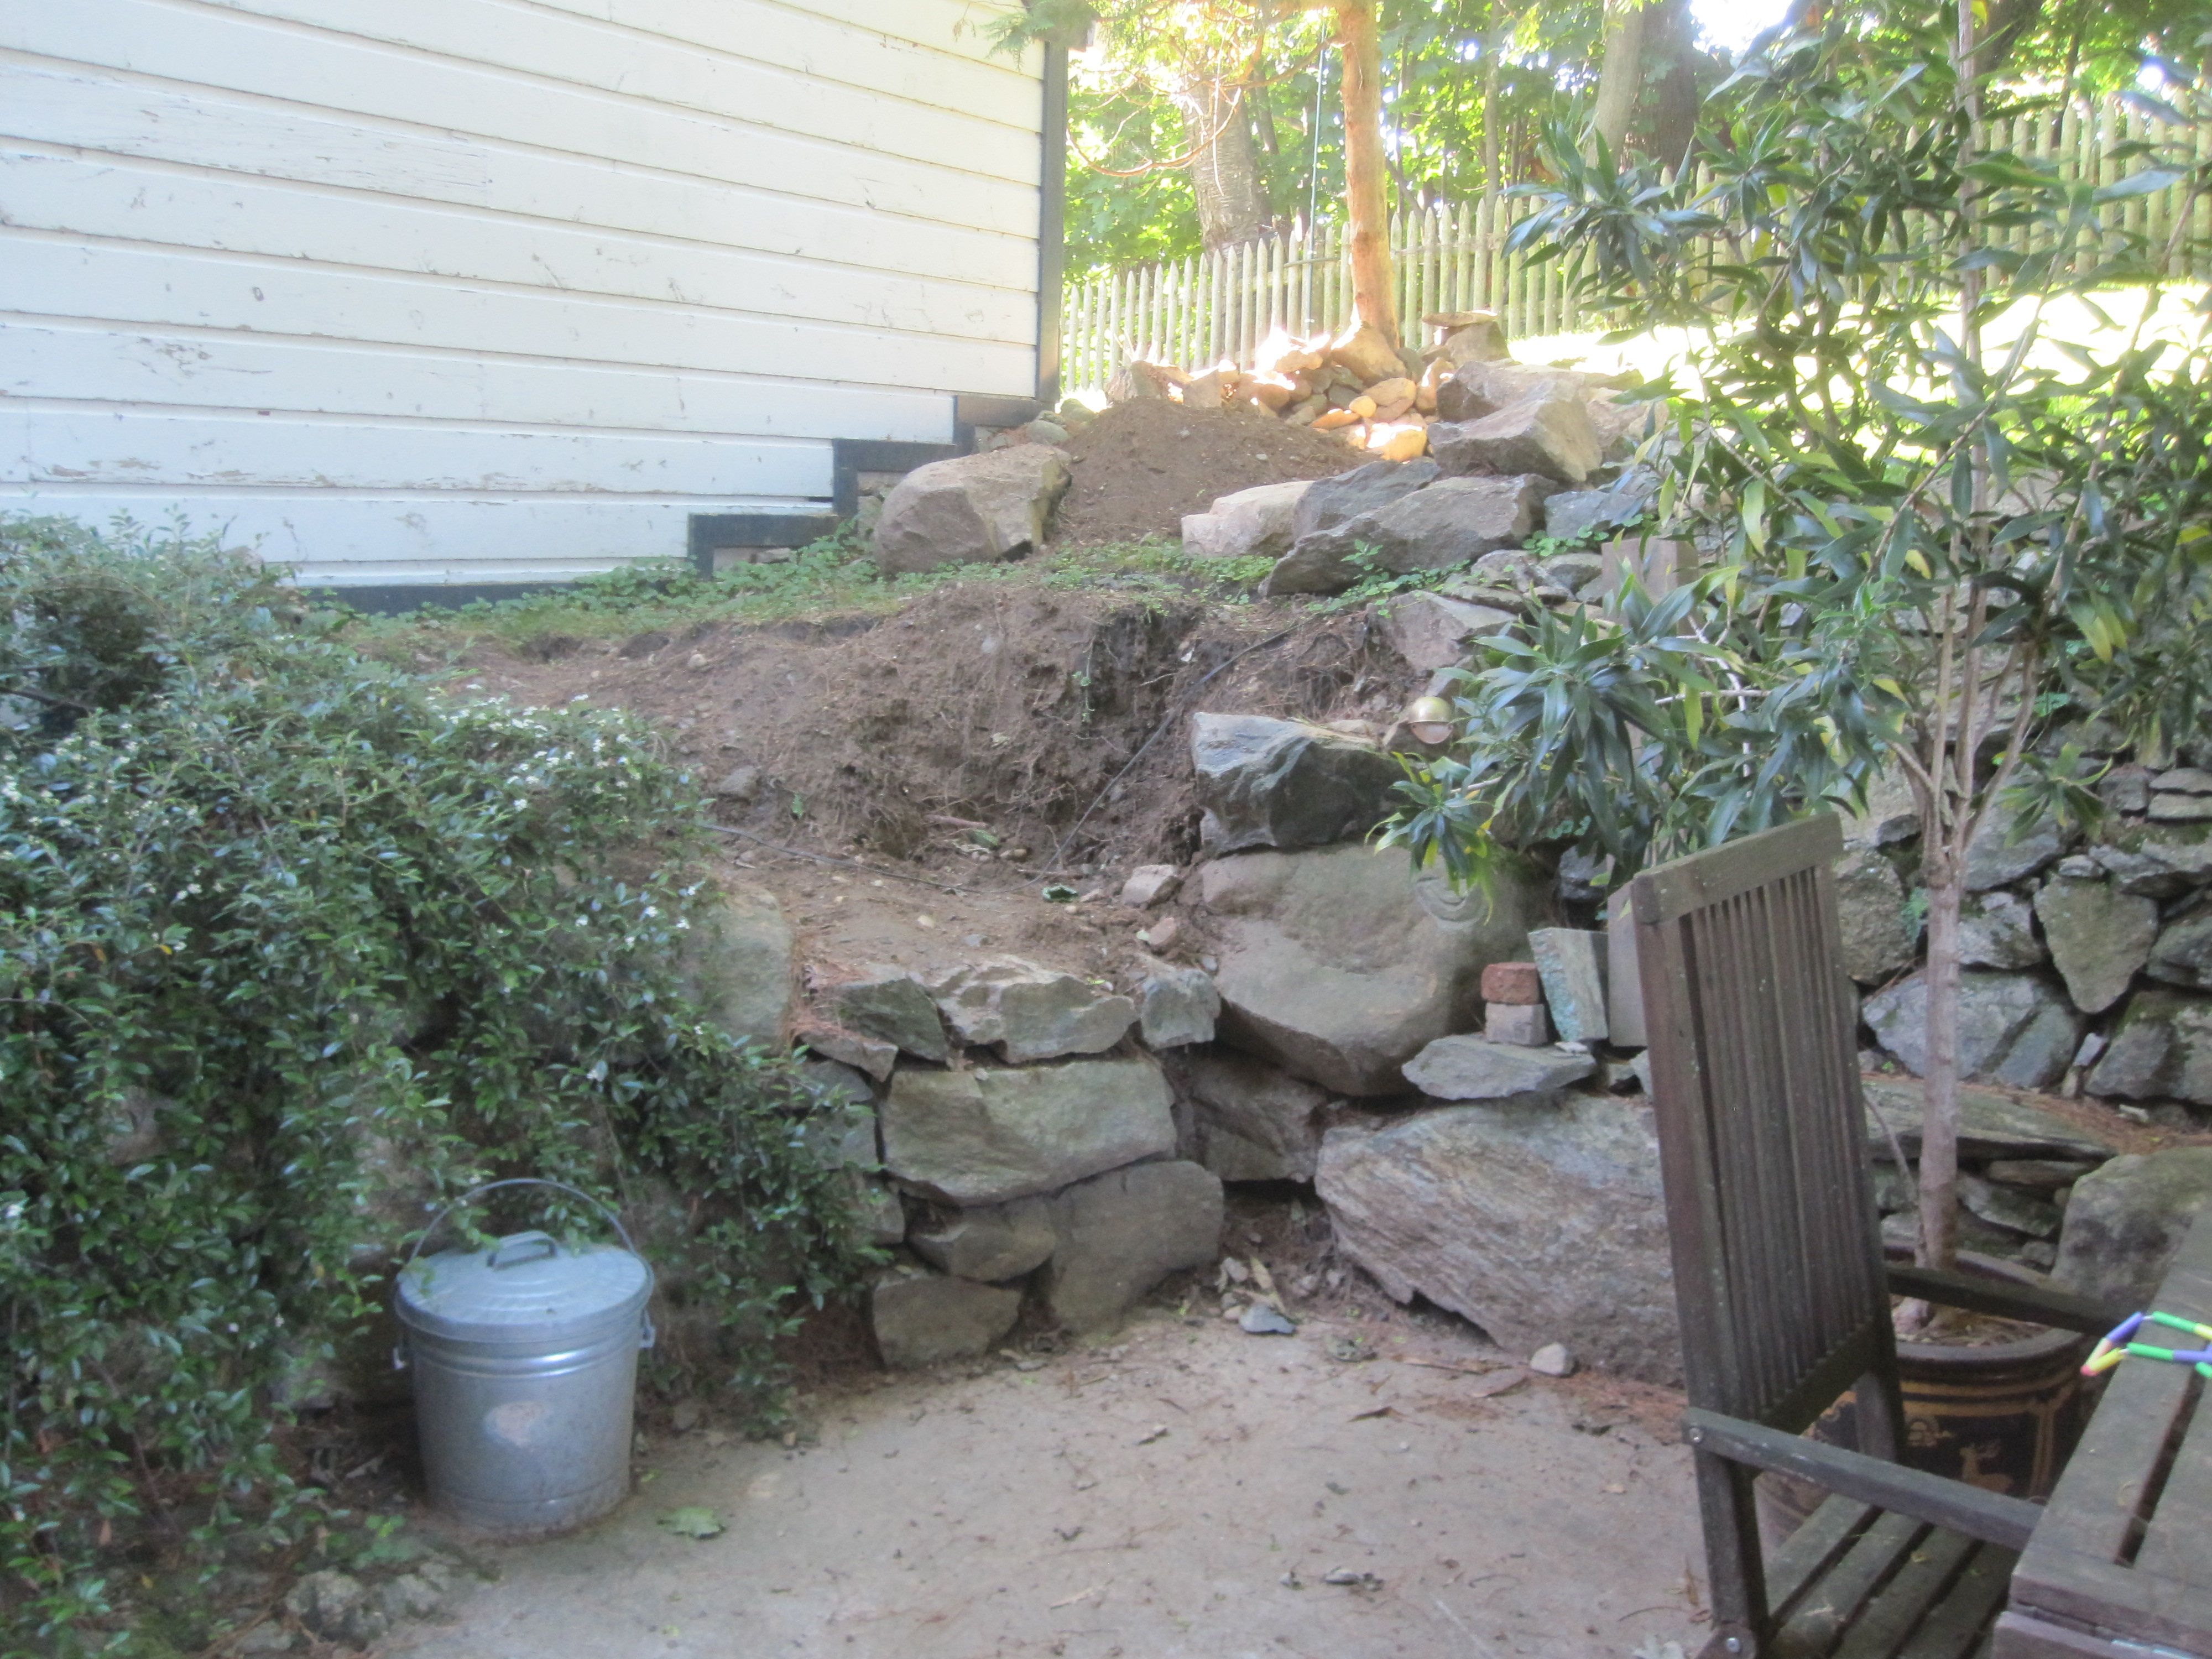
I disassembled the wall, digging out the dirt behind it down to bedrock (located just below the surface of the
patio).
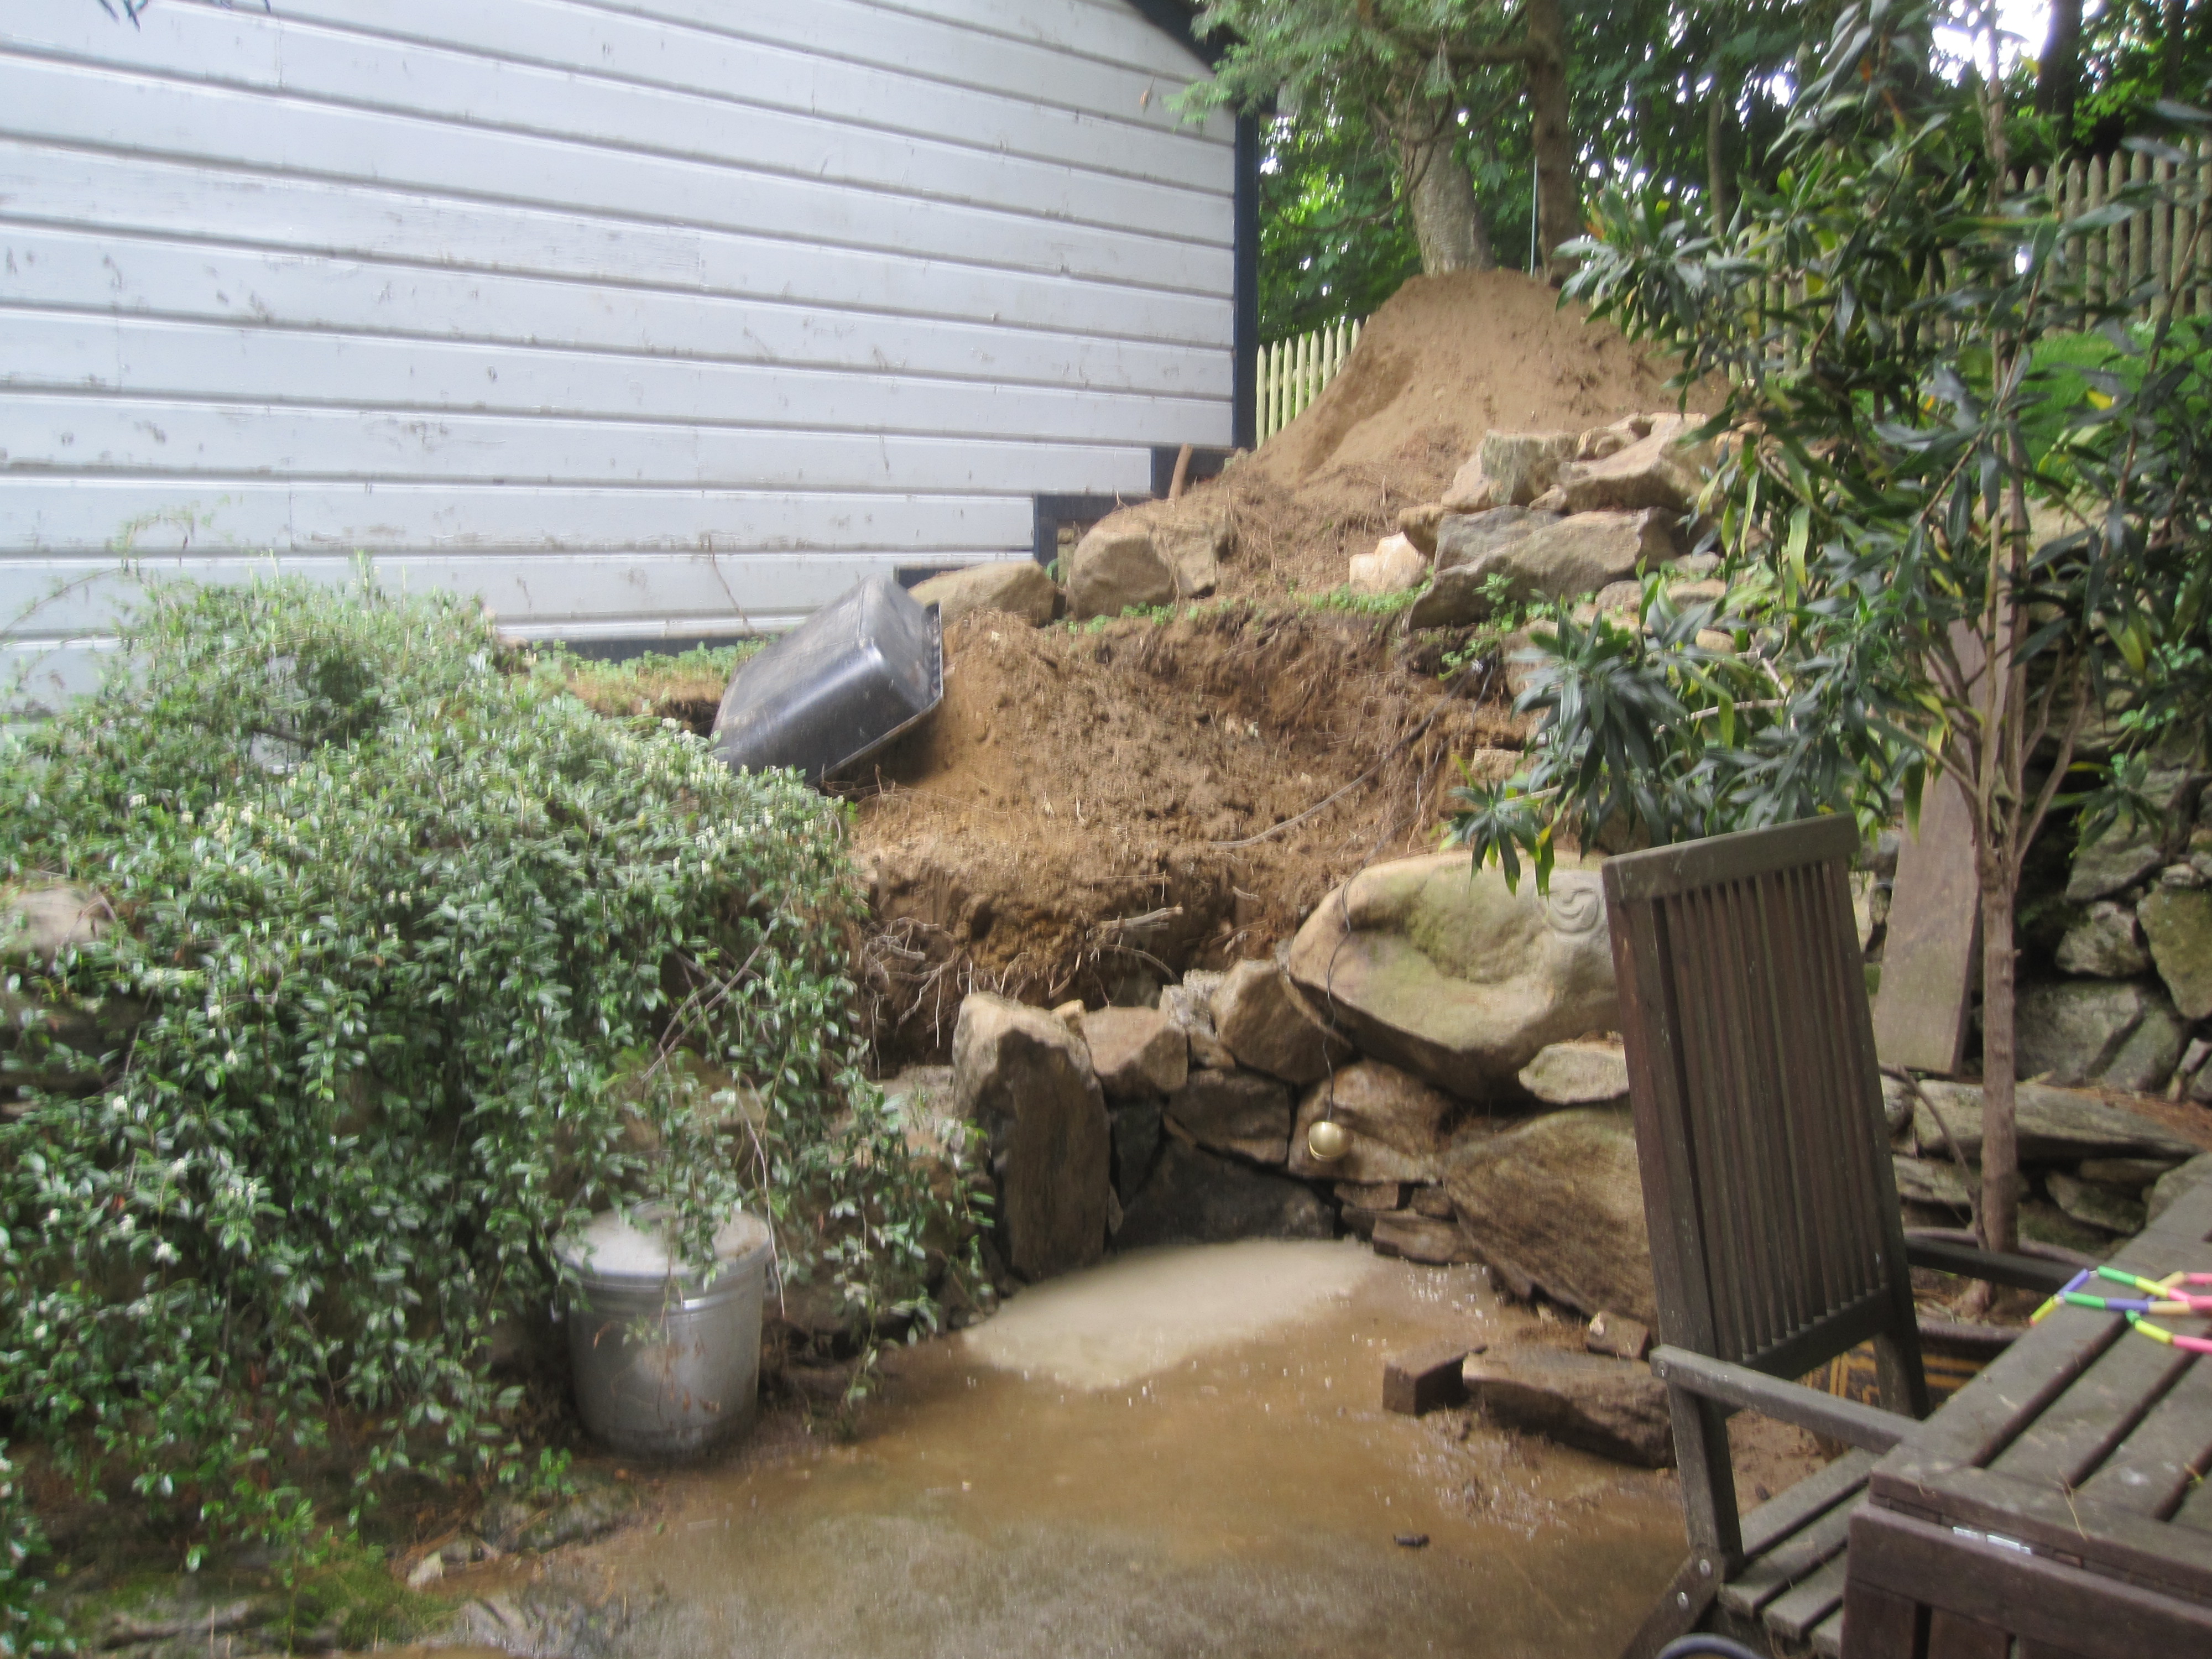
From there, I rebuilt the wall 2.5' - 3' thick, with concrete and rebar, and faced with stone, to maintain the
dry-stack look.
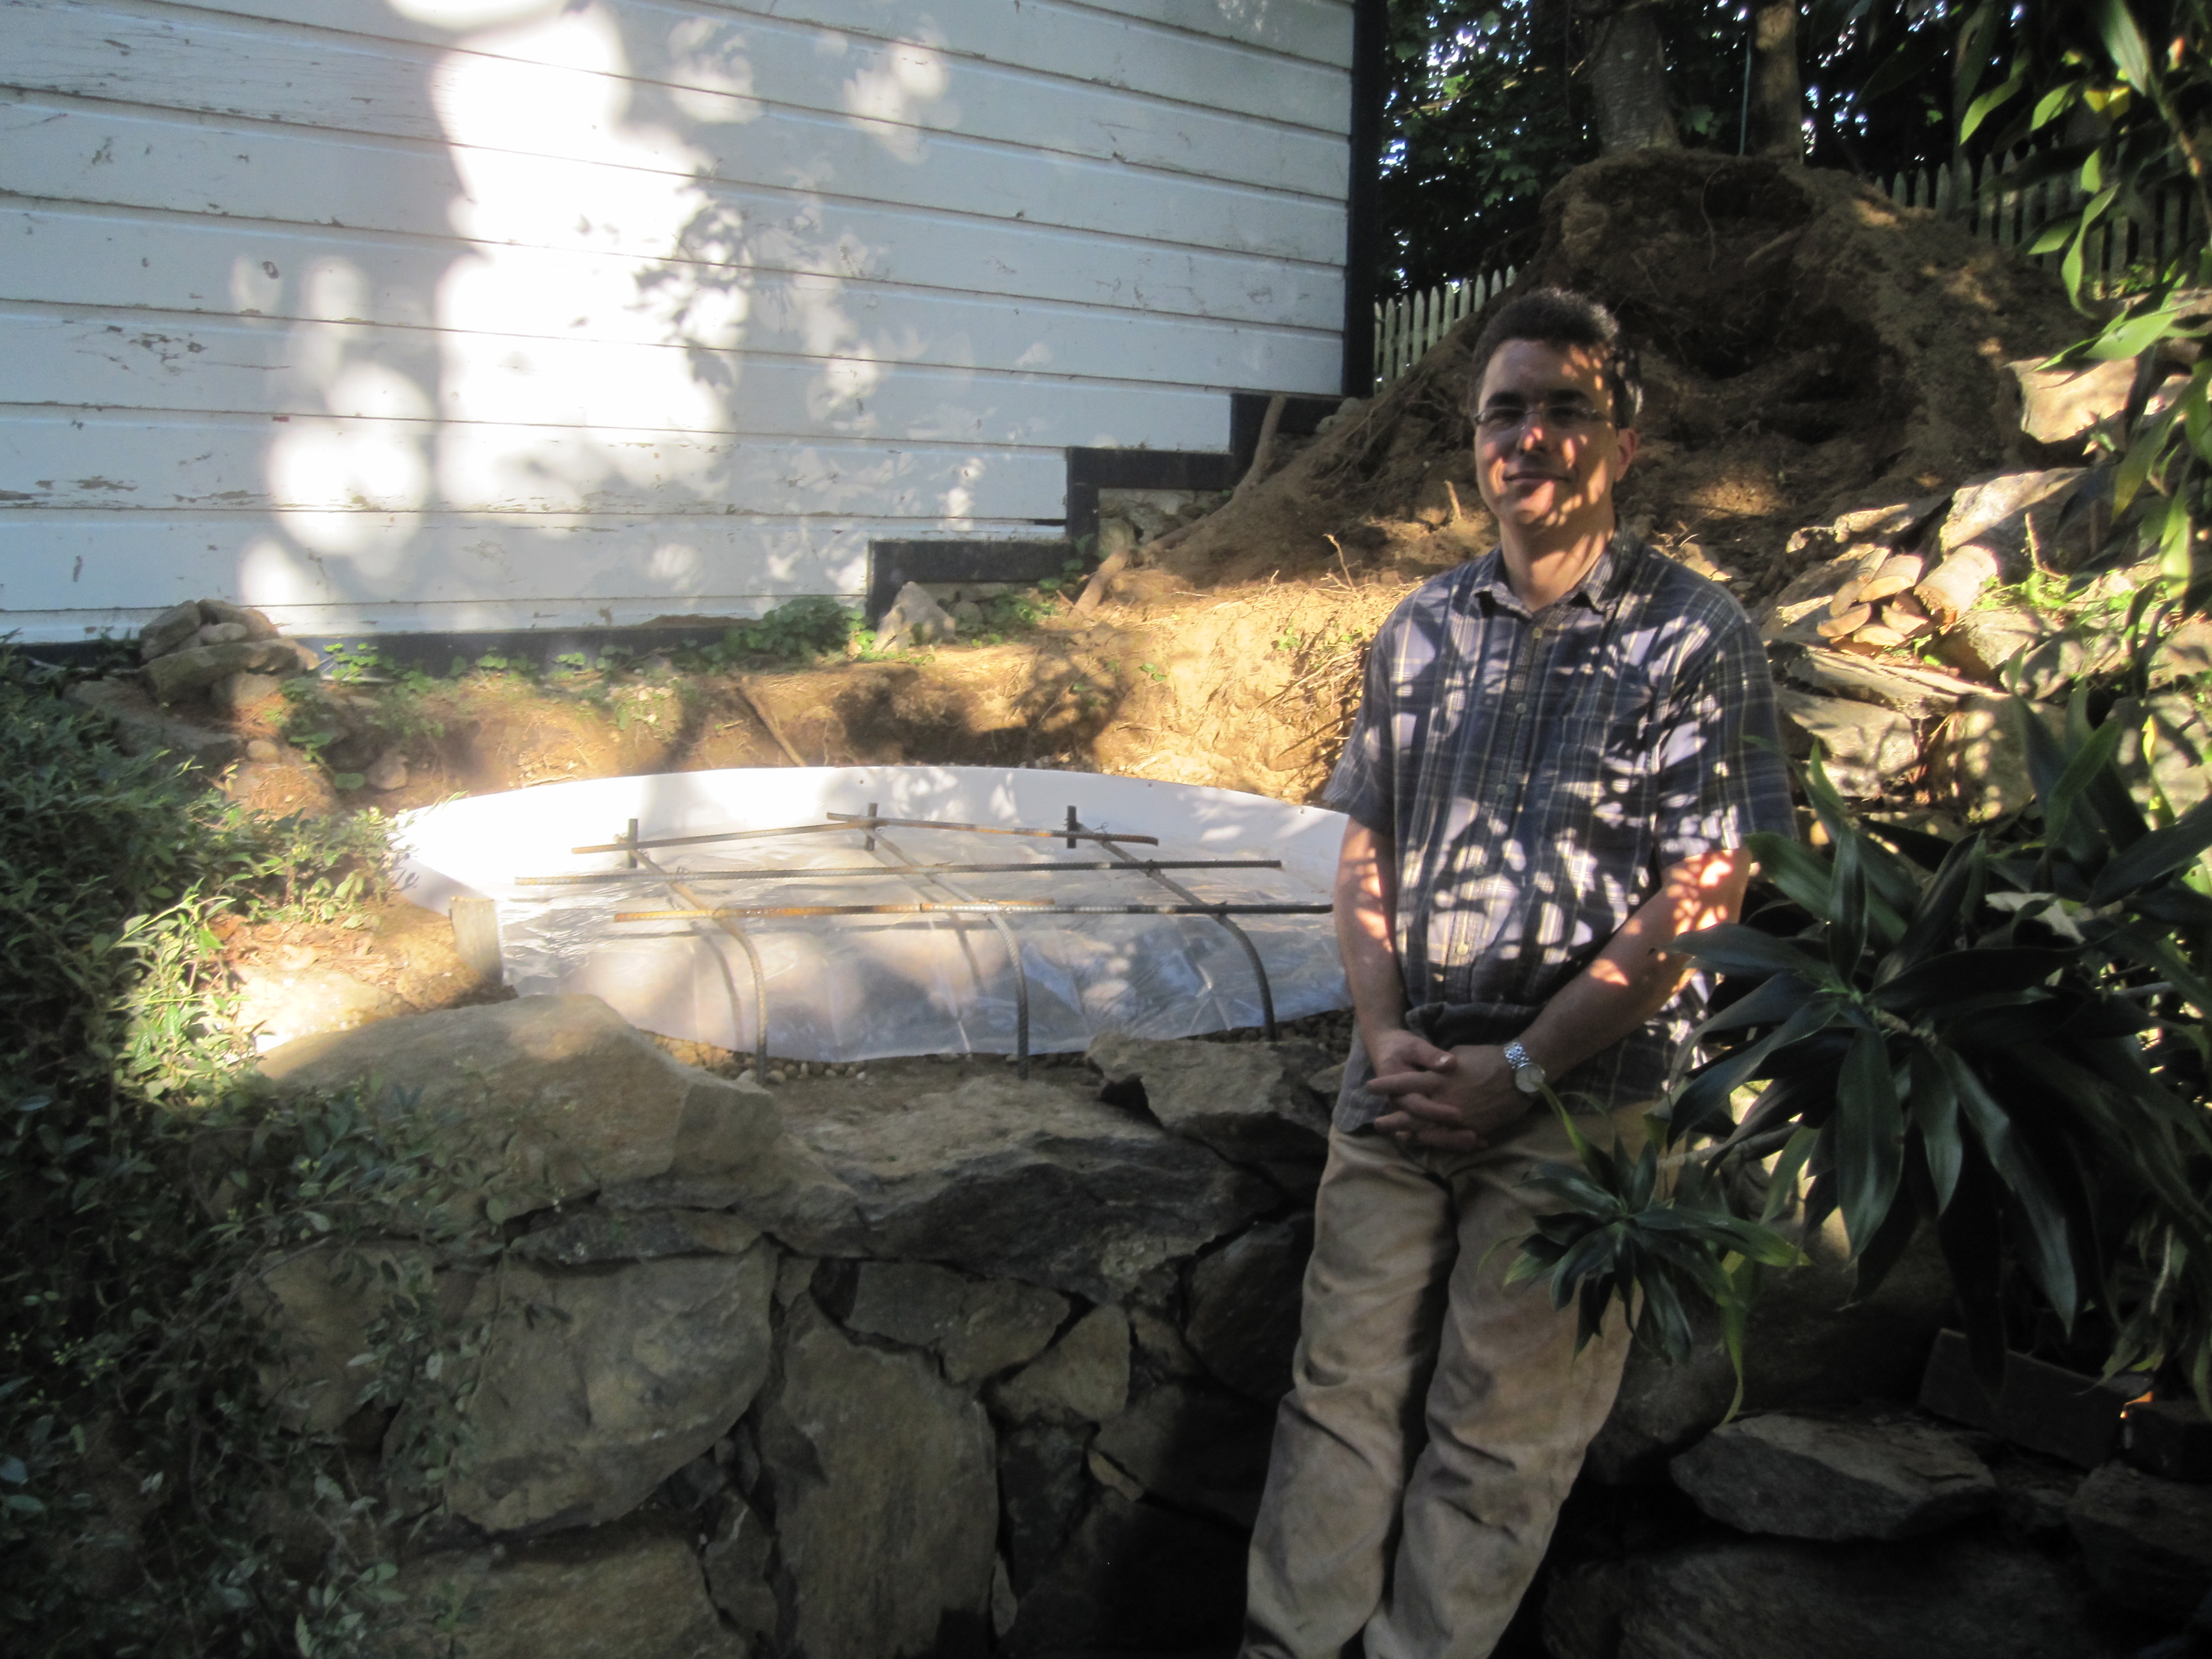
Once the wall was built up to the level of where the pad was to be, I prepped the base for the pad, and formed up a
circular form and bent and placed the rebar.
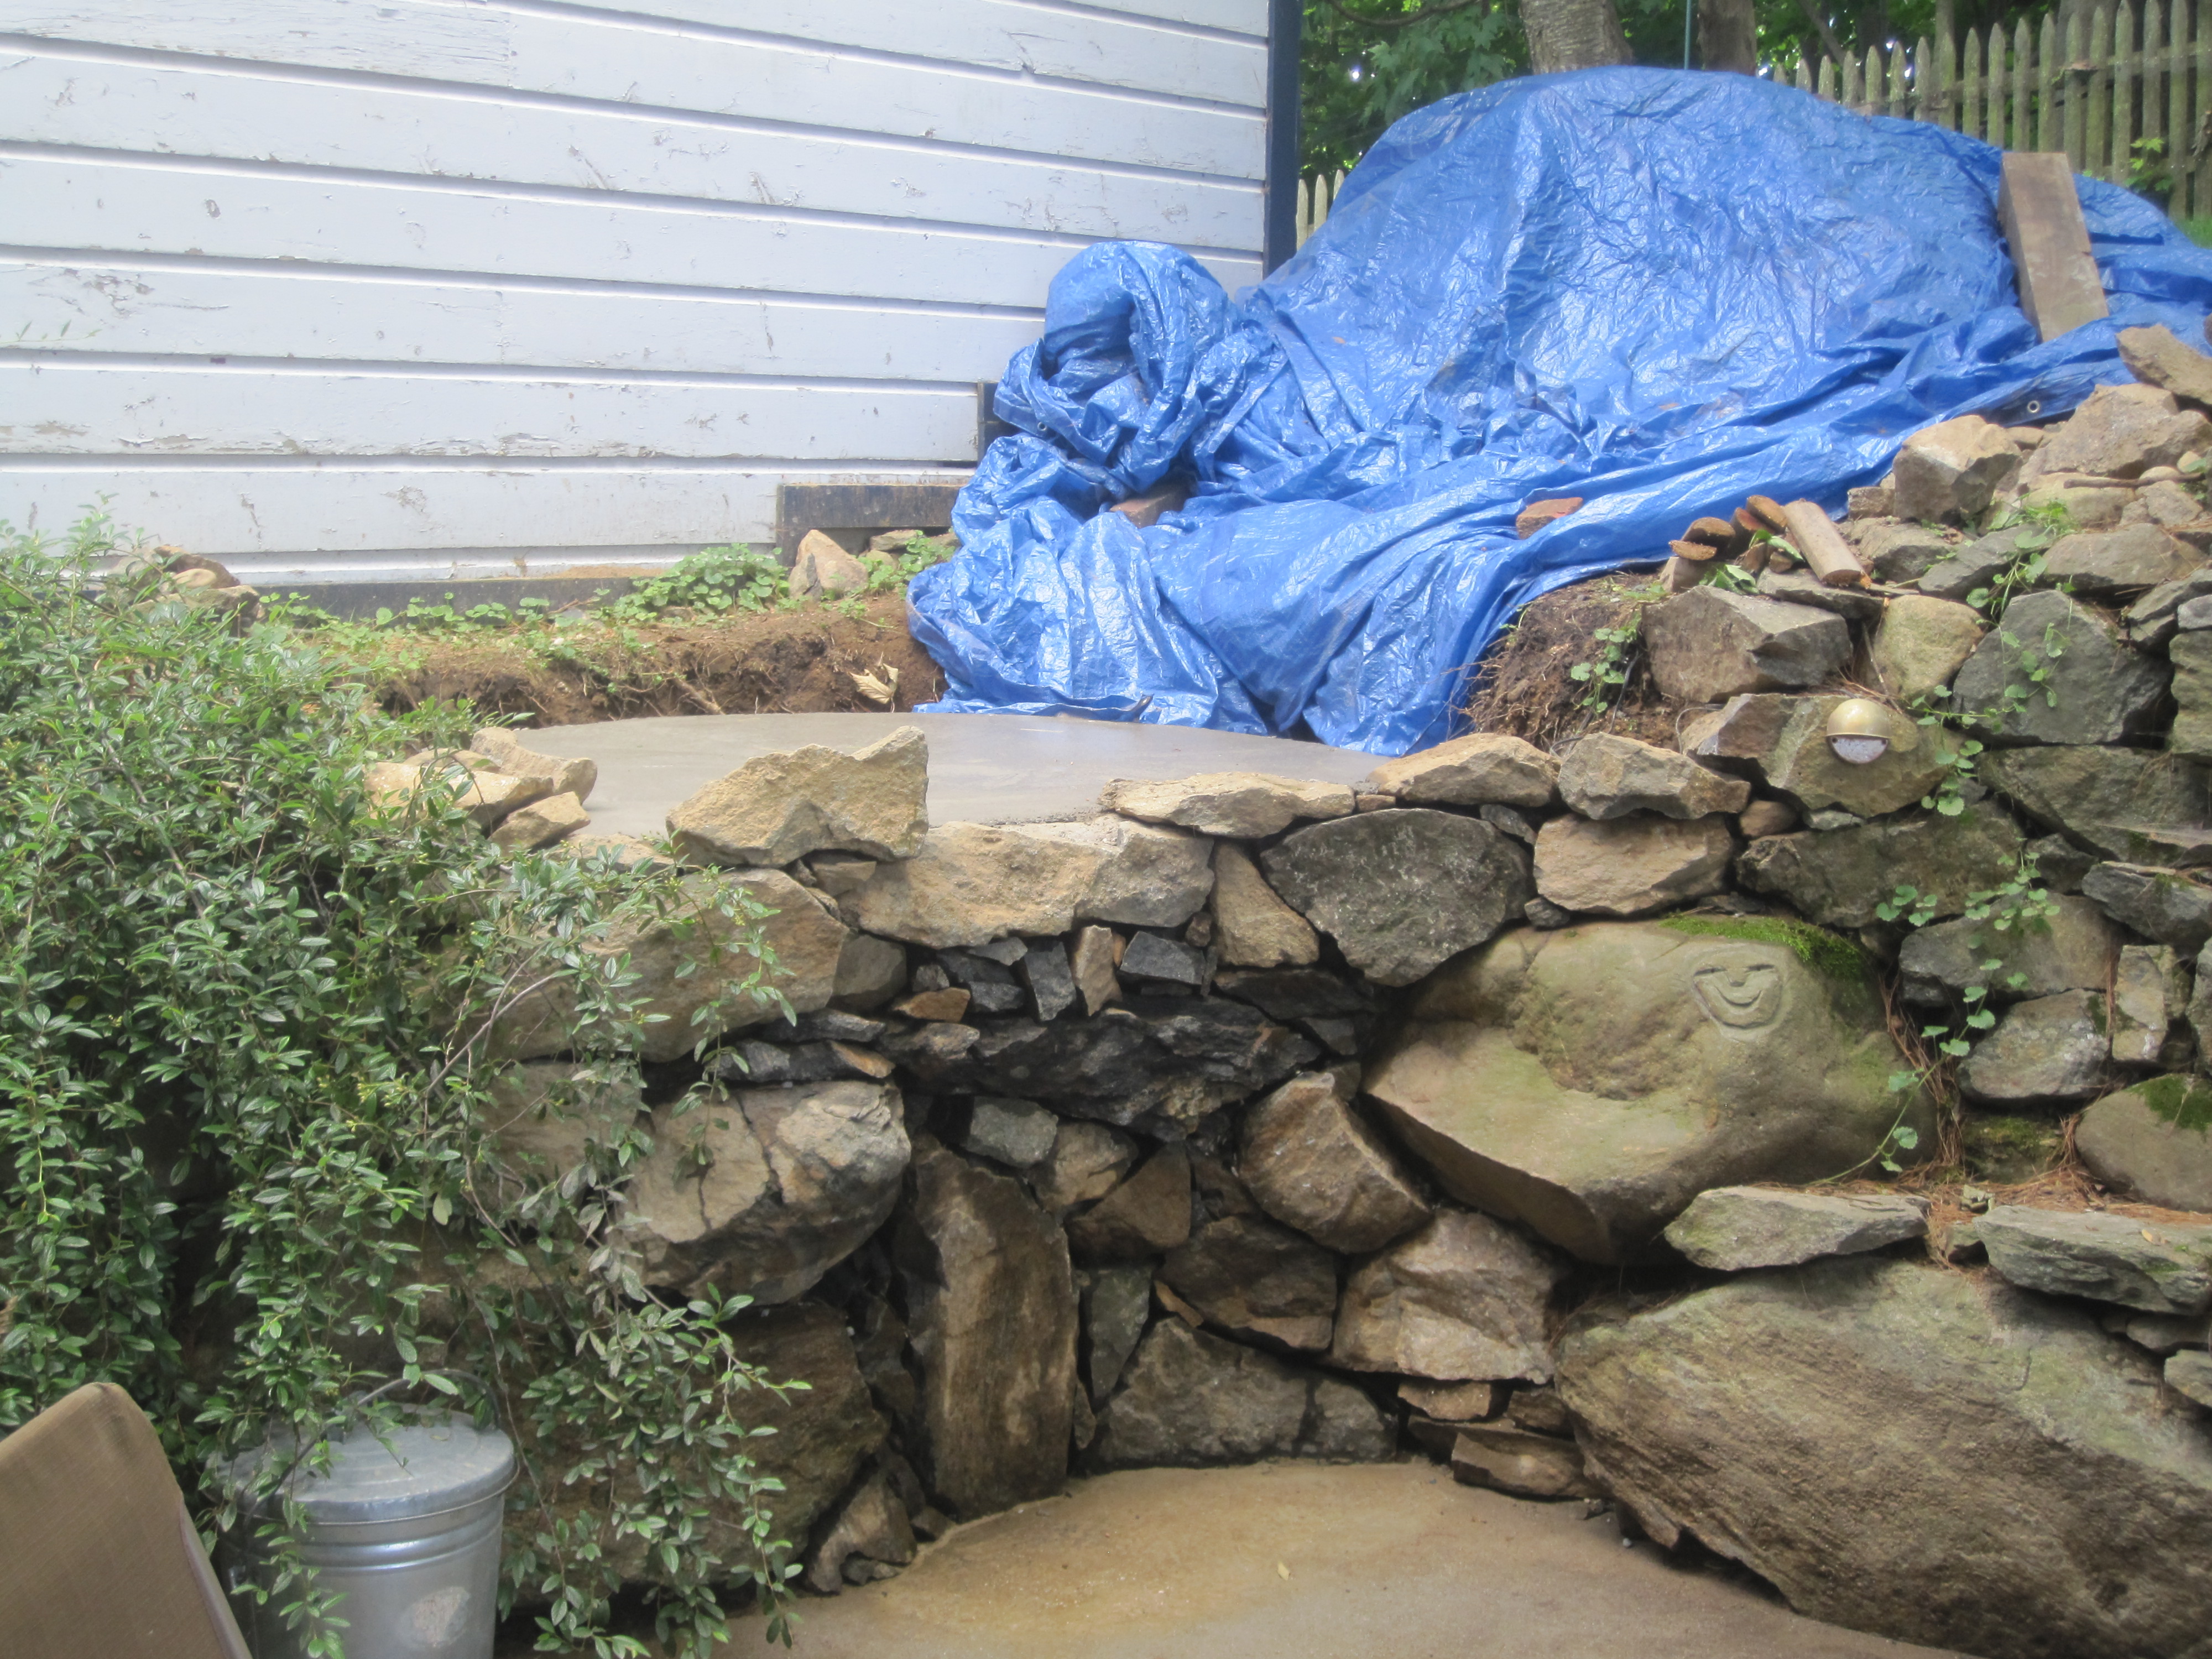
And there's the 5" pad, all poured and curing.
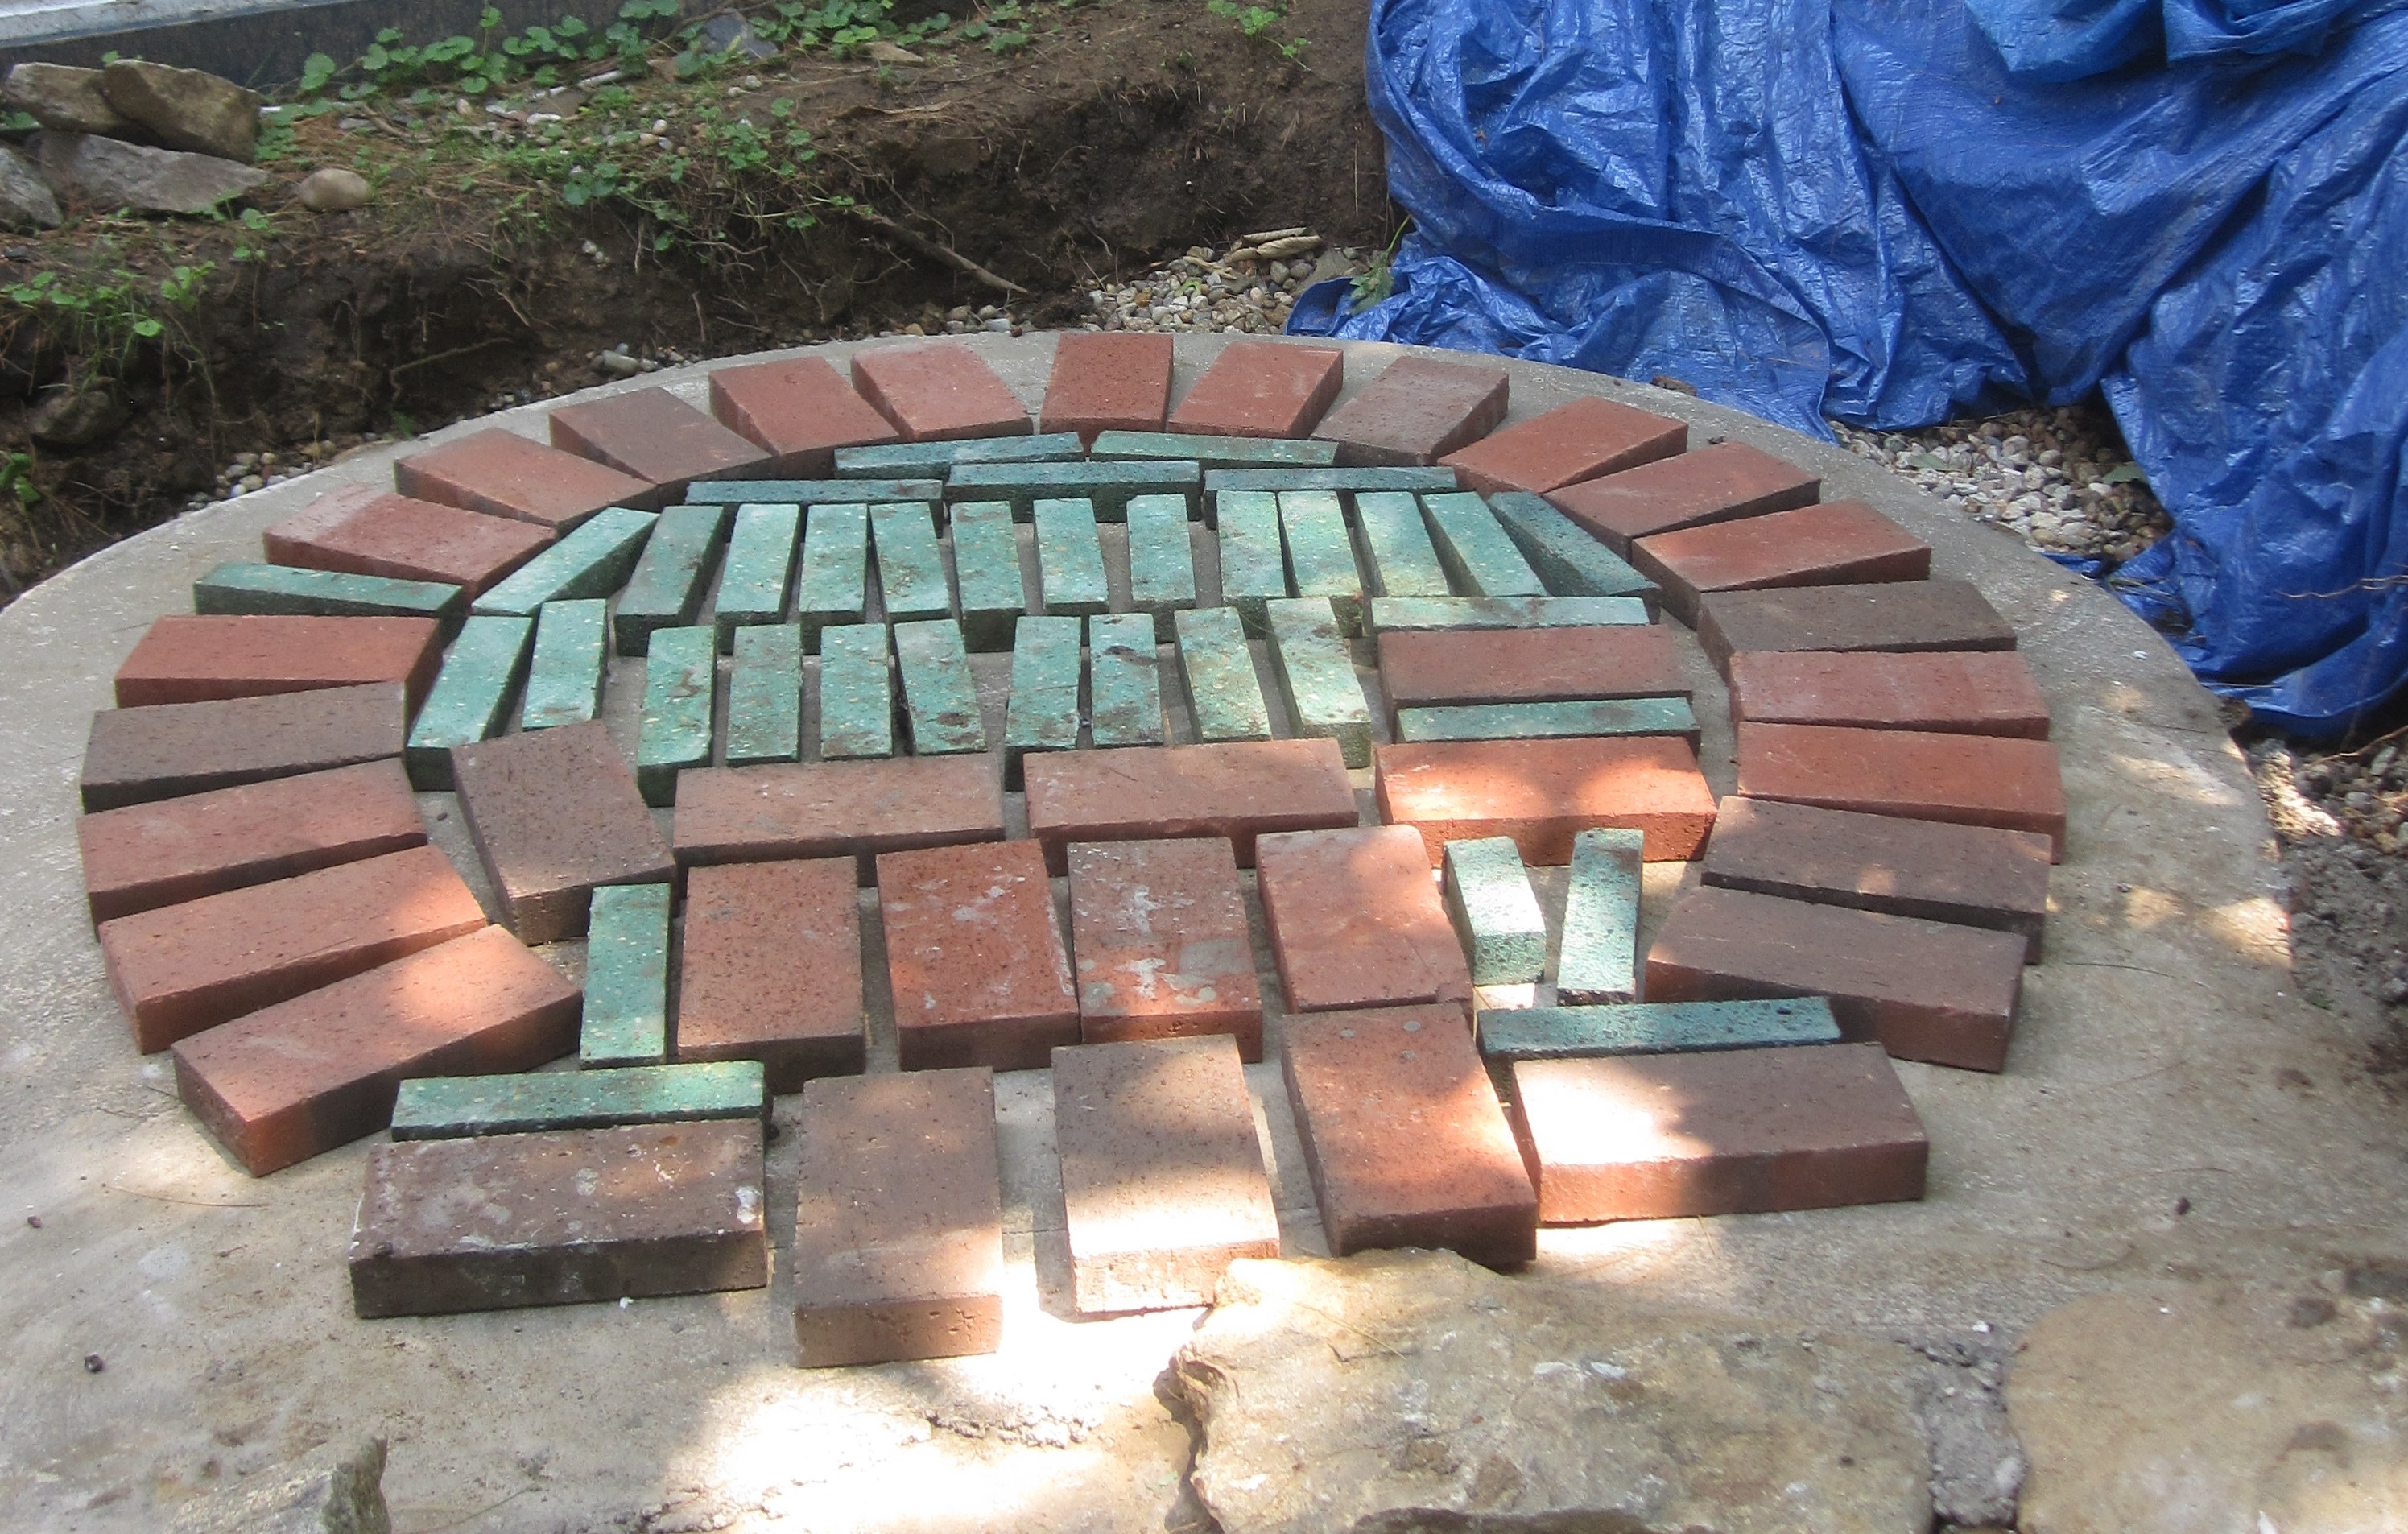
On top of the pad, because of I wanted to keep moisture from wicking up from the ground, I positioned 1/2 brick spacers,
and topped them with aluminum flashing.
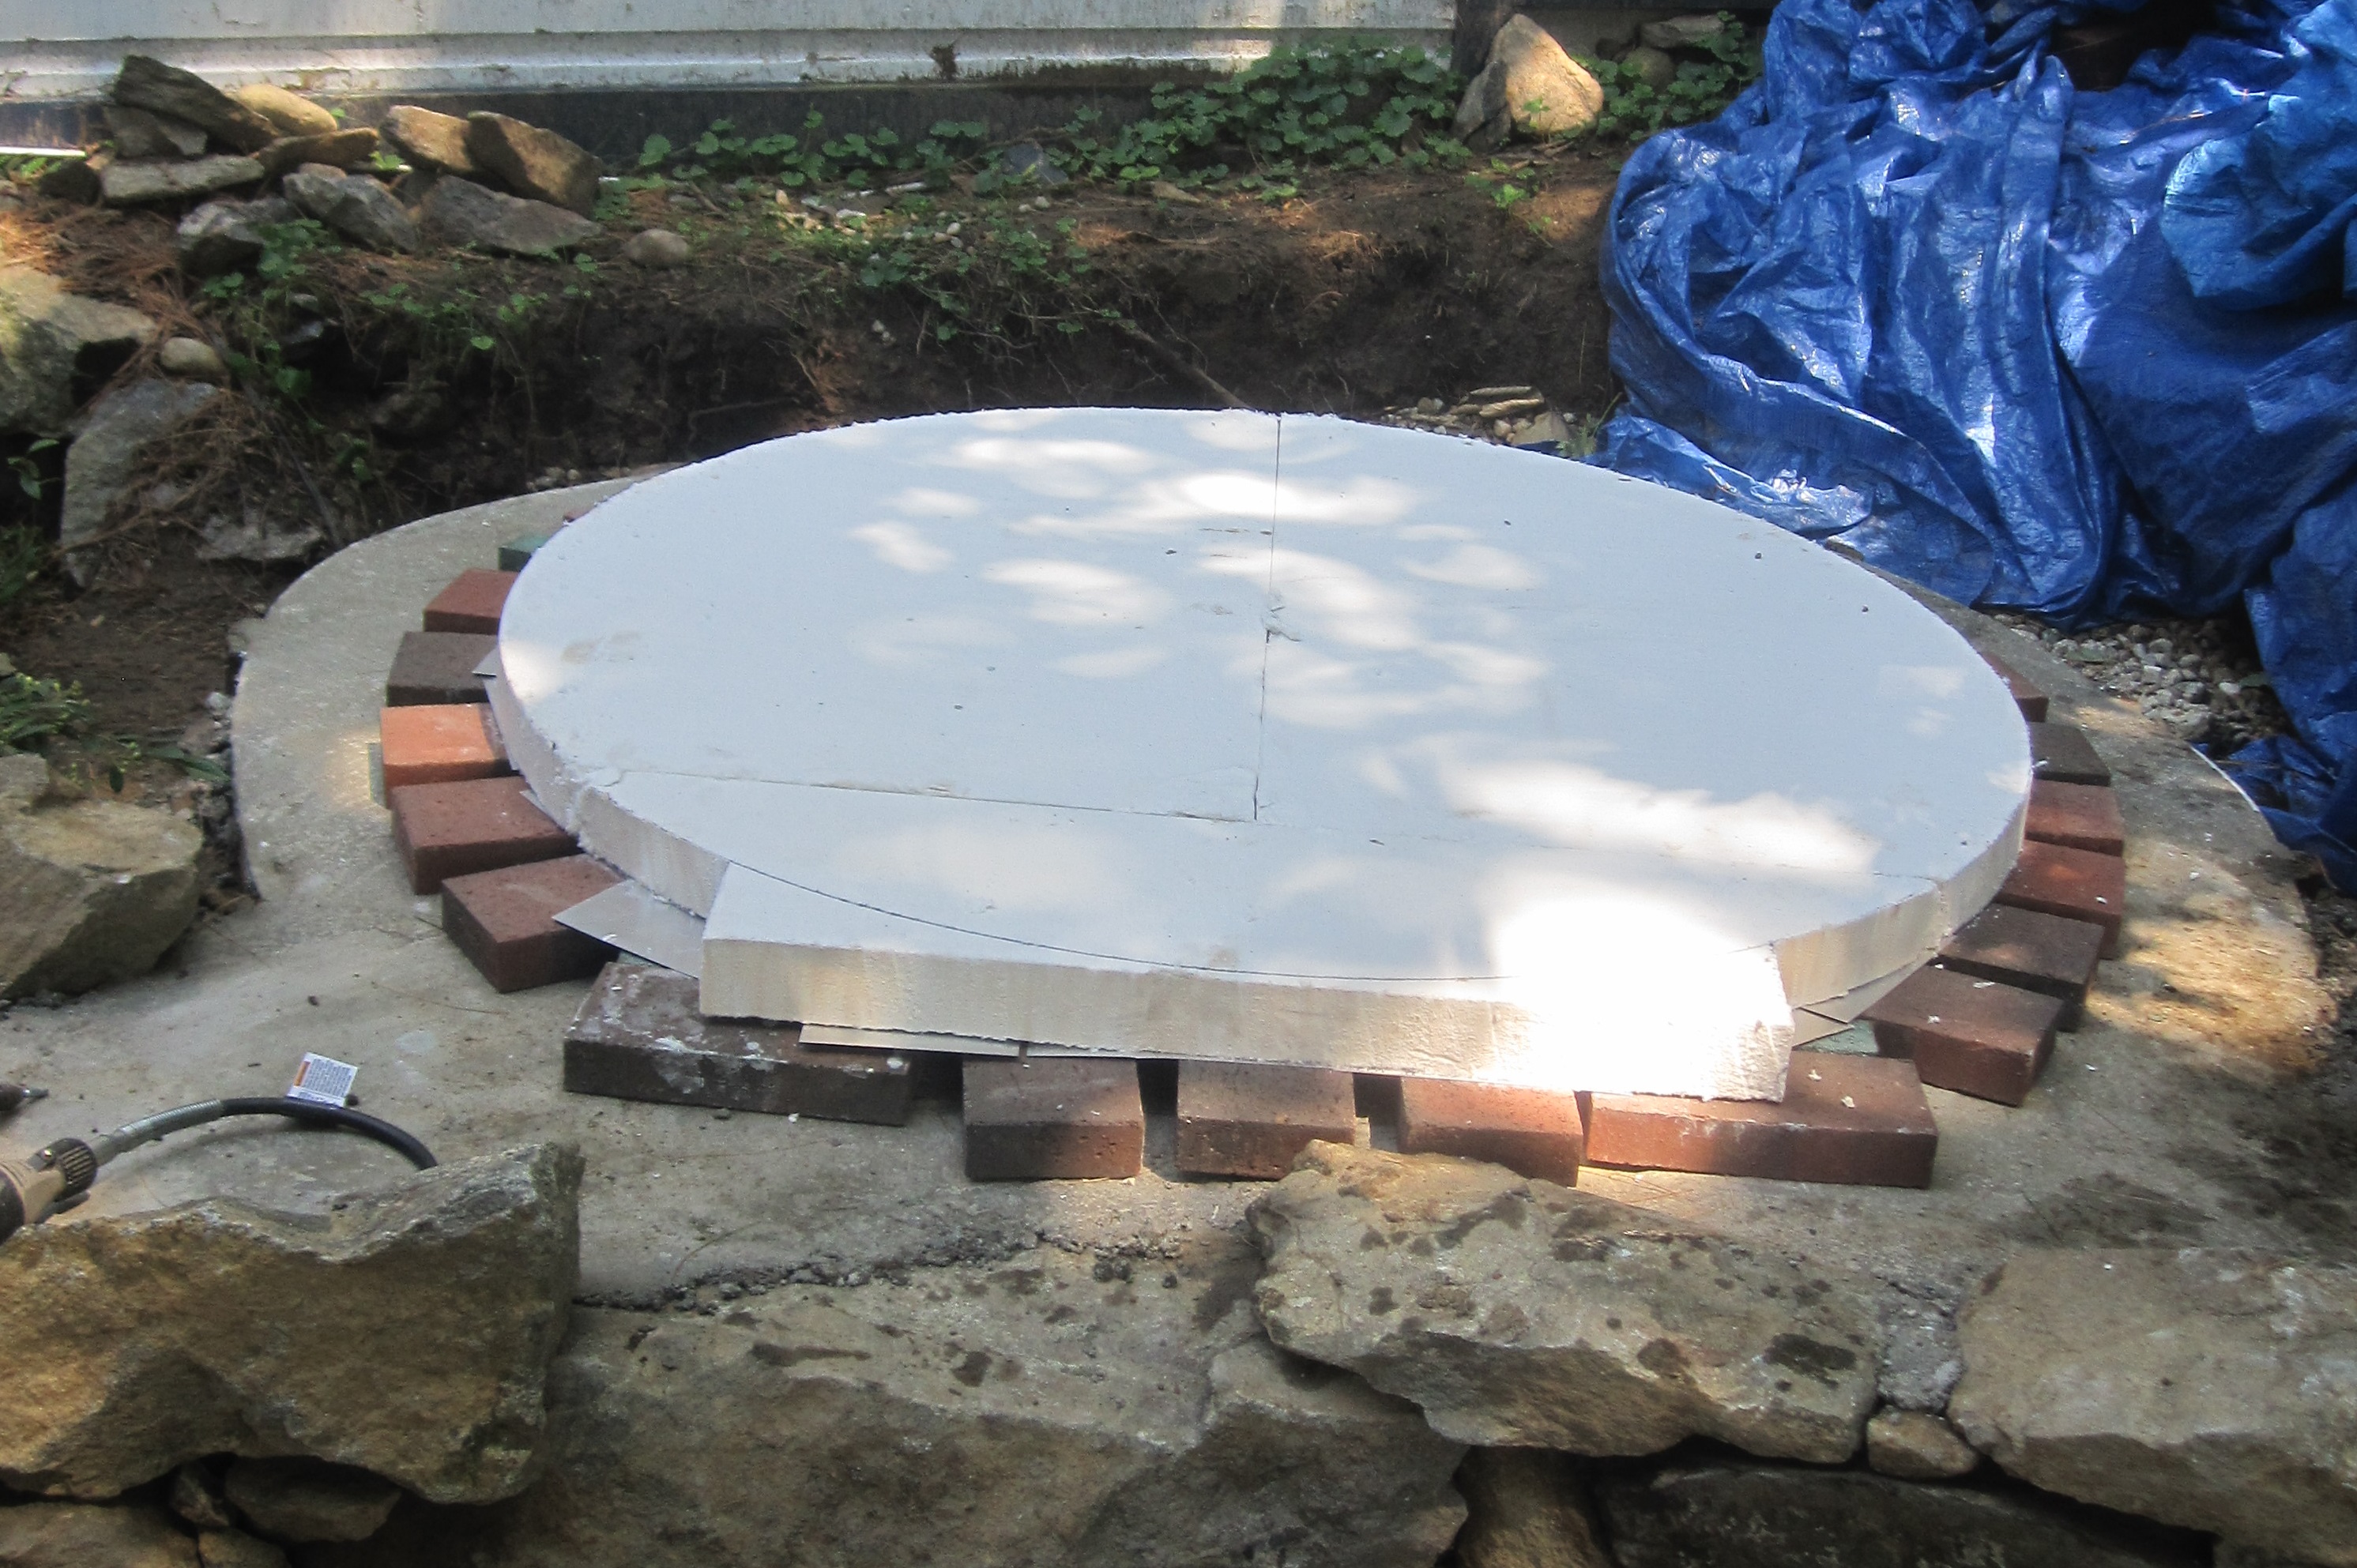
Over the brick and flashing, I put down a 2" fiber ceramic board, cut to the dimensions of the exterior of
the oven dome.
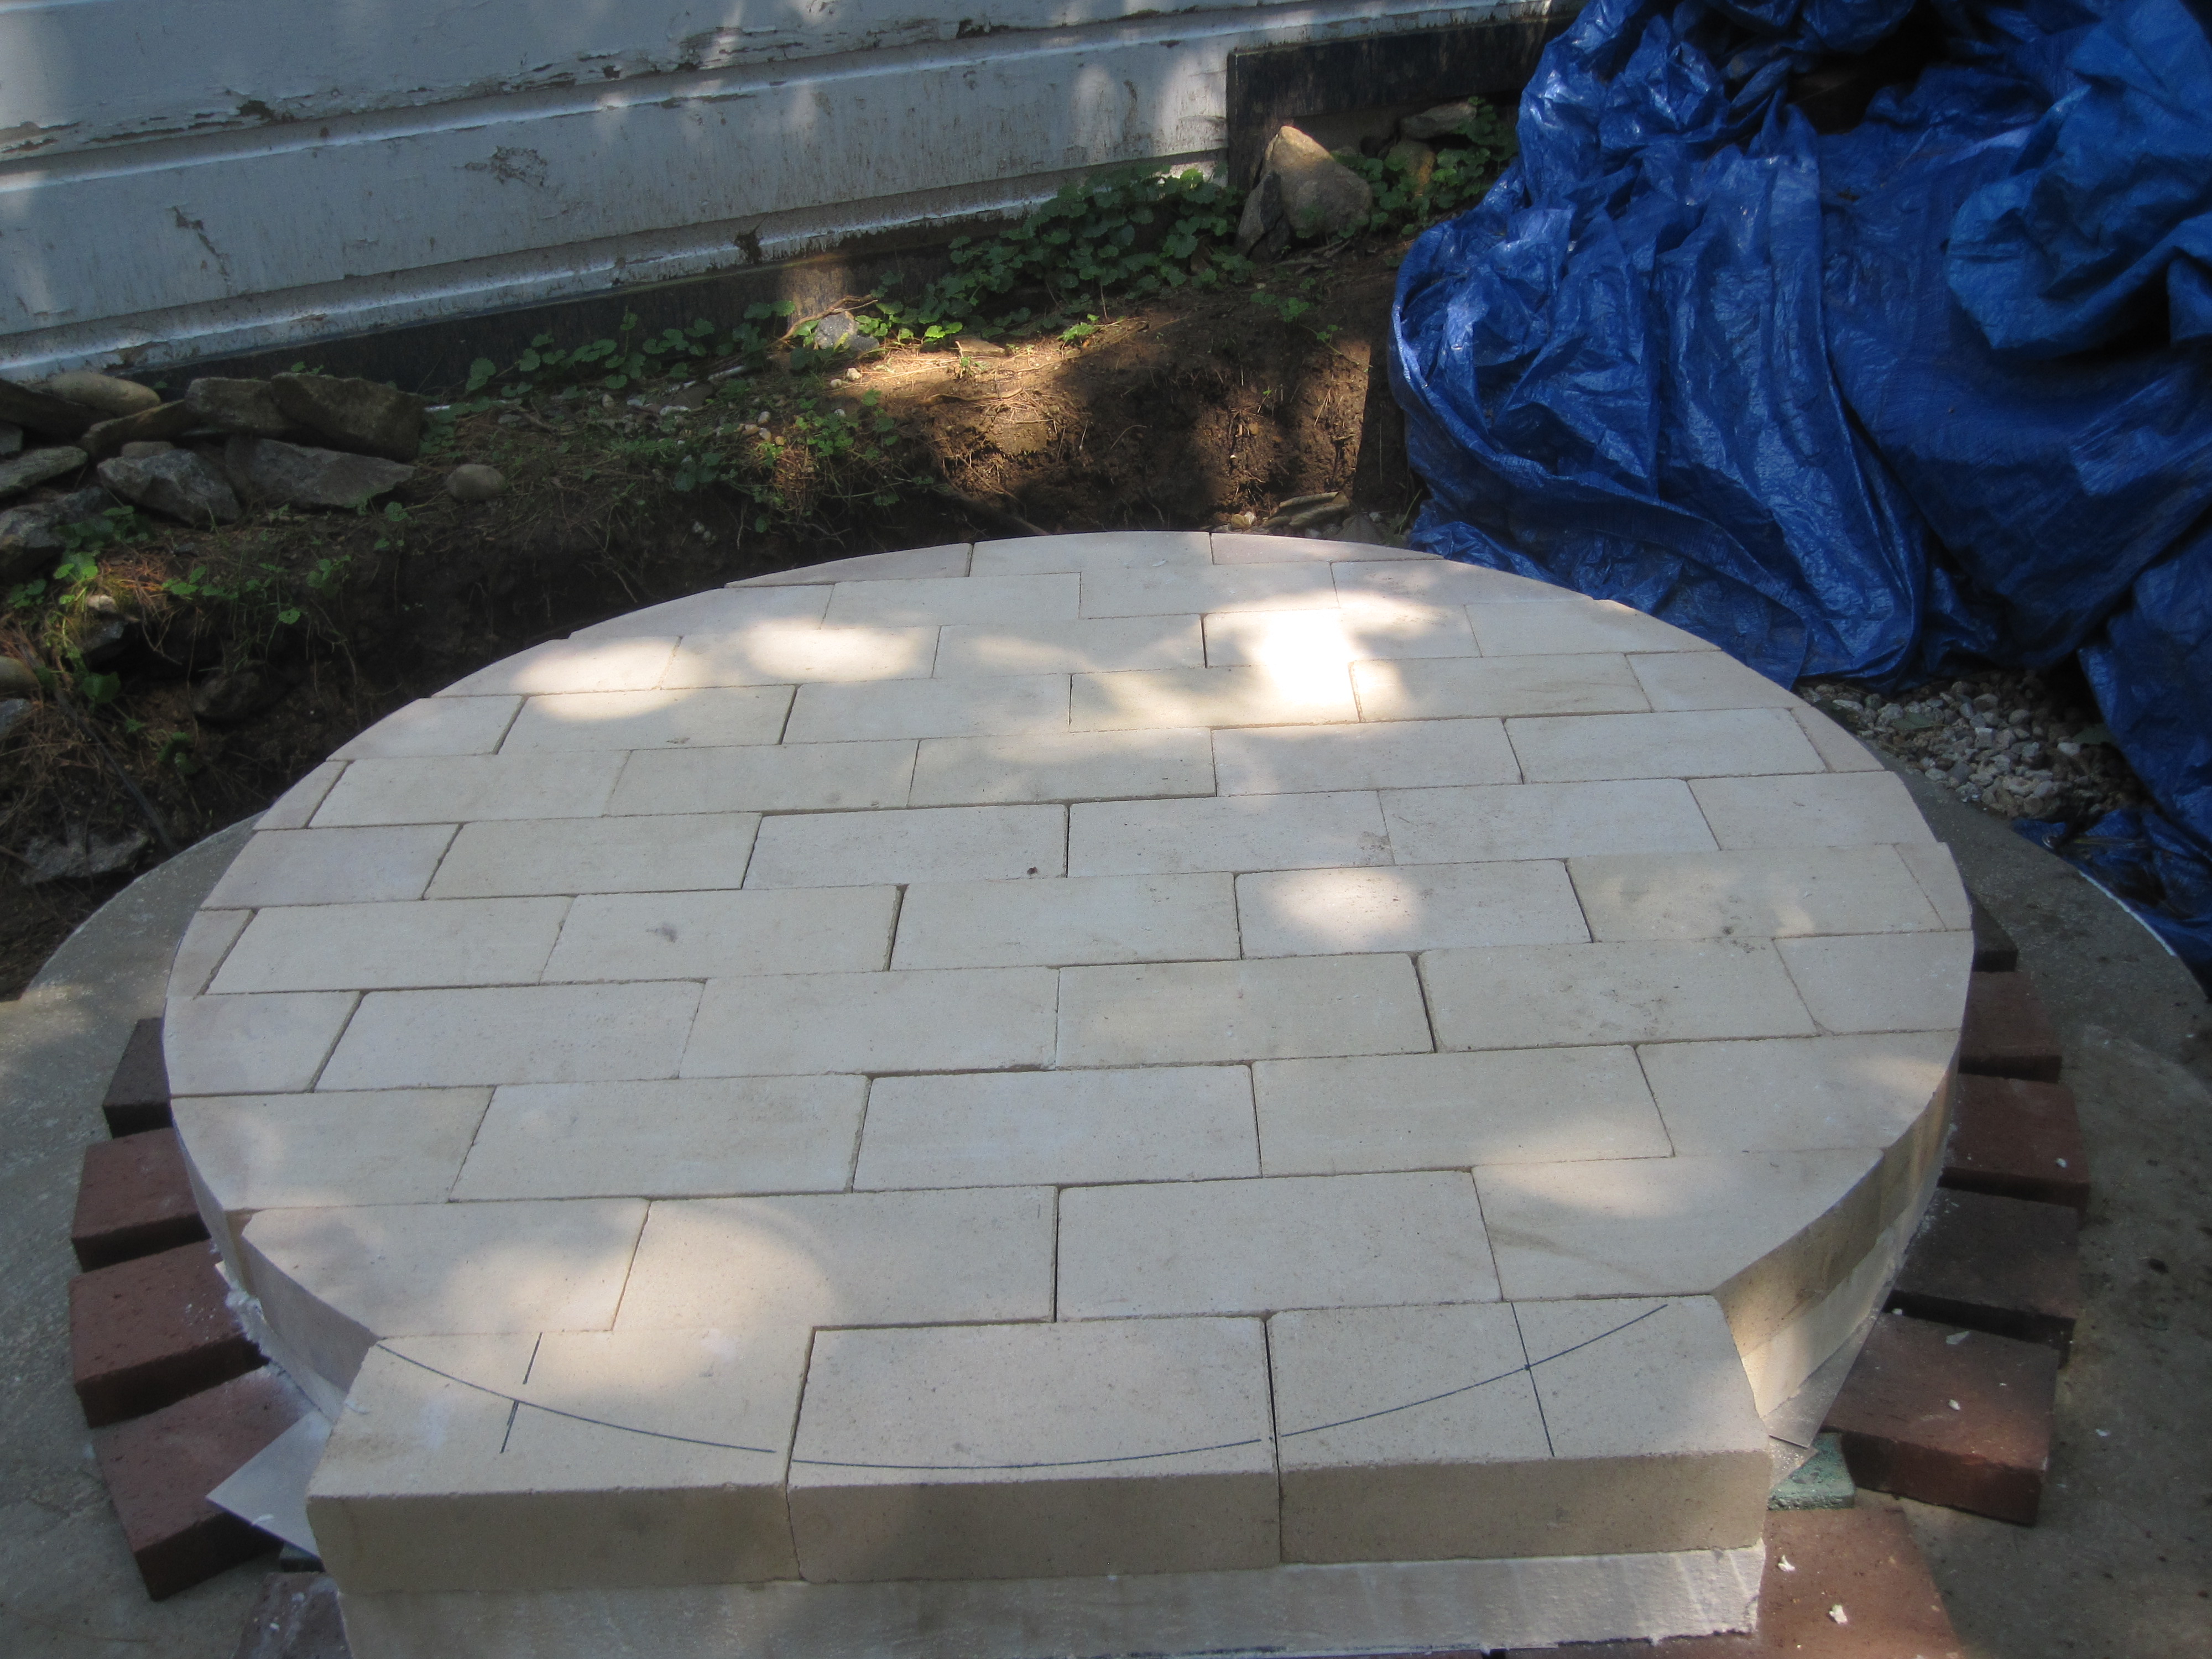
Over the insulation, firebricks were installed forming the sub-hearth.
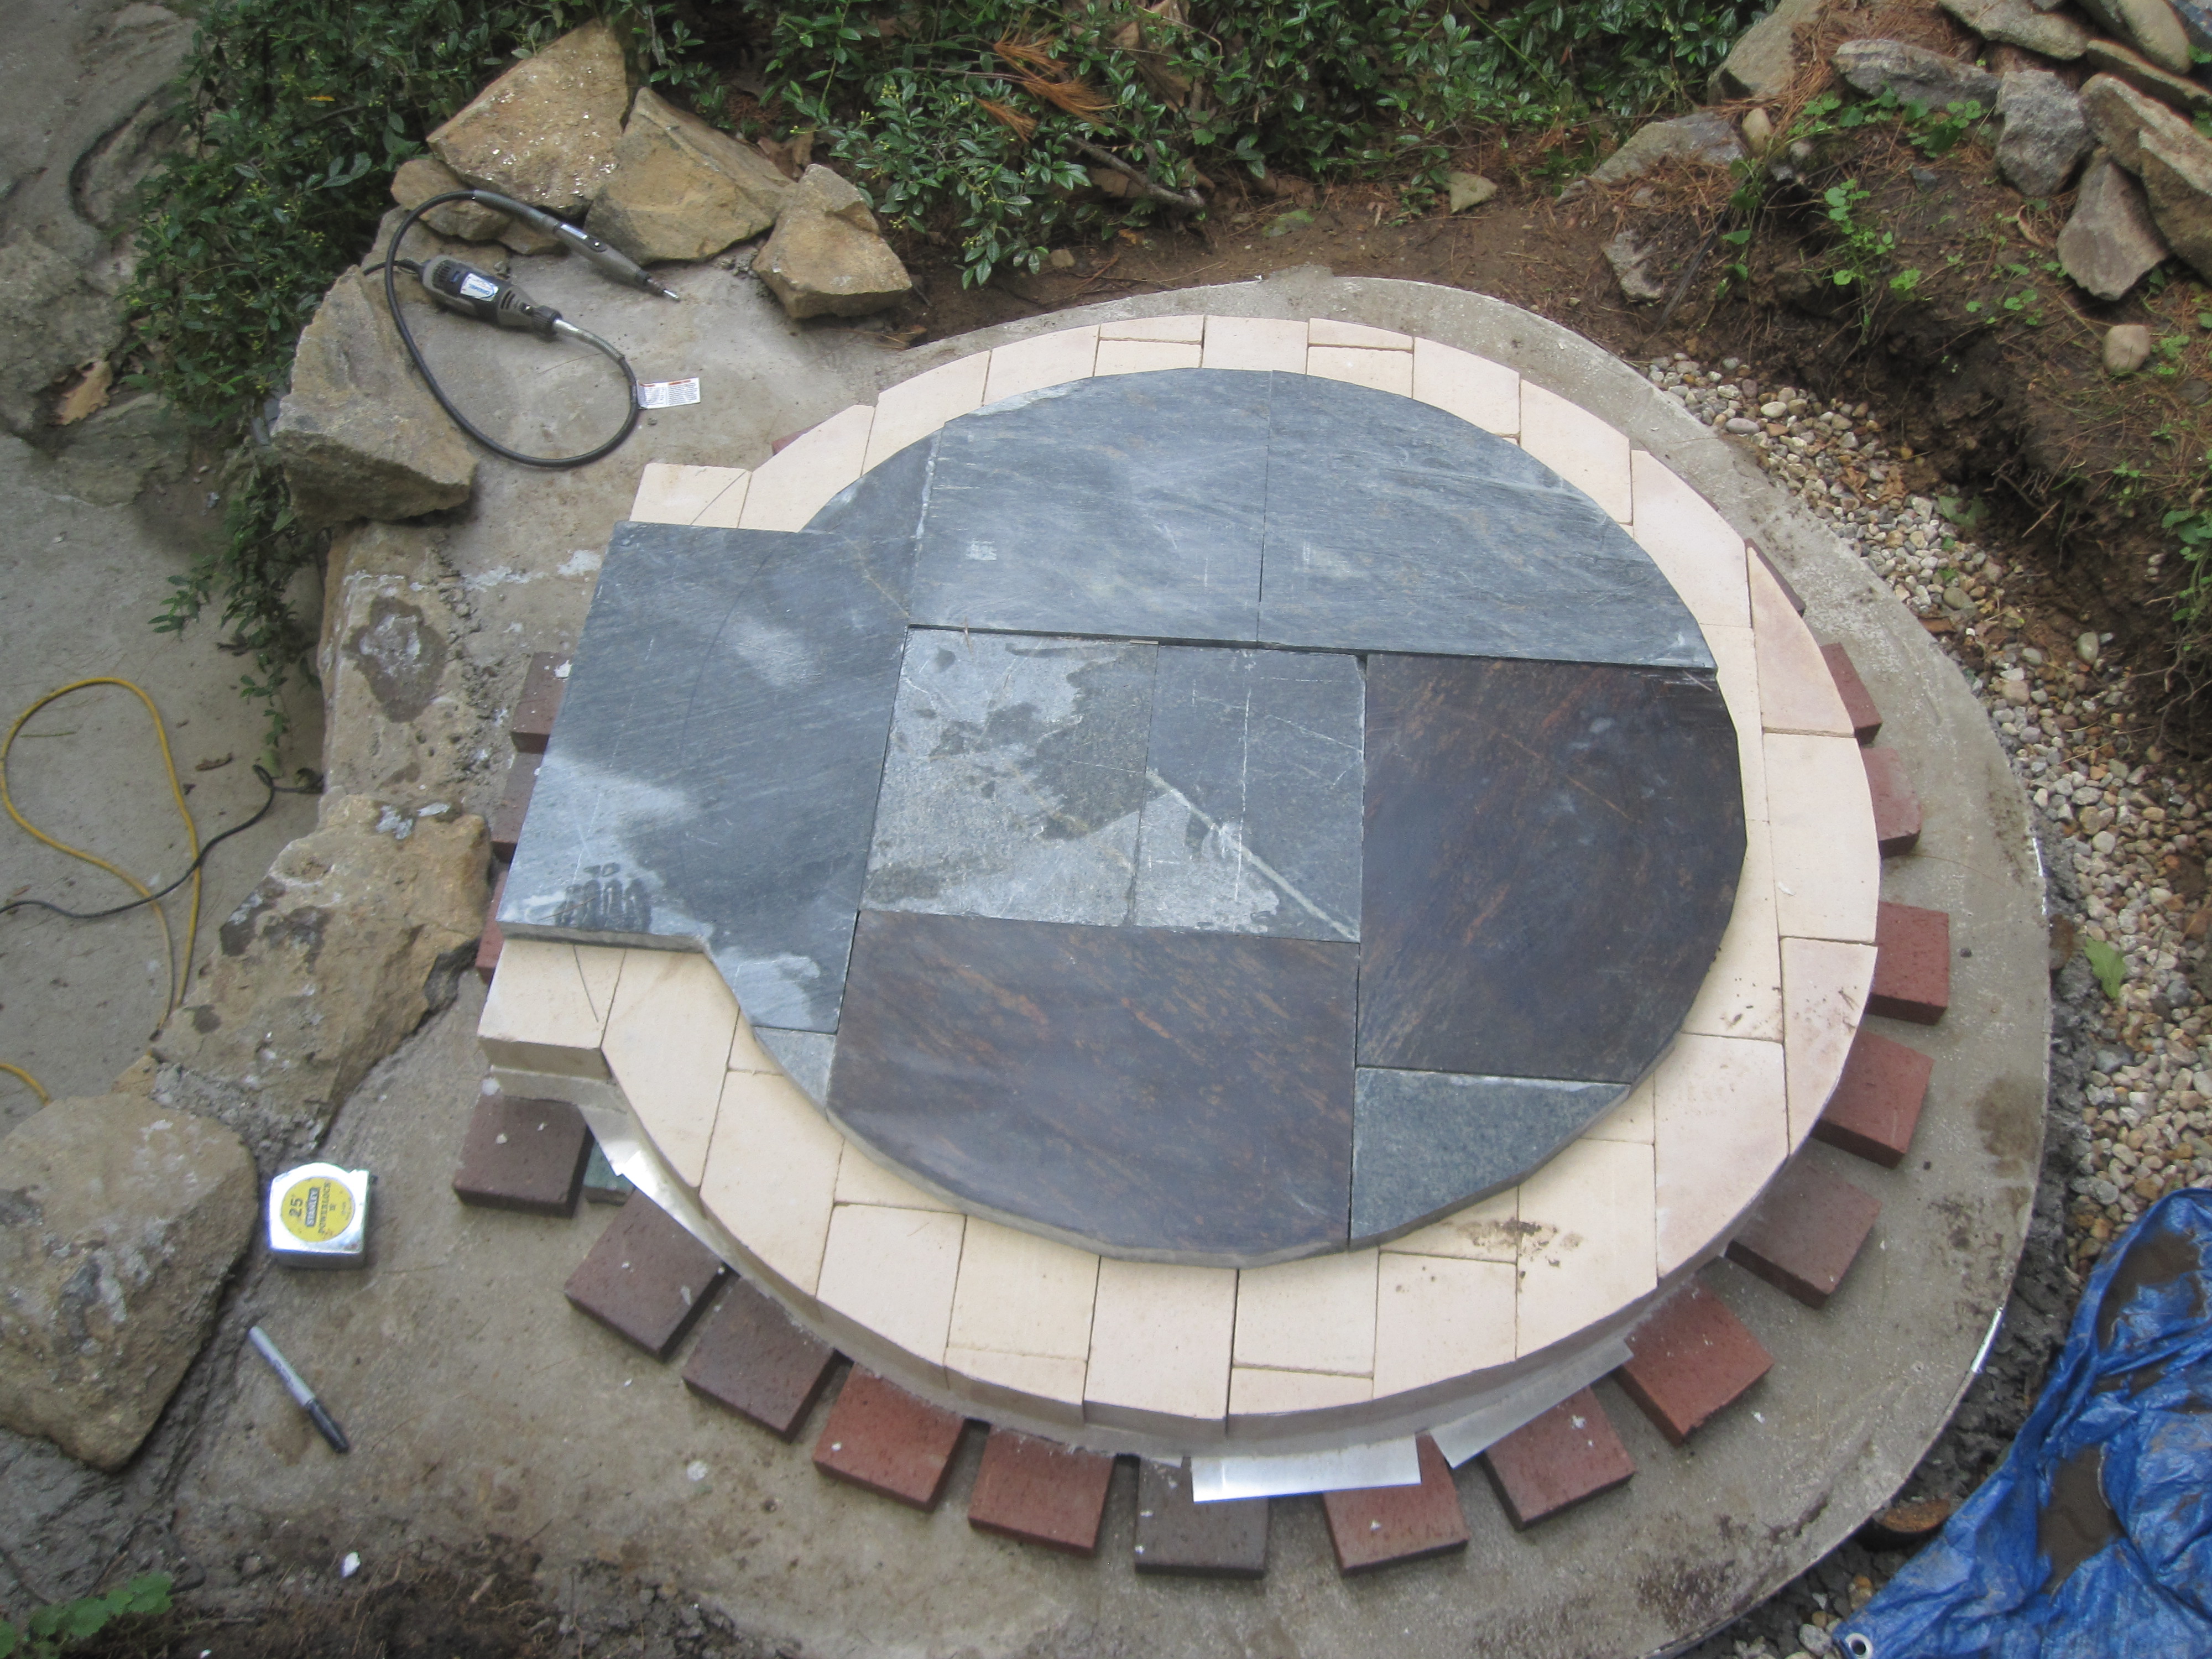
Over the sub-hearth, I cut scrap pieces of 1.5" soapstone to form the main hearth.
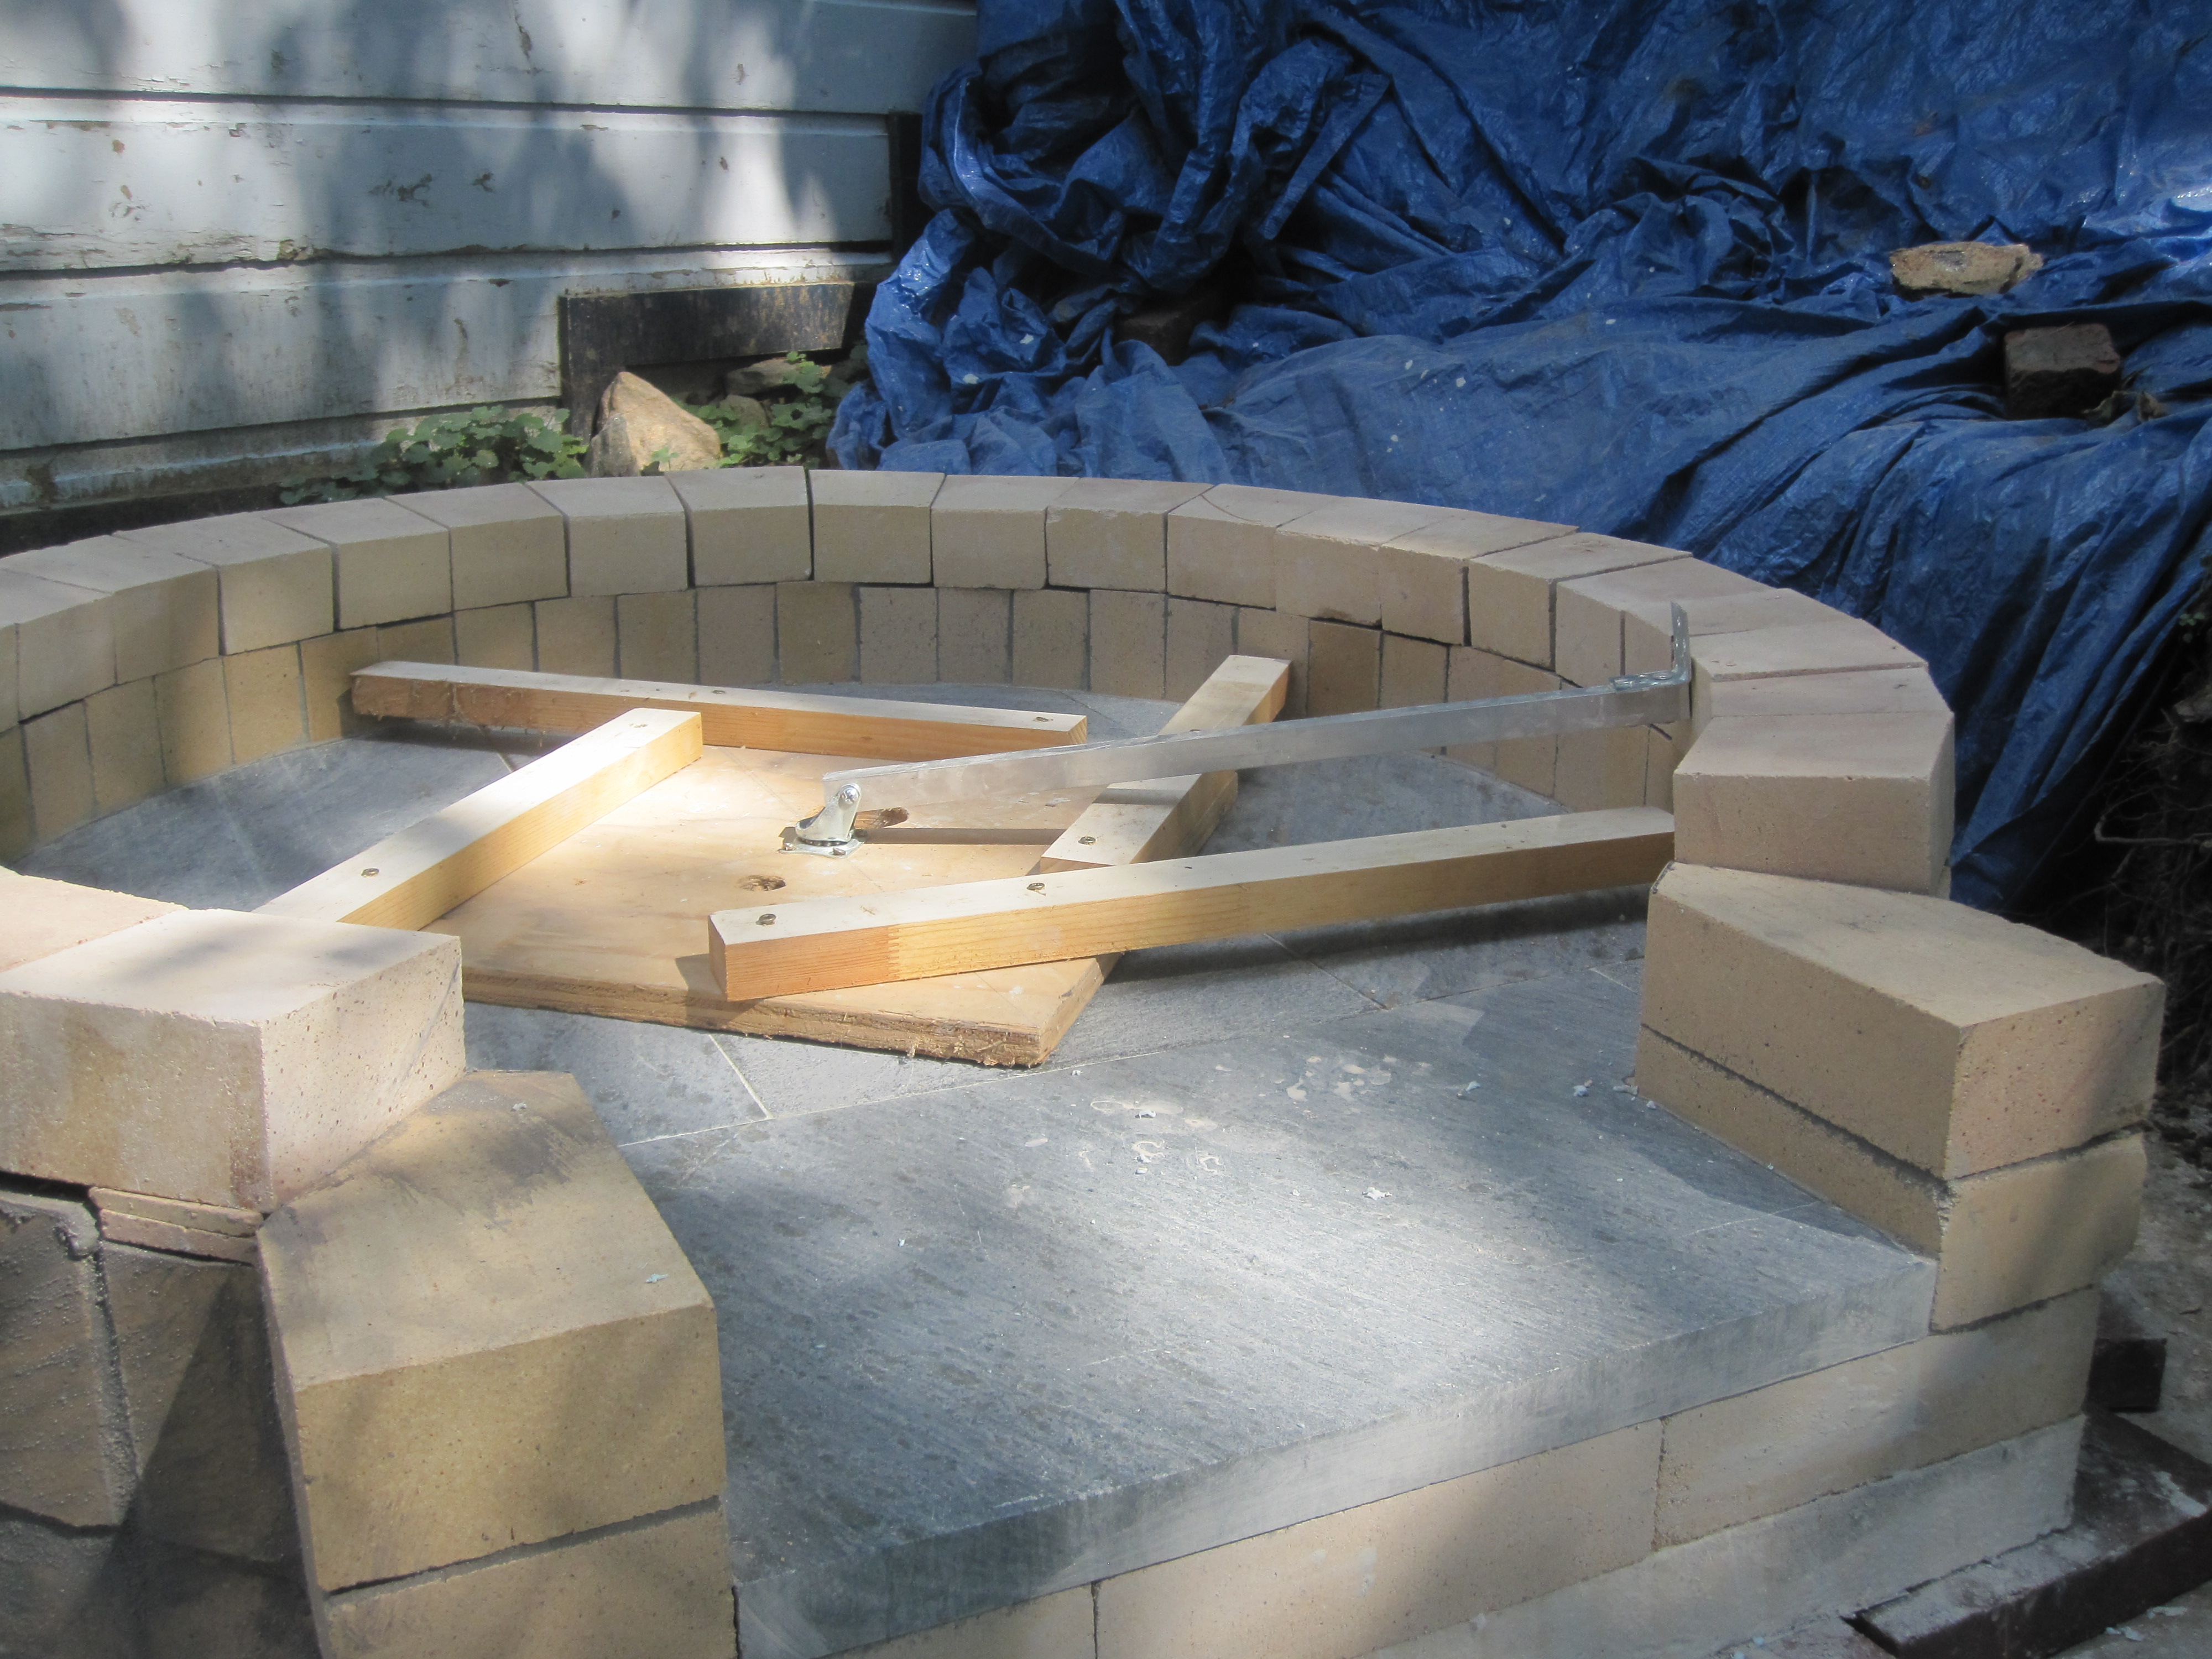
Then I started laying out the dome. I'm using firebrick, and a homemade gage, called an "Indispensable
Tool" on the Forno Bravo website's forum. I made mine from a wheel castor with the wheel removed, a piece
of square-stock aluminum, and an angle iron, plus some scrap wood and various nuts and bolts.
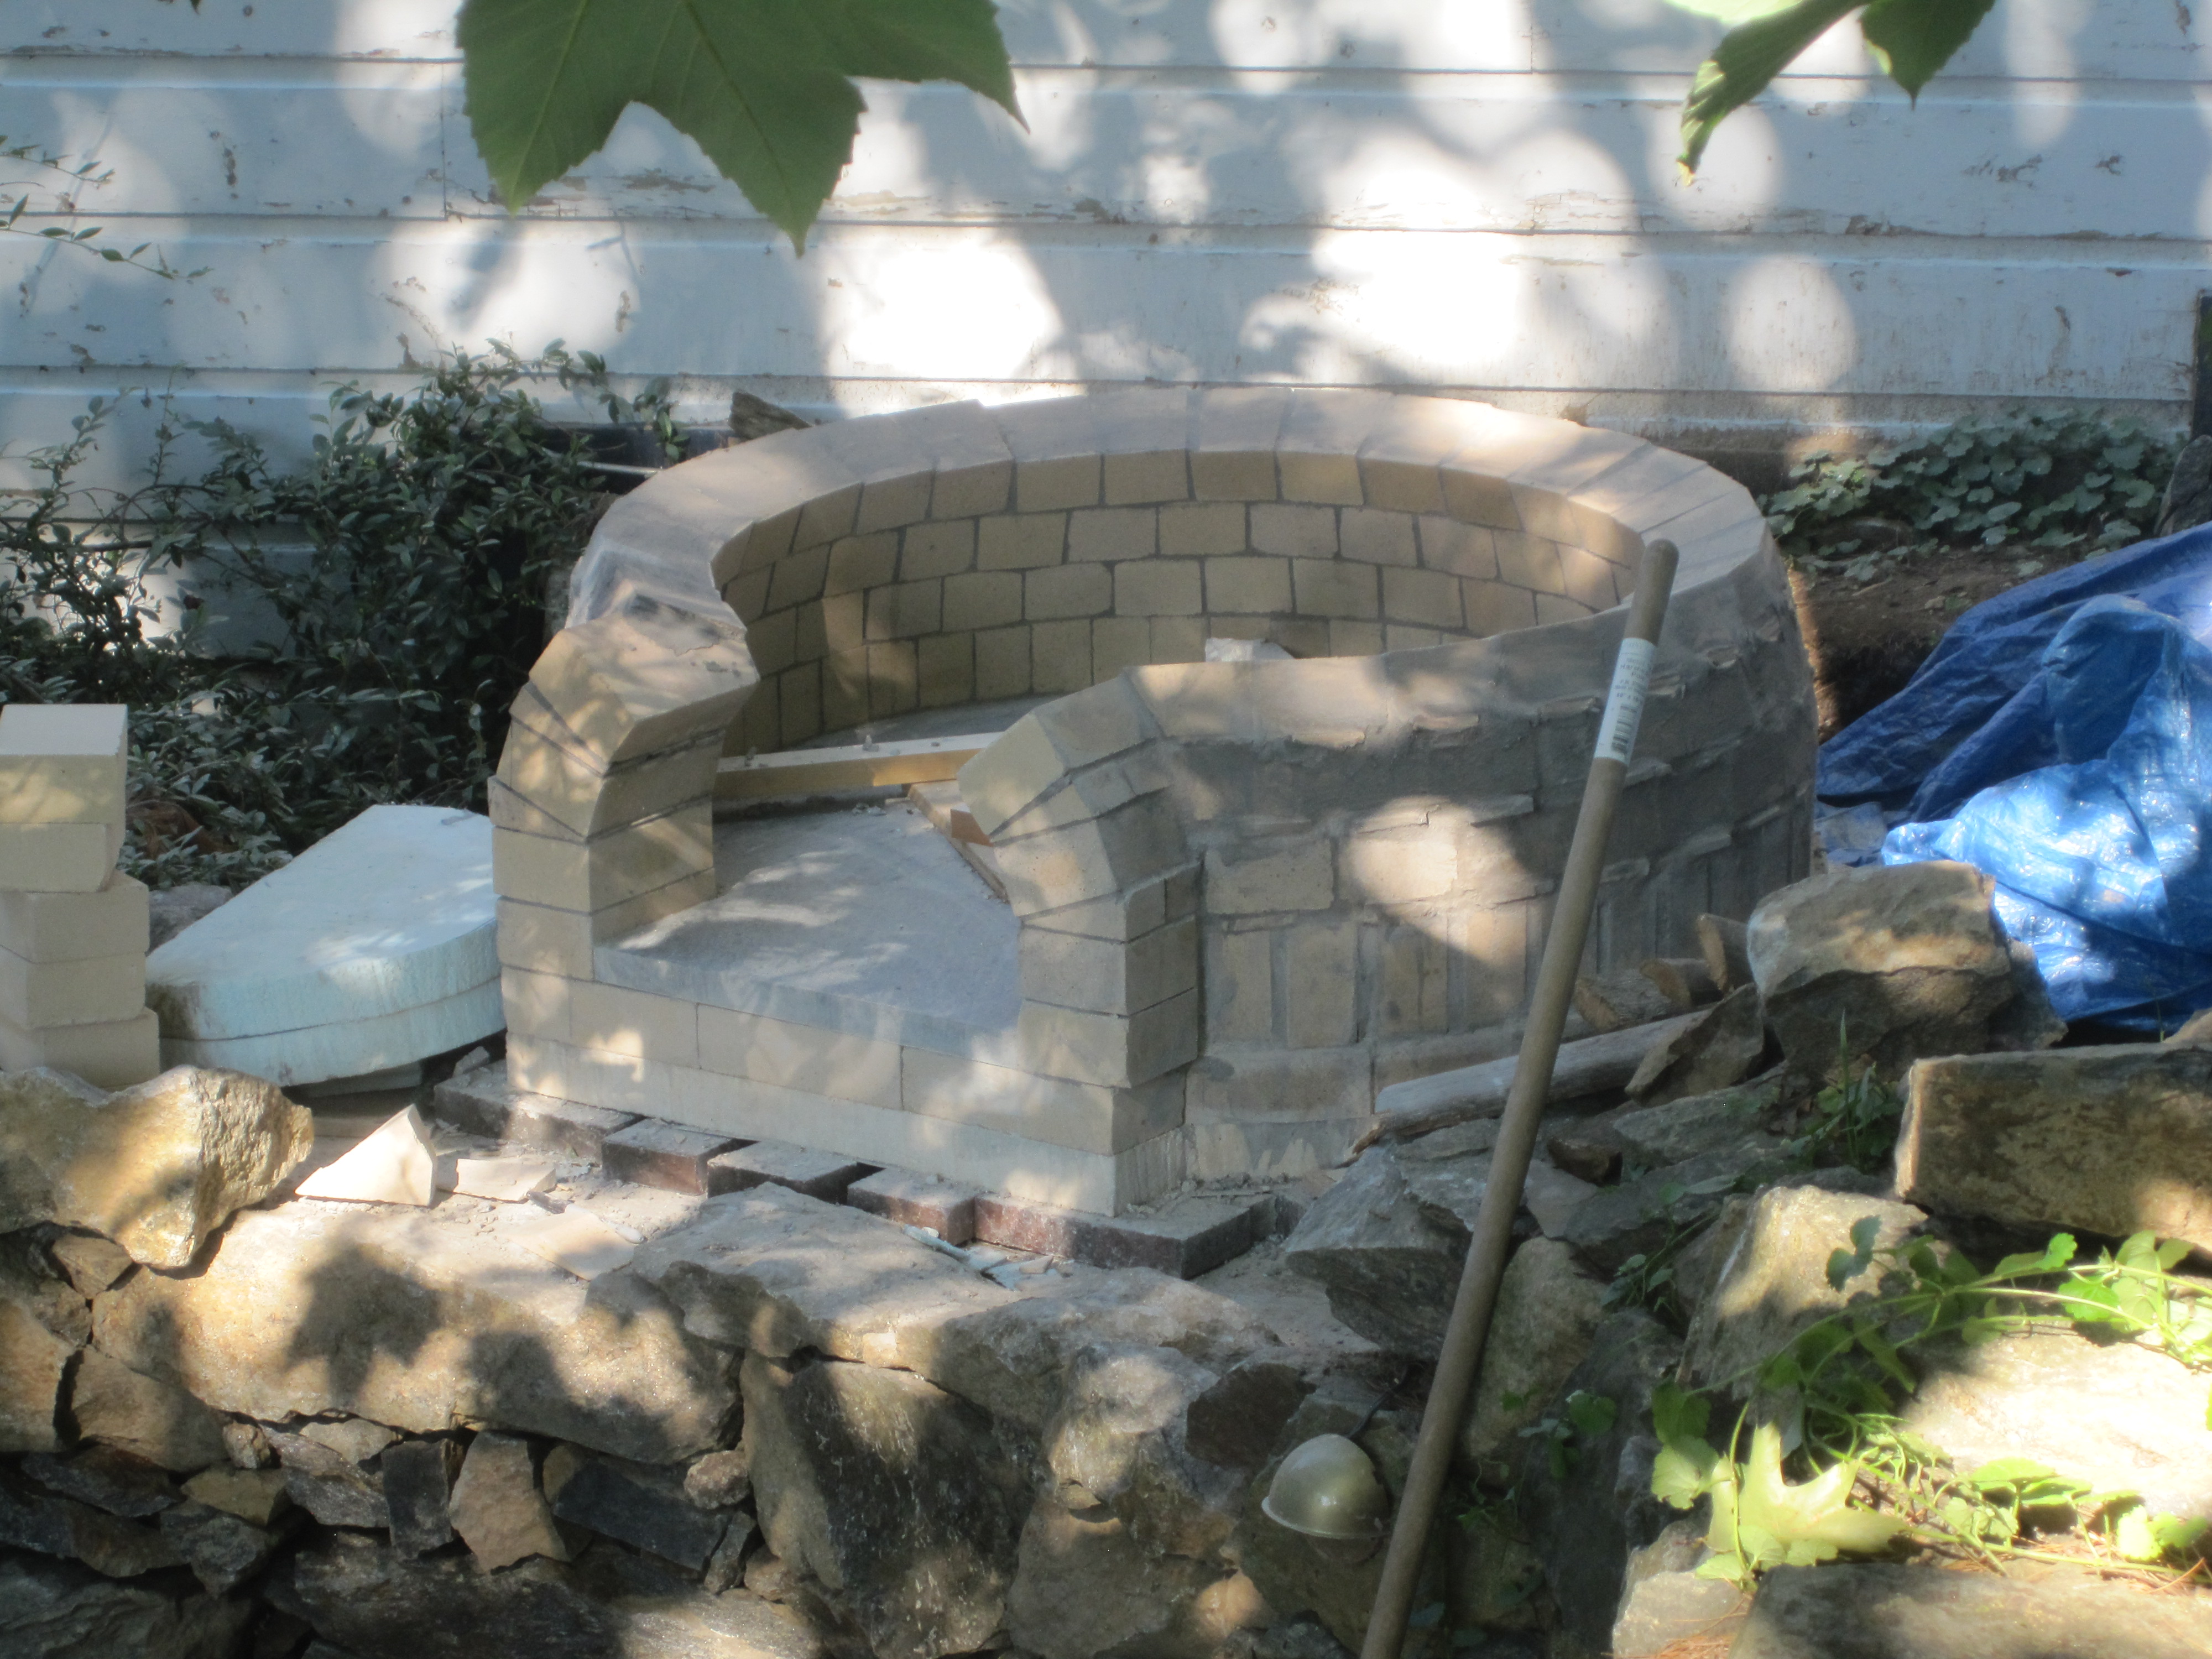
As the firebrick dome takes shape, the IT gage precisely sets the circle and shows the angle of each brick, so
no math is involved.
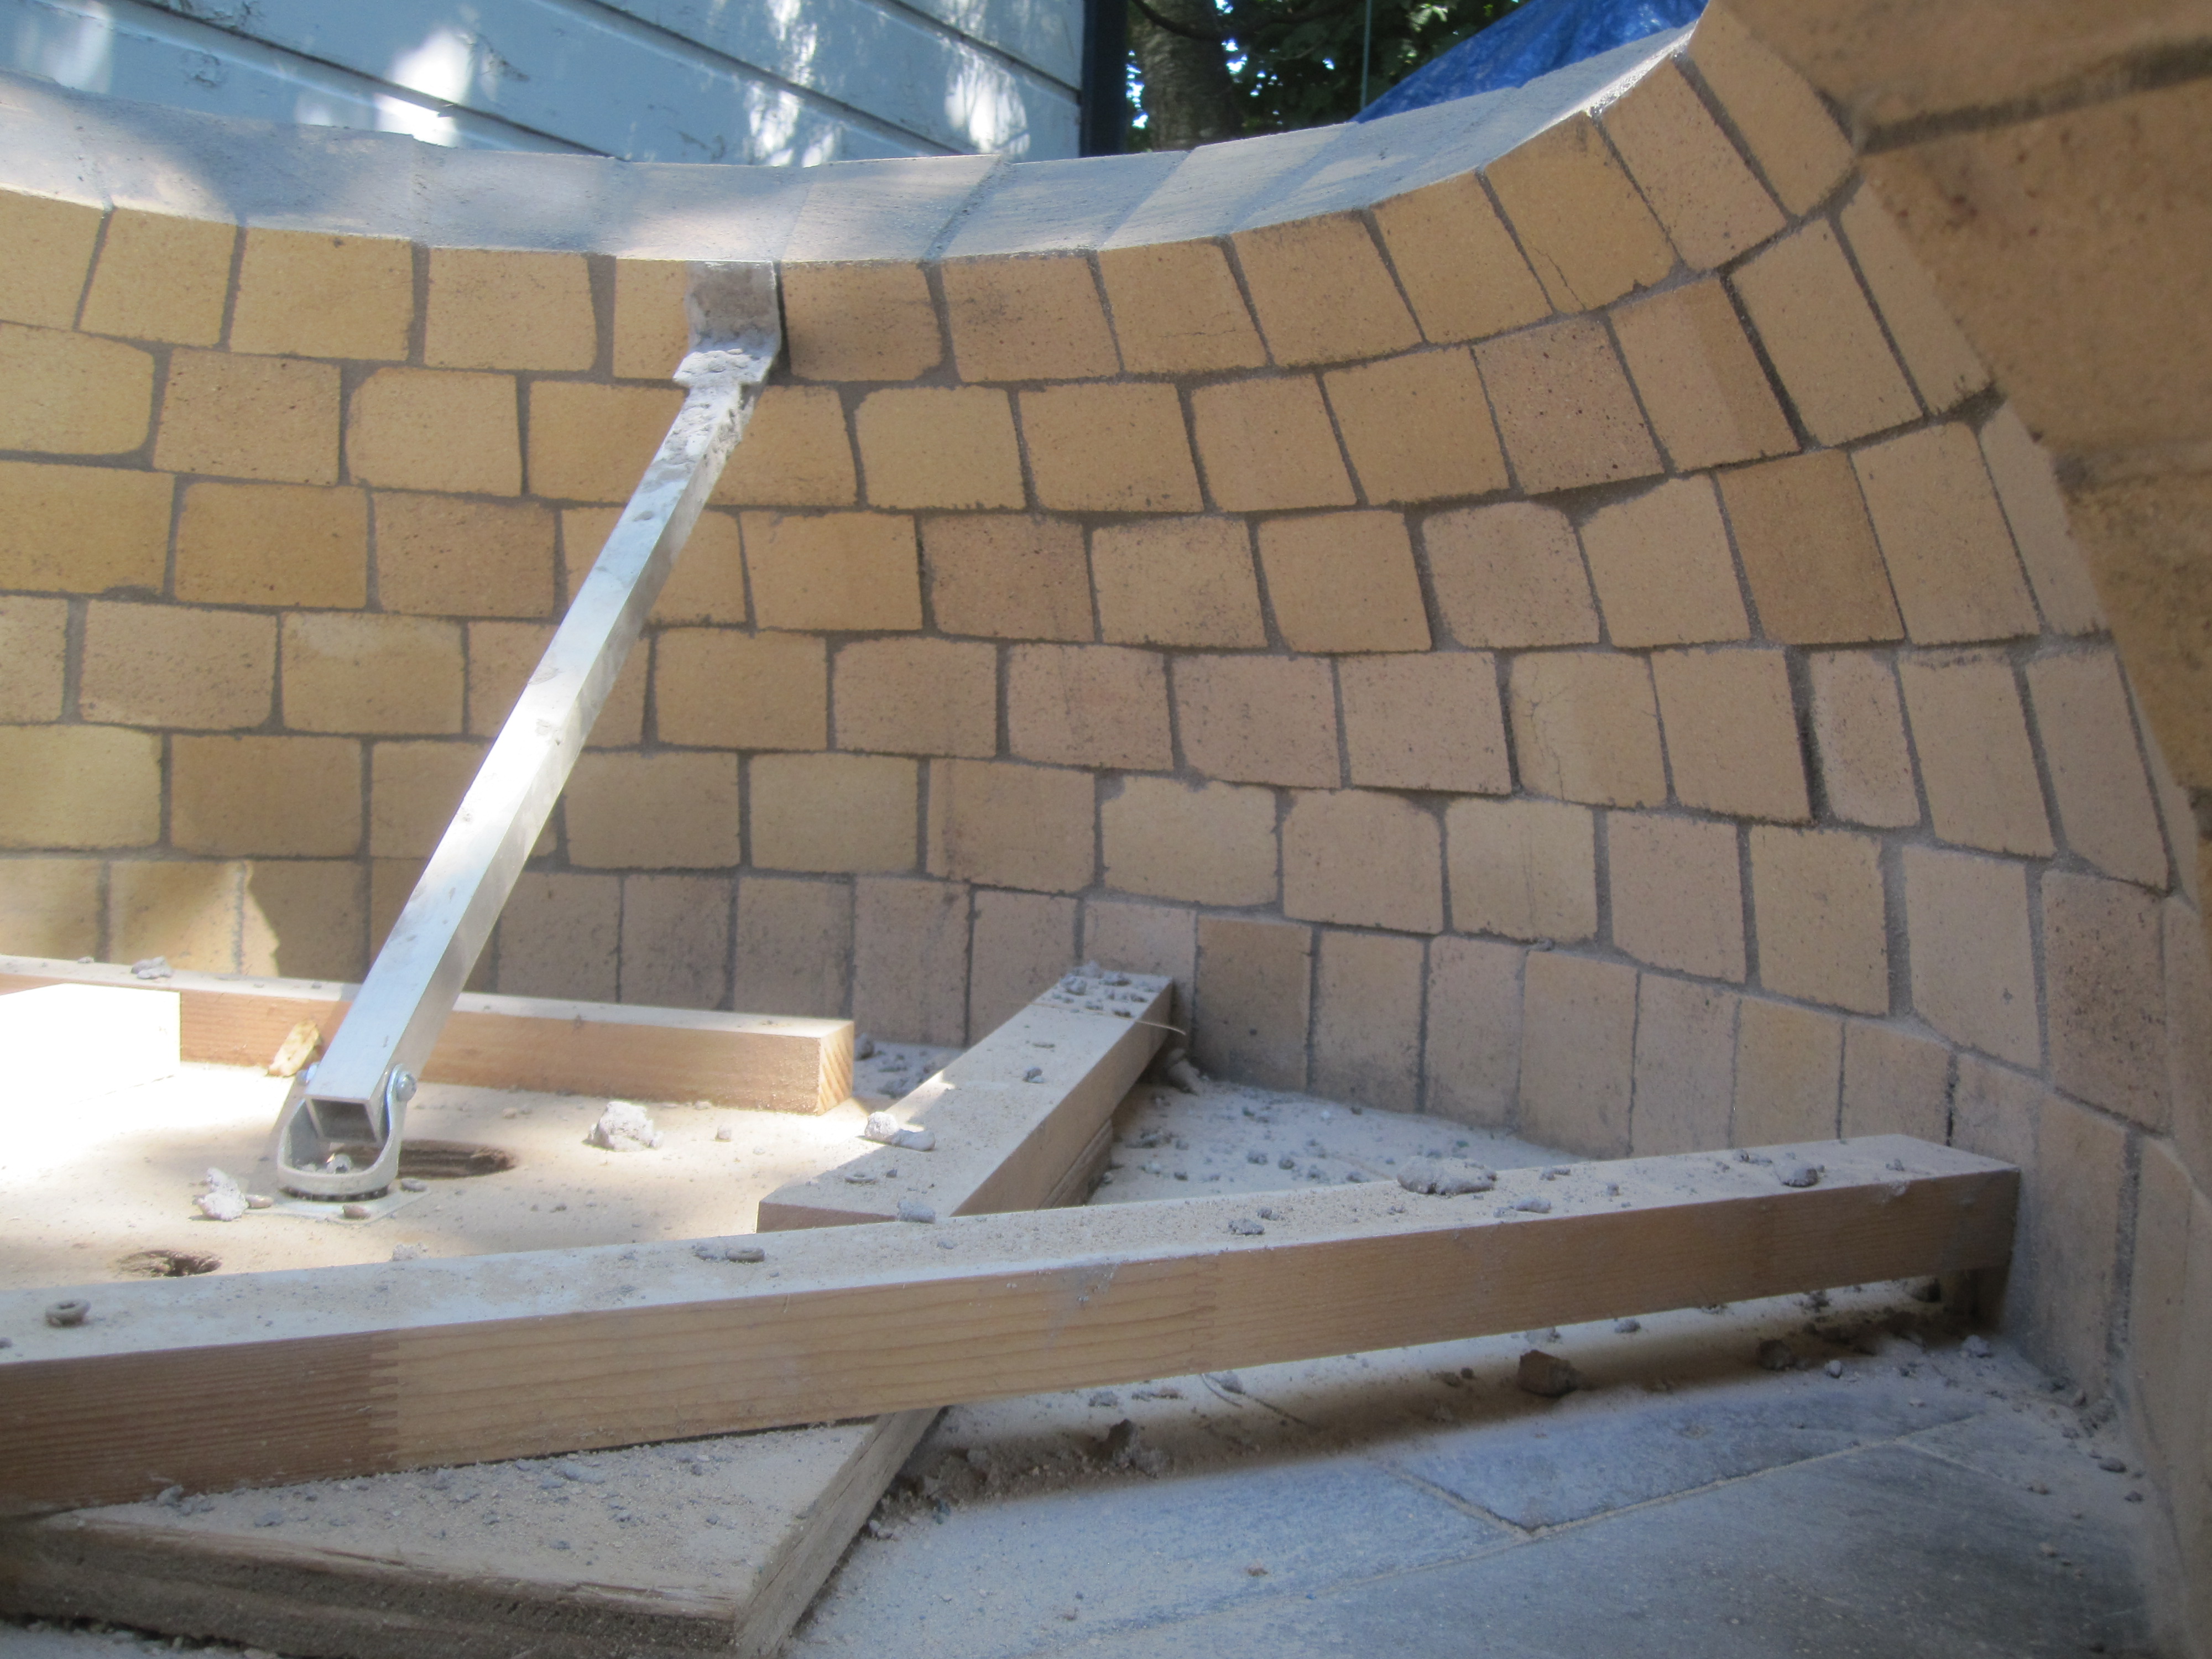
The legs lock it into place so the pivot-point remains fixed.
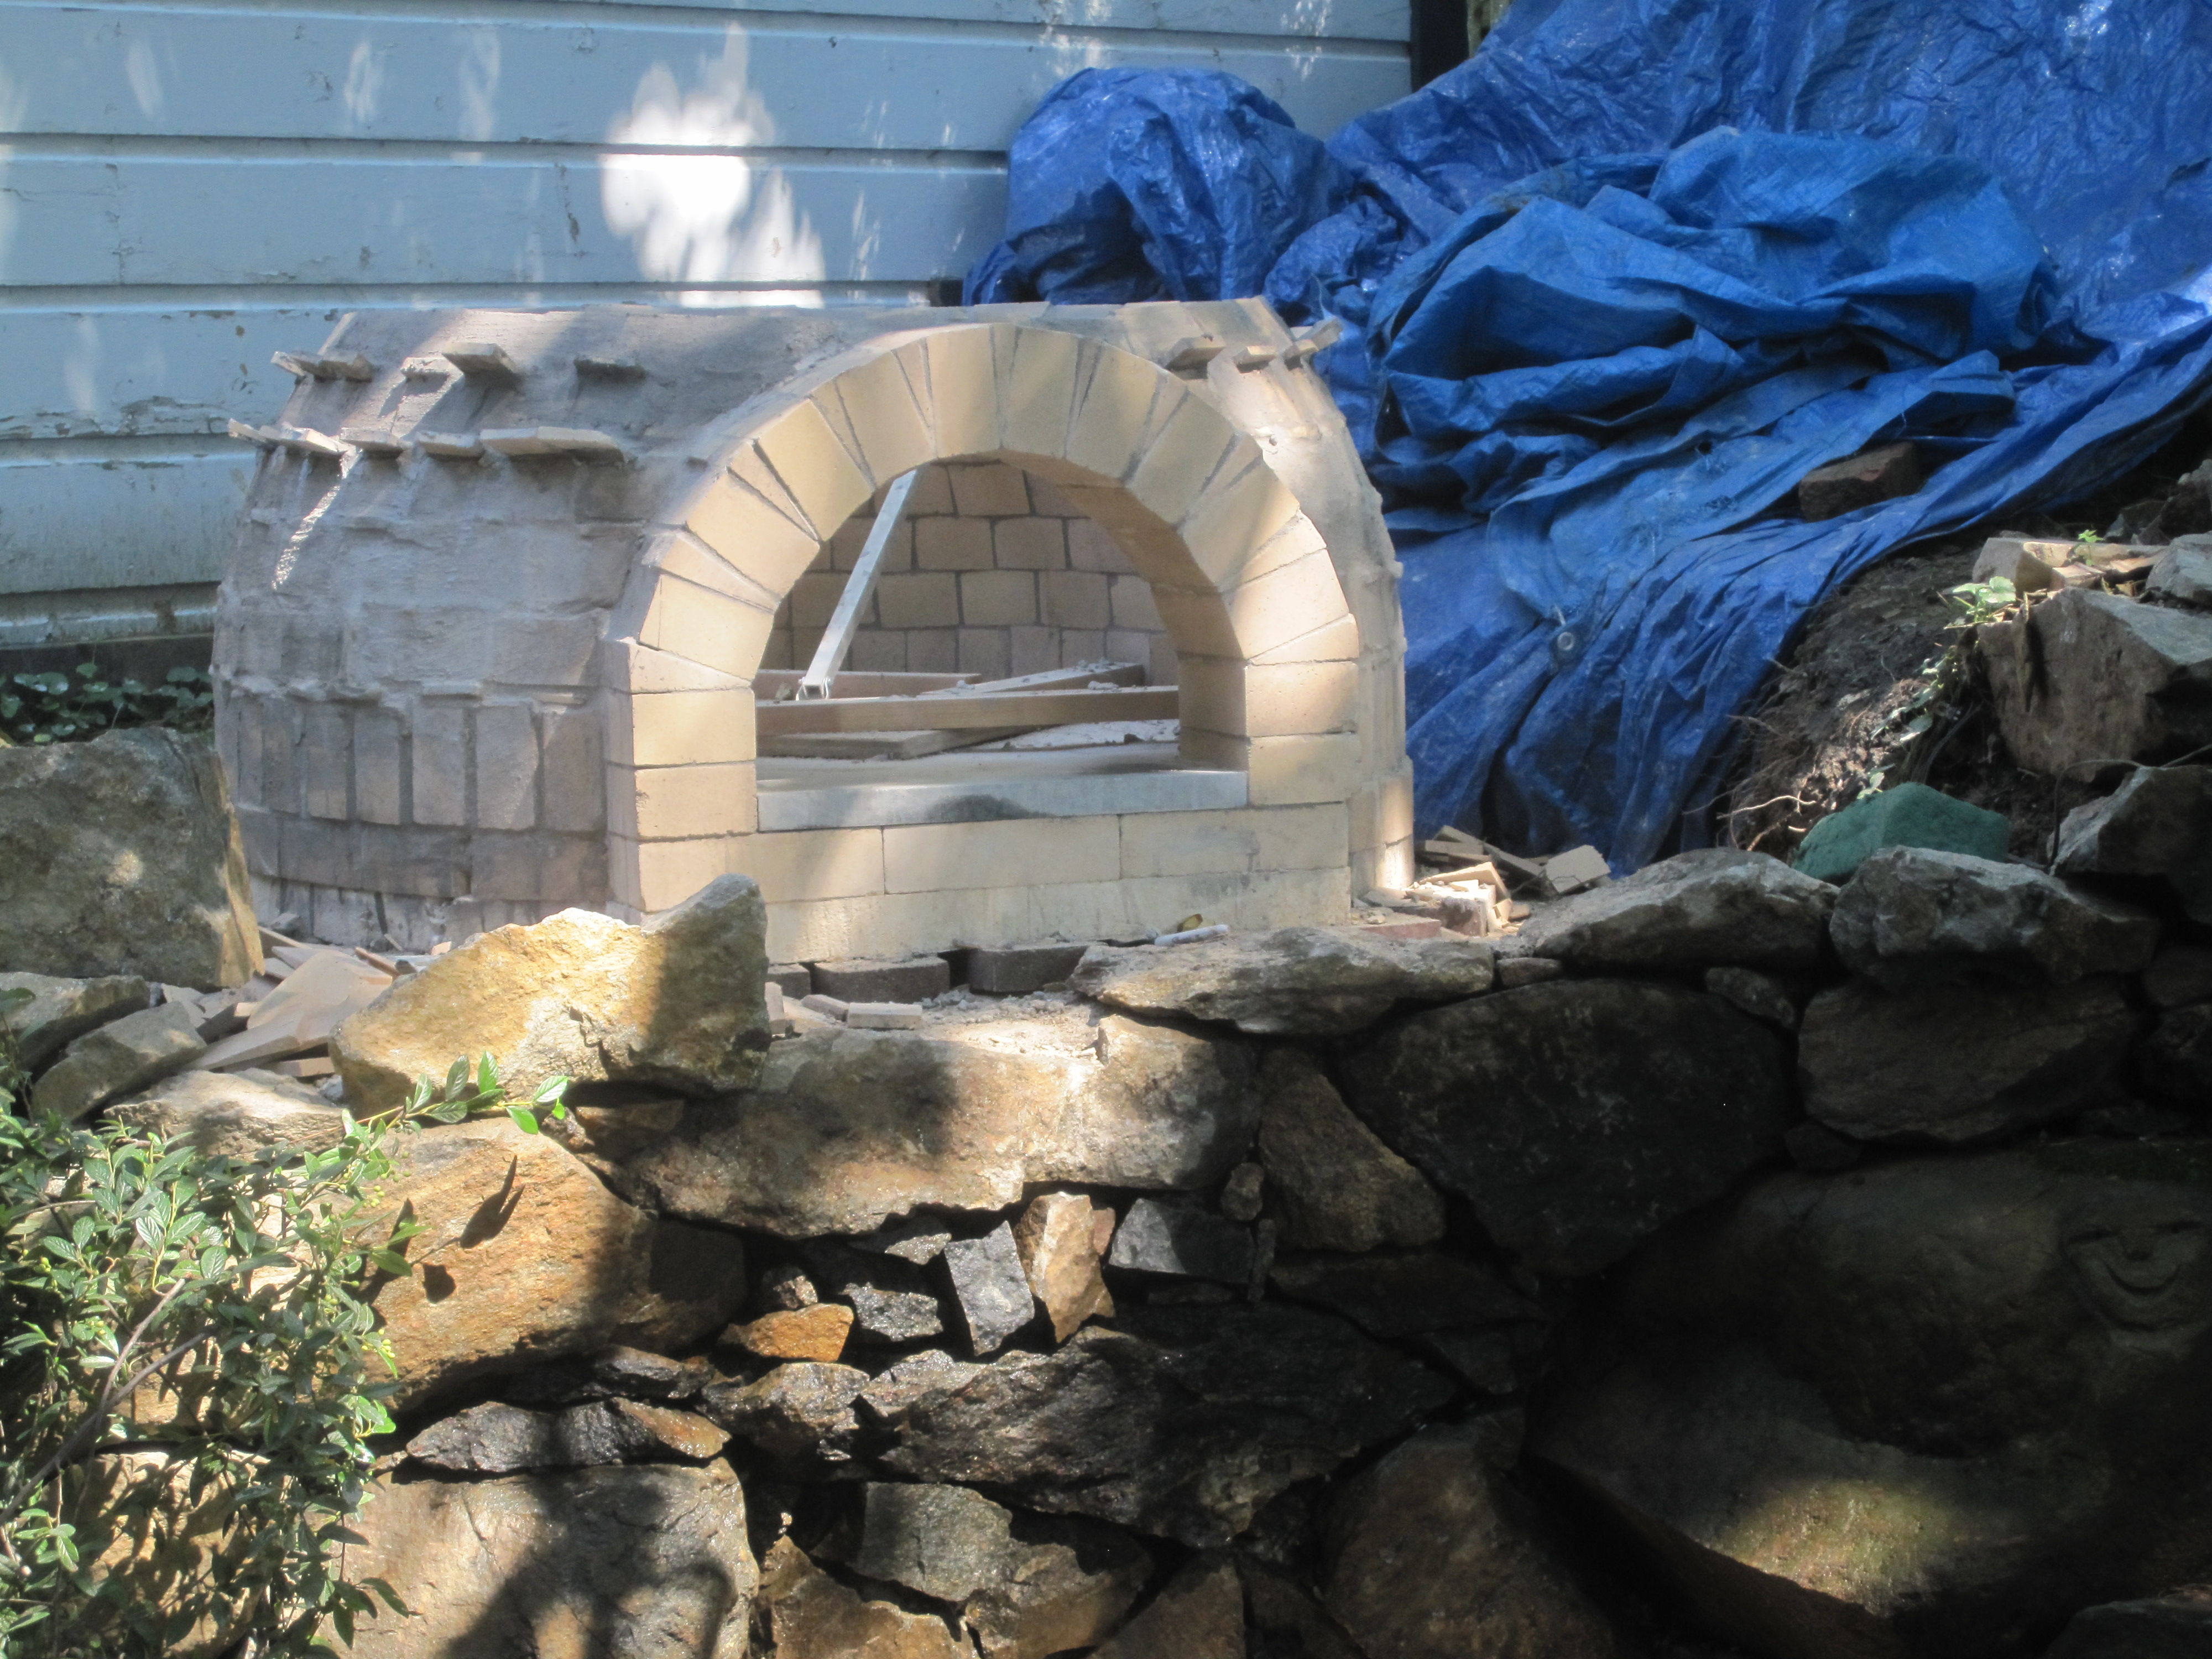
And the dome keeps rising!
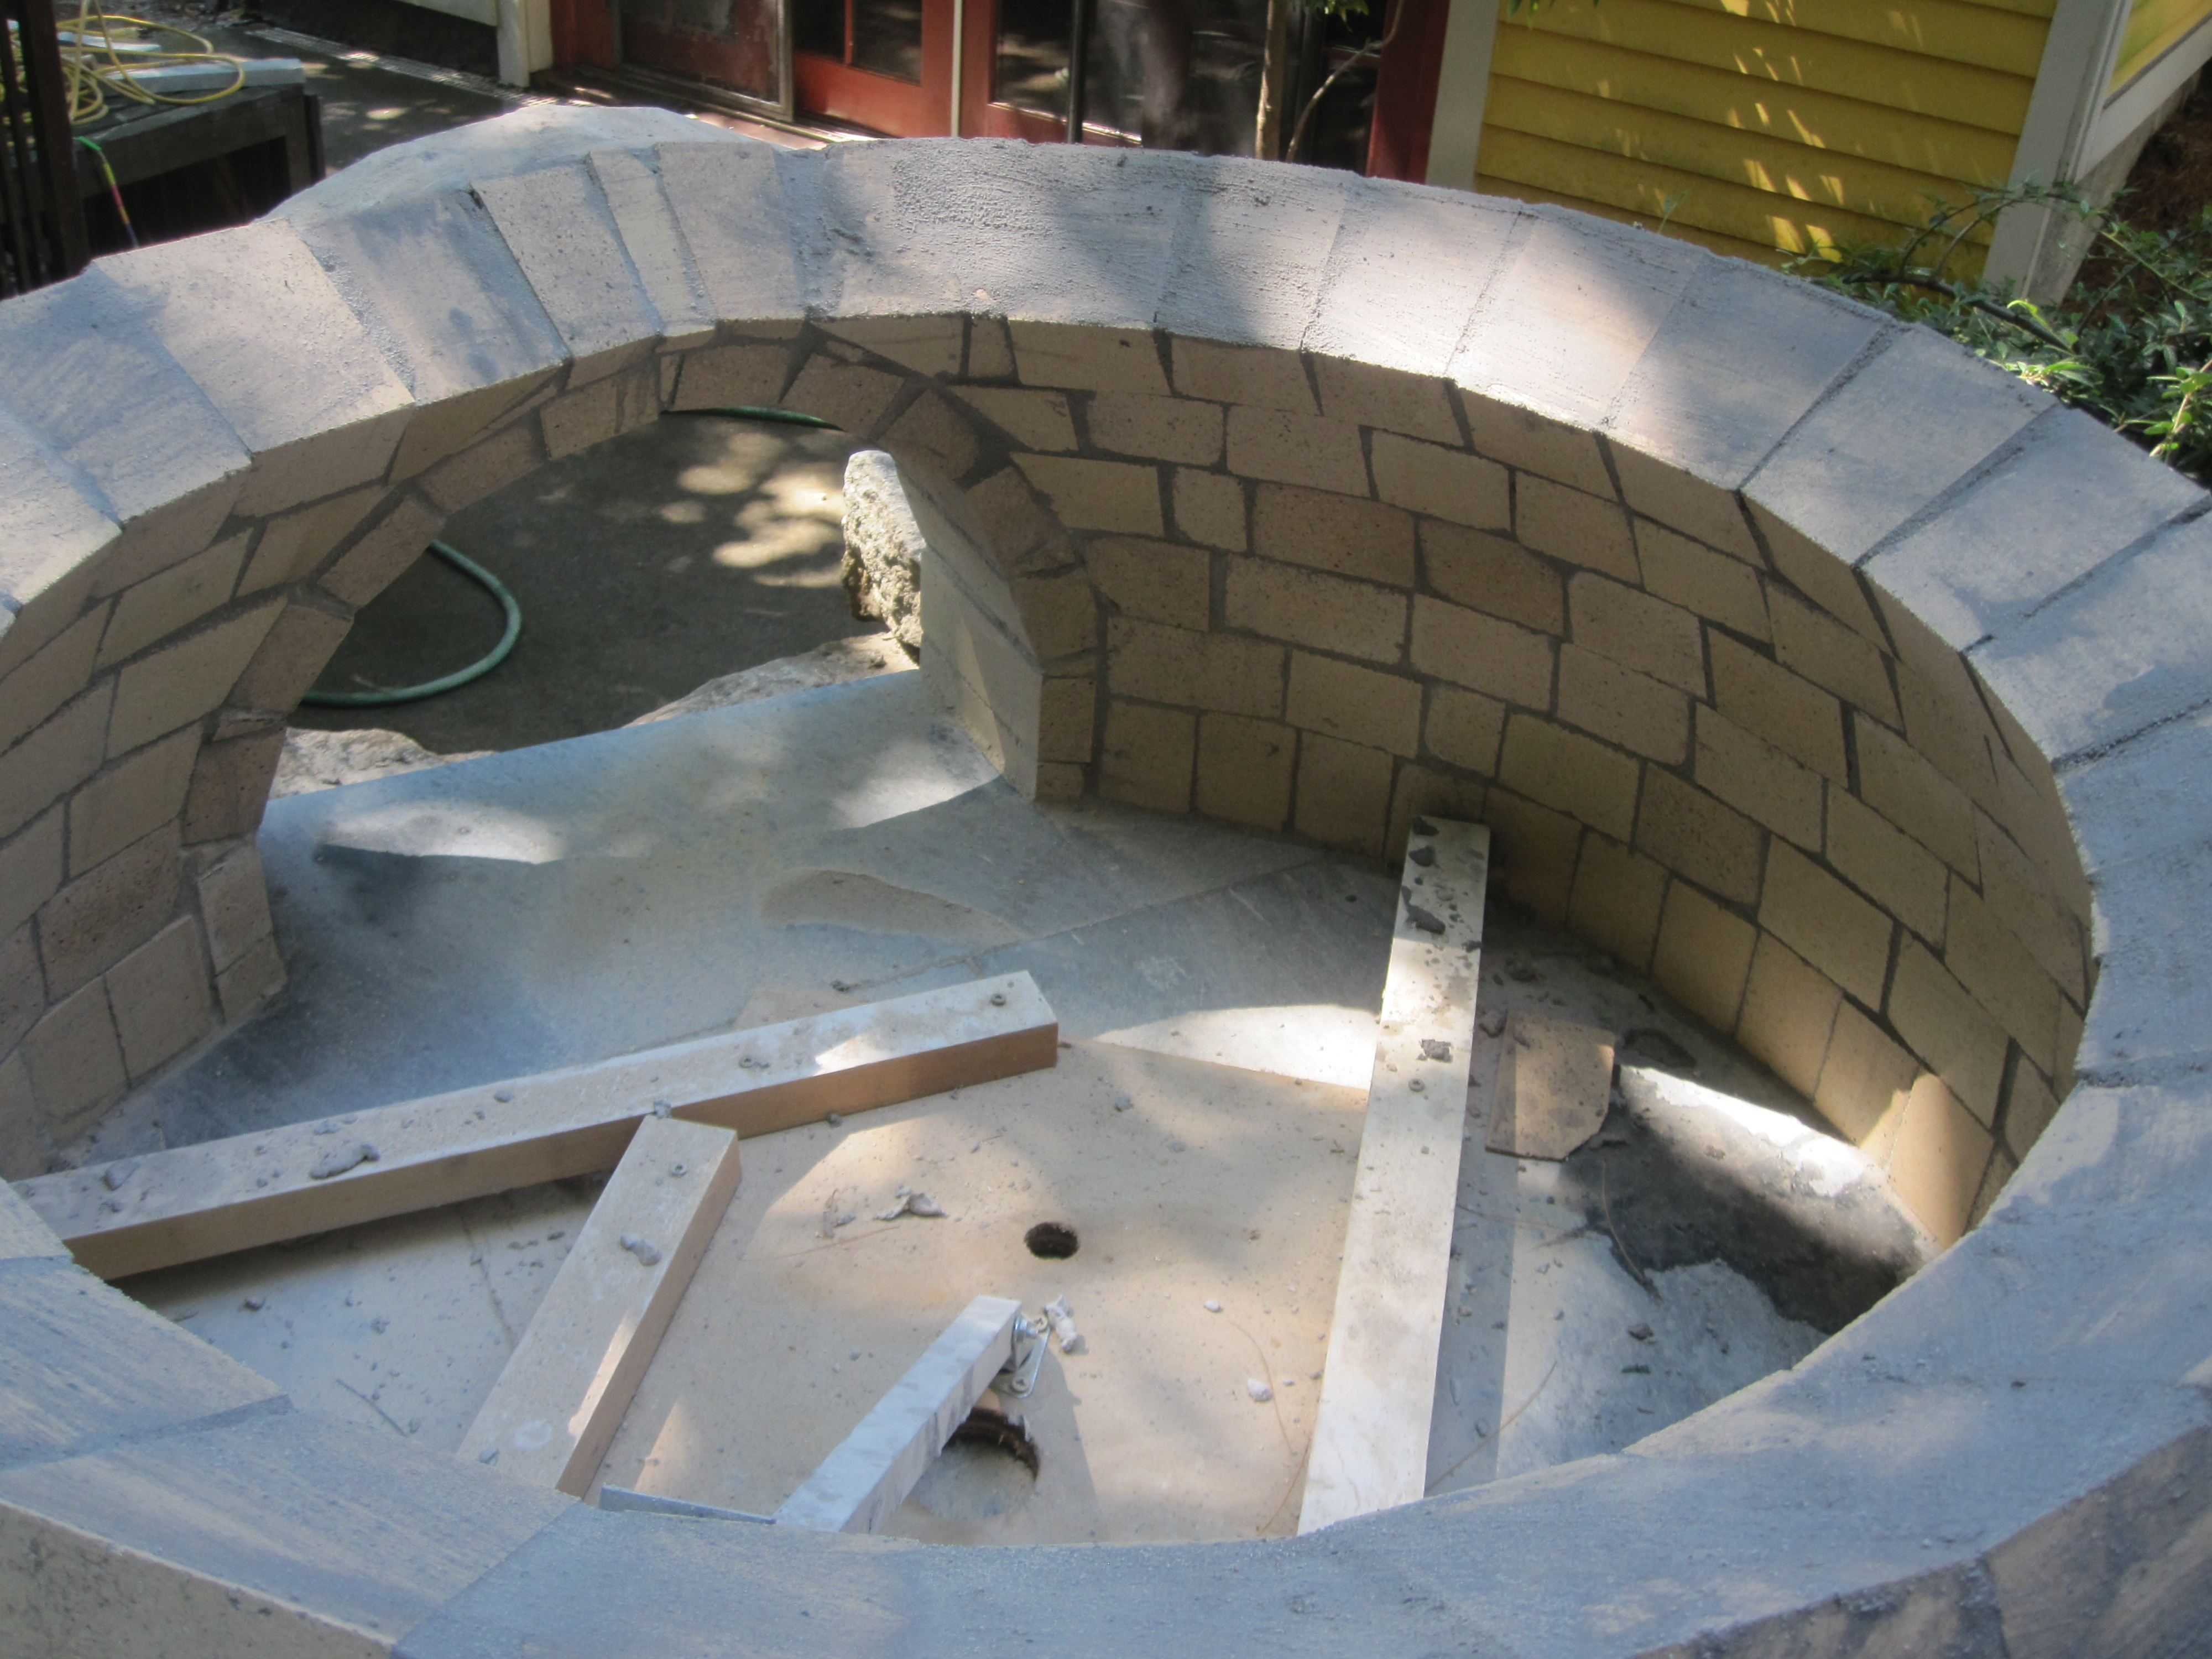
The transition between the dome and the door arch was particularly tricky.
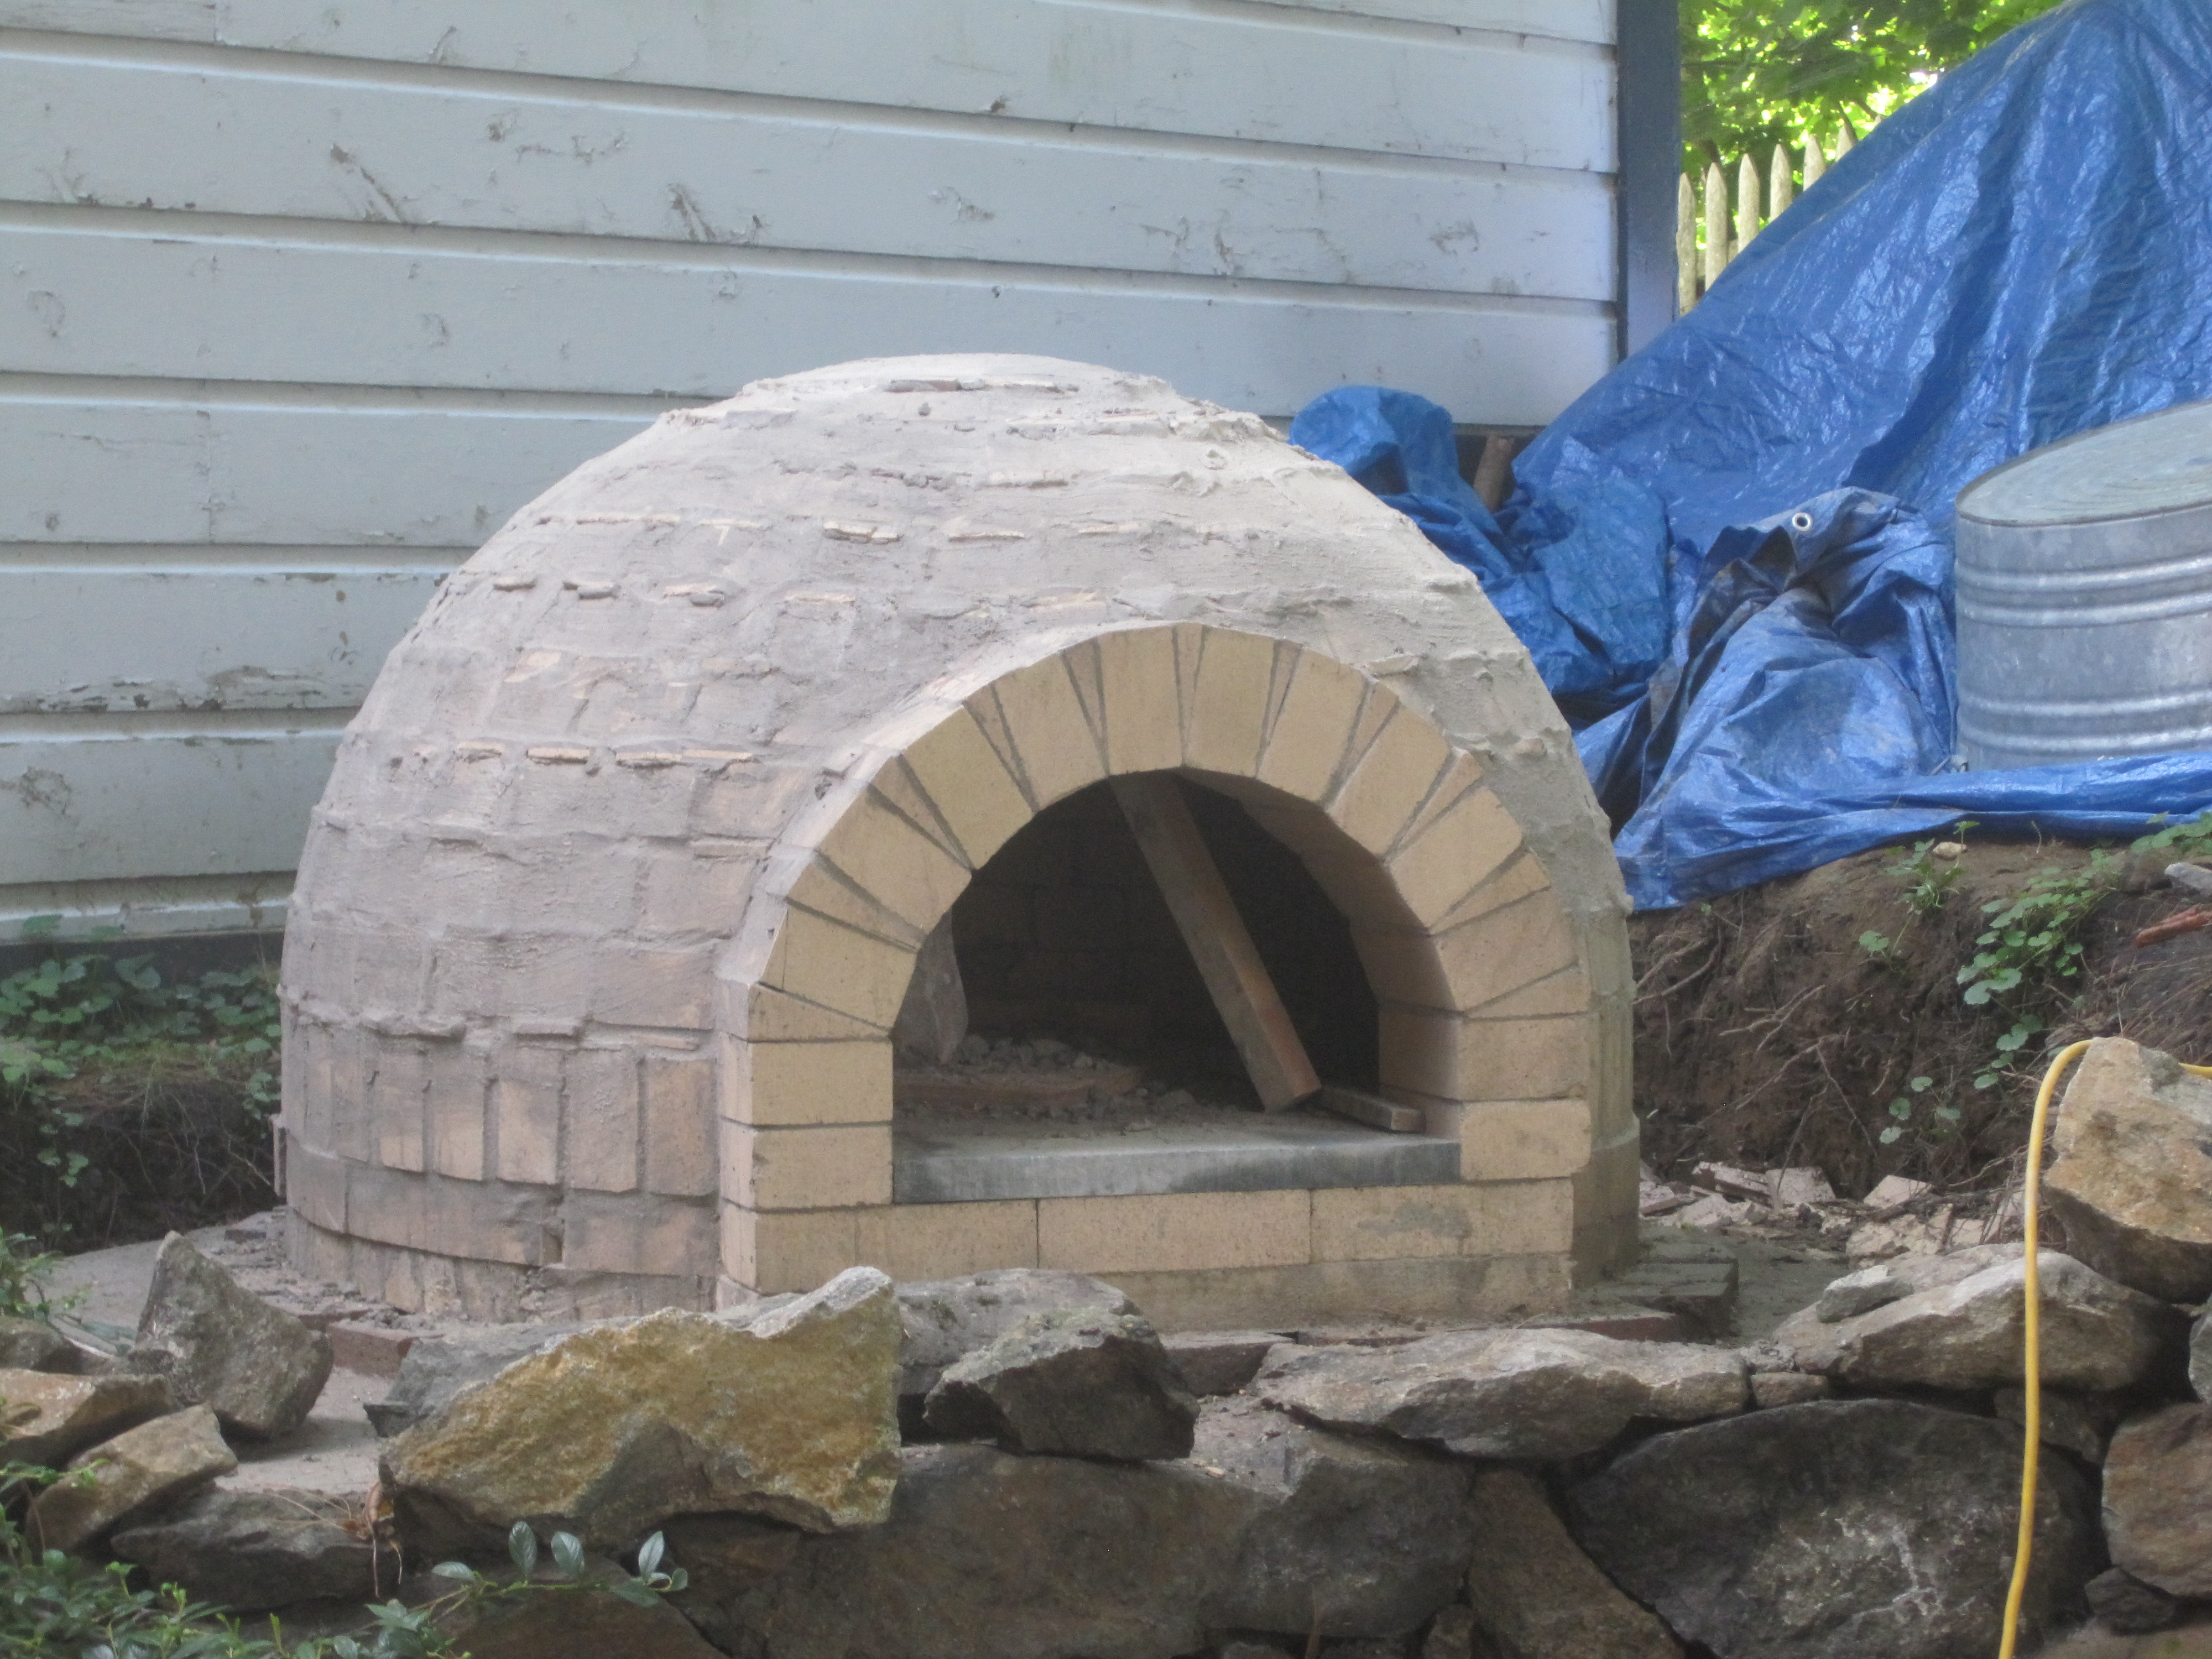
And the dome is done!
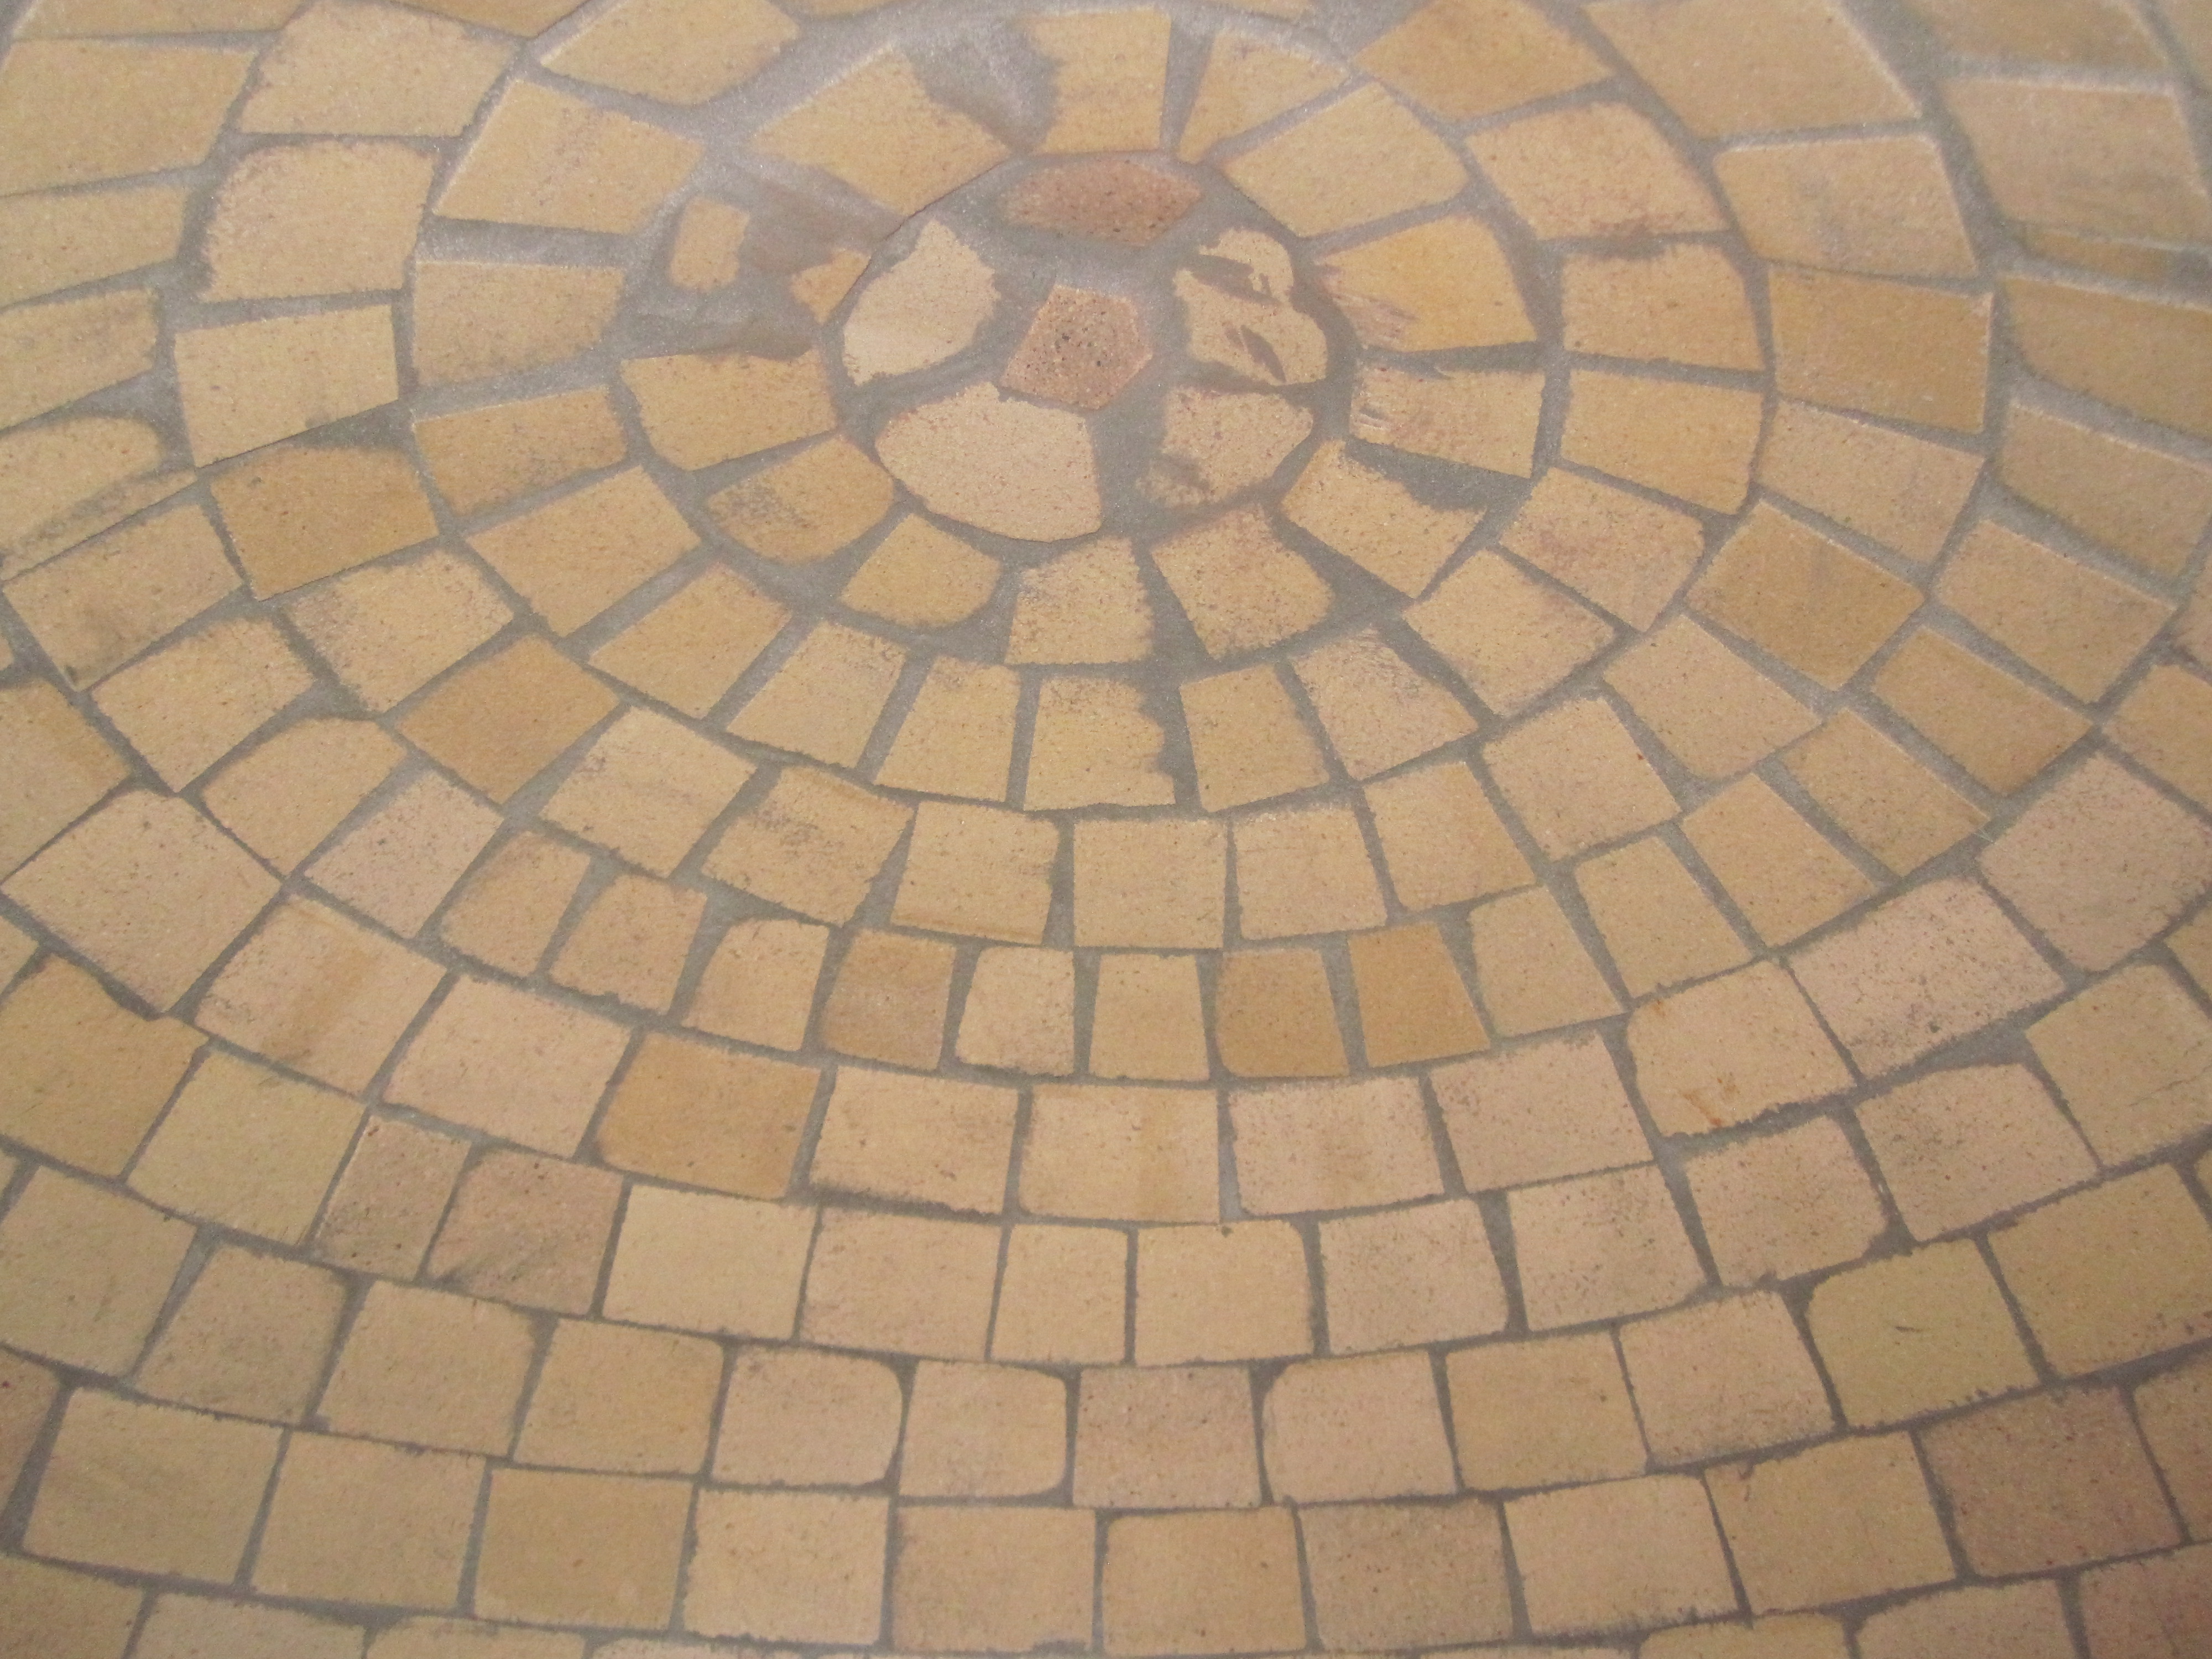
Views from the inside. Top of dome.
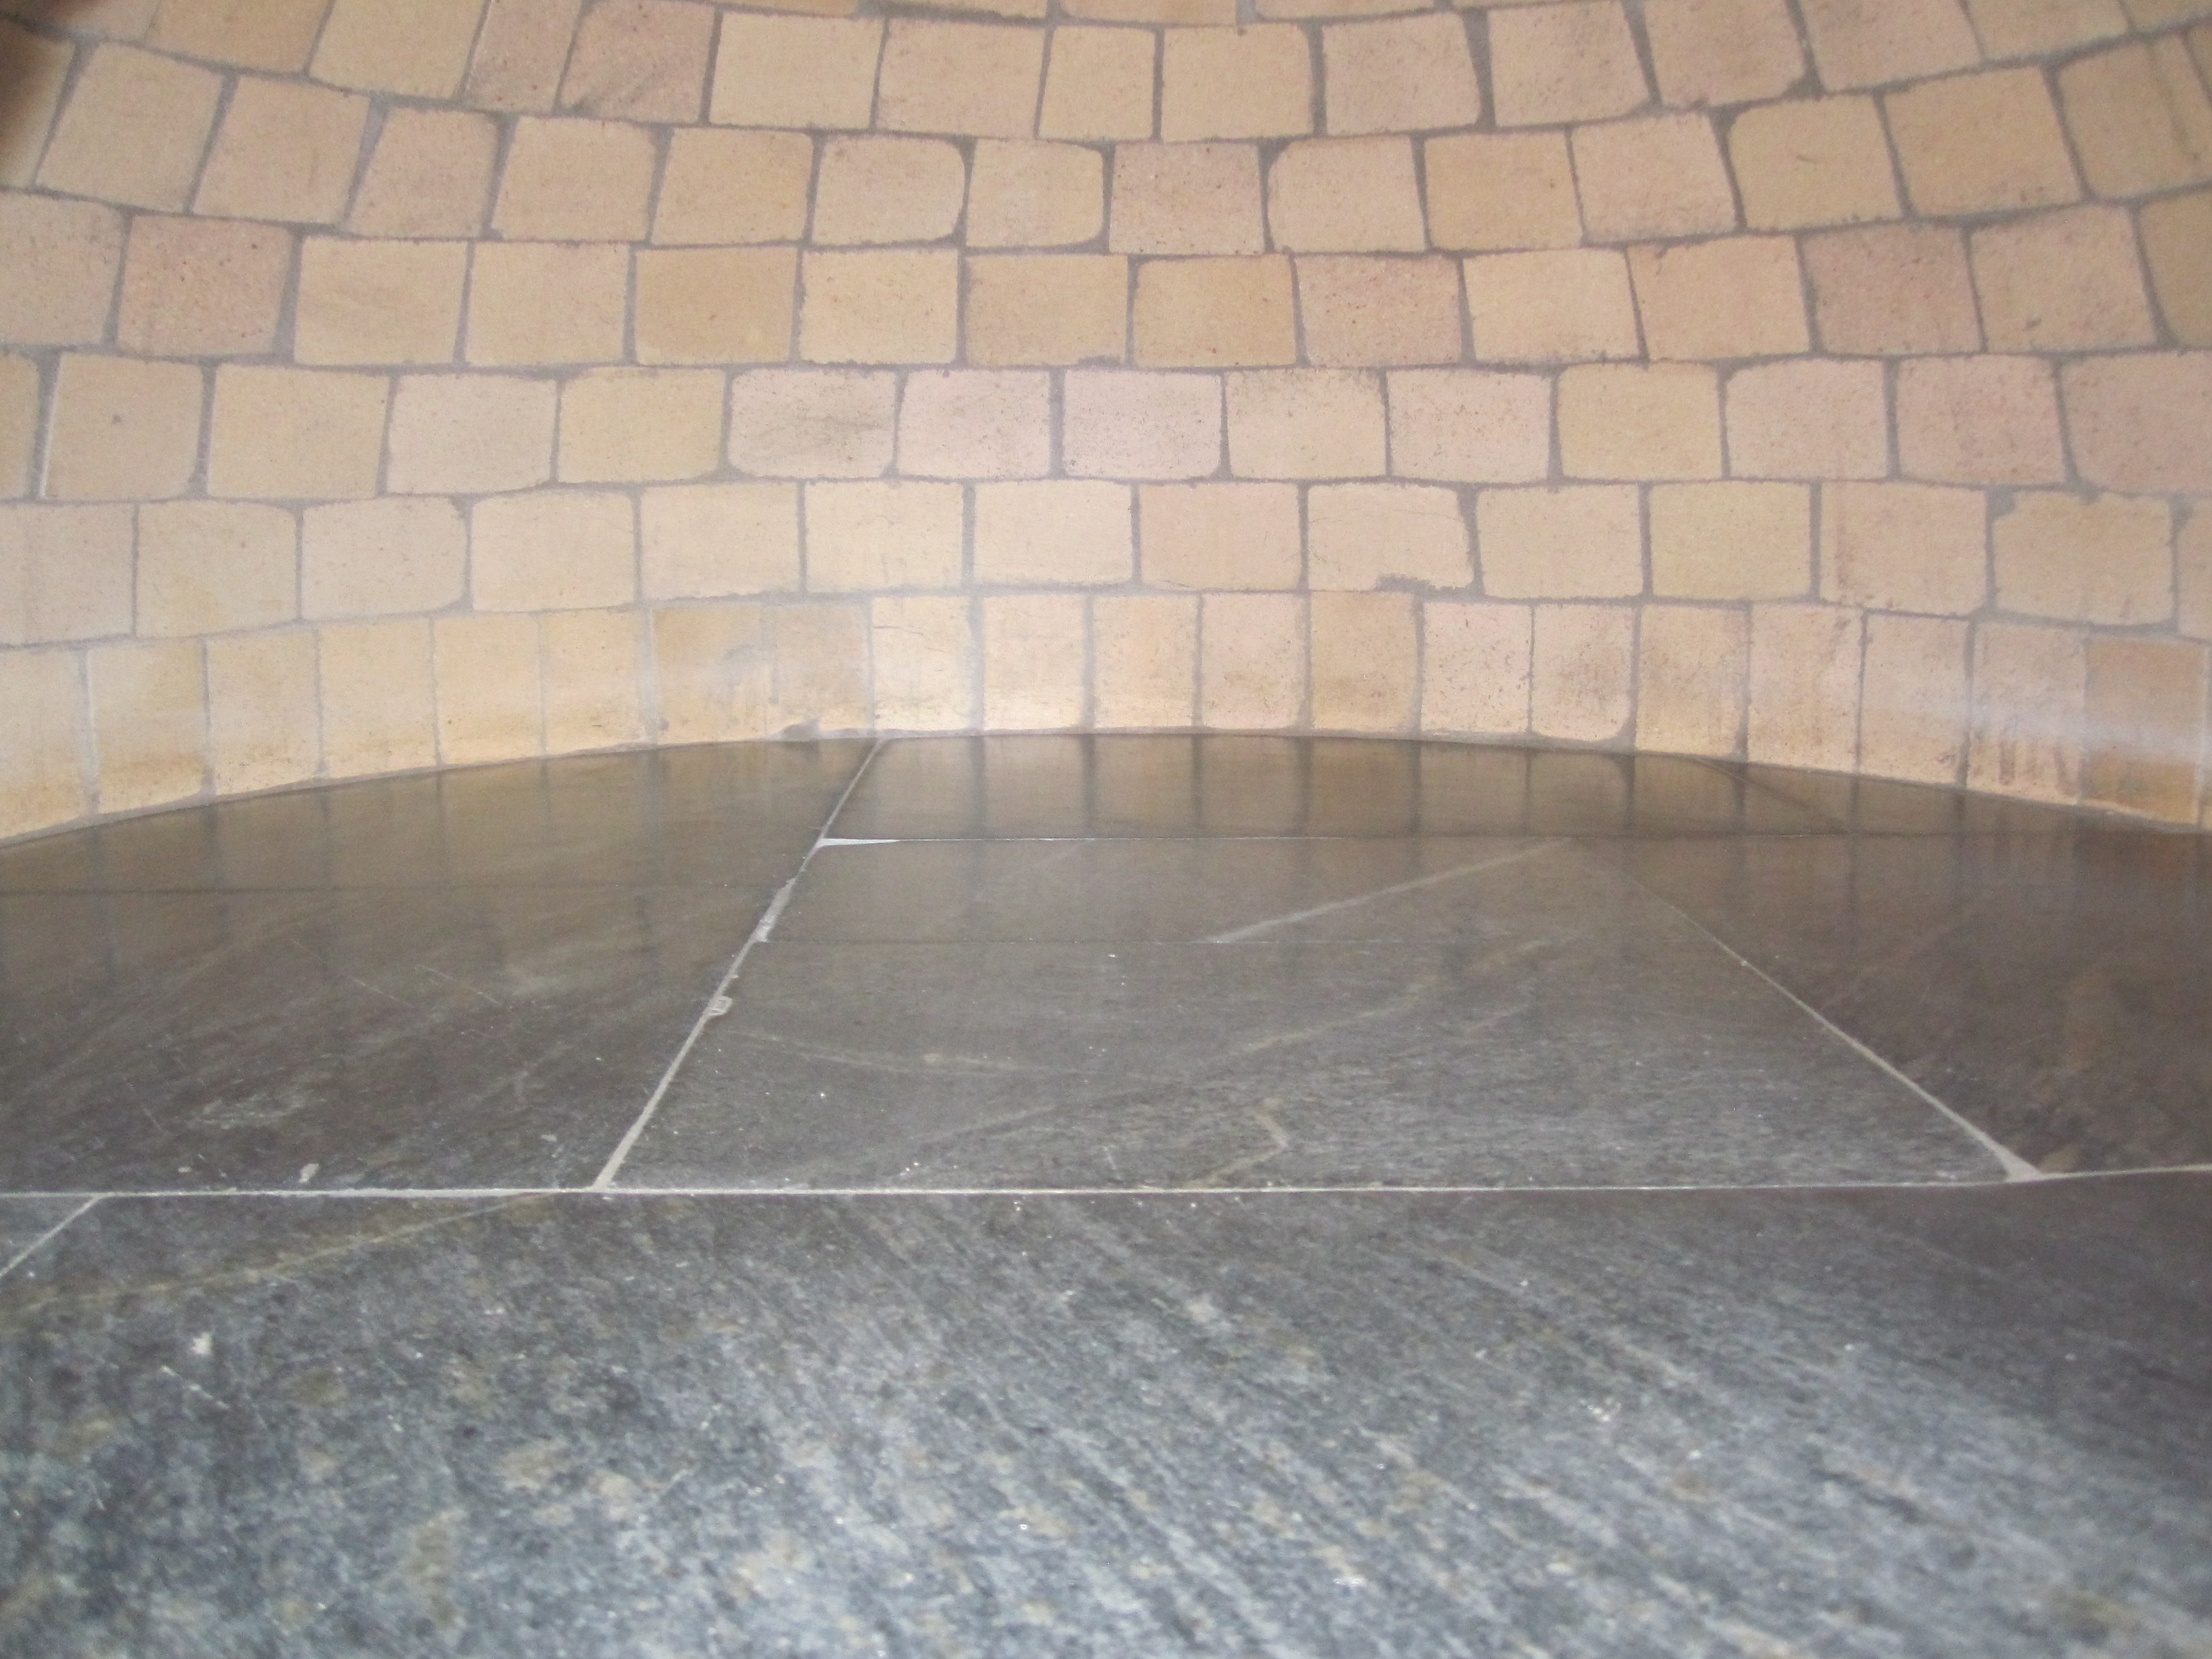
Oven floor.
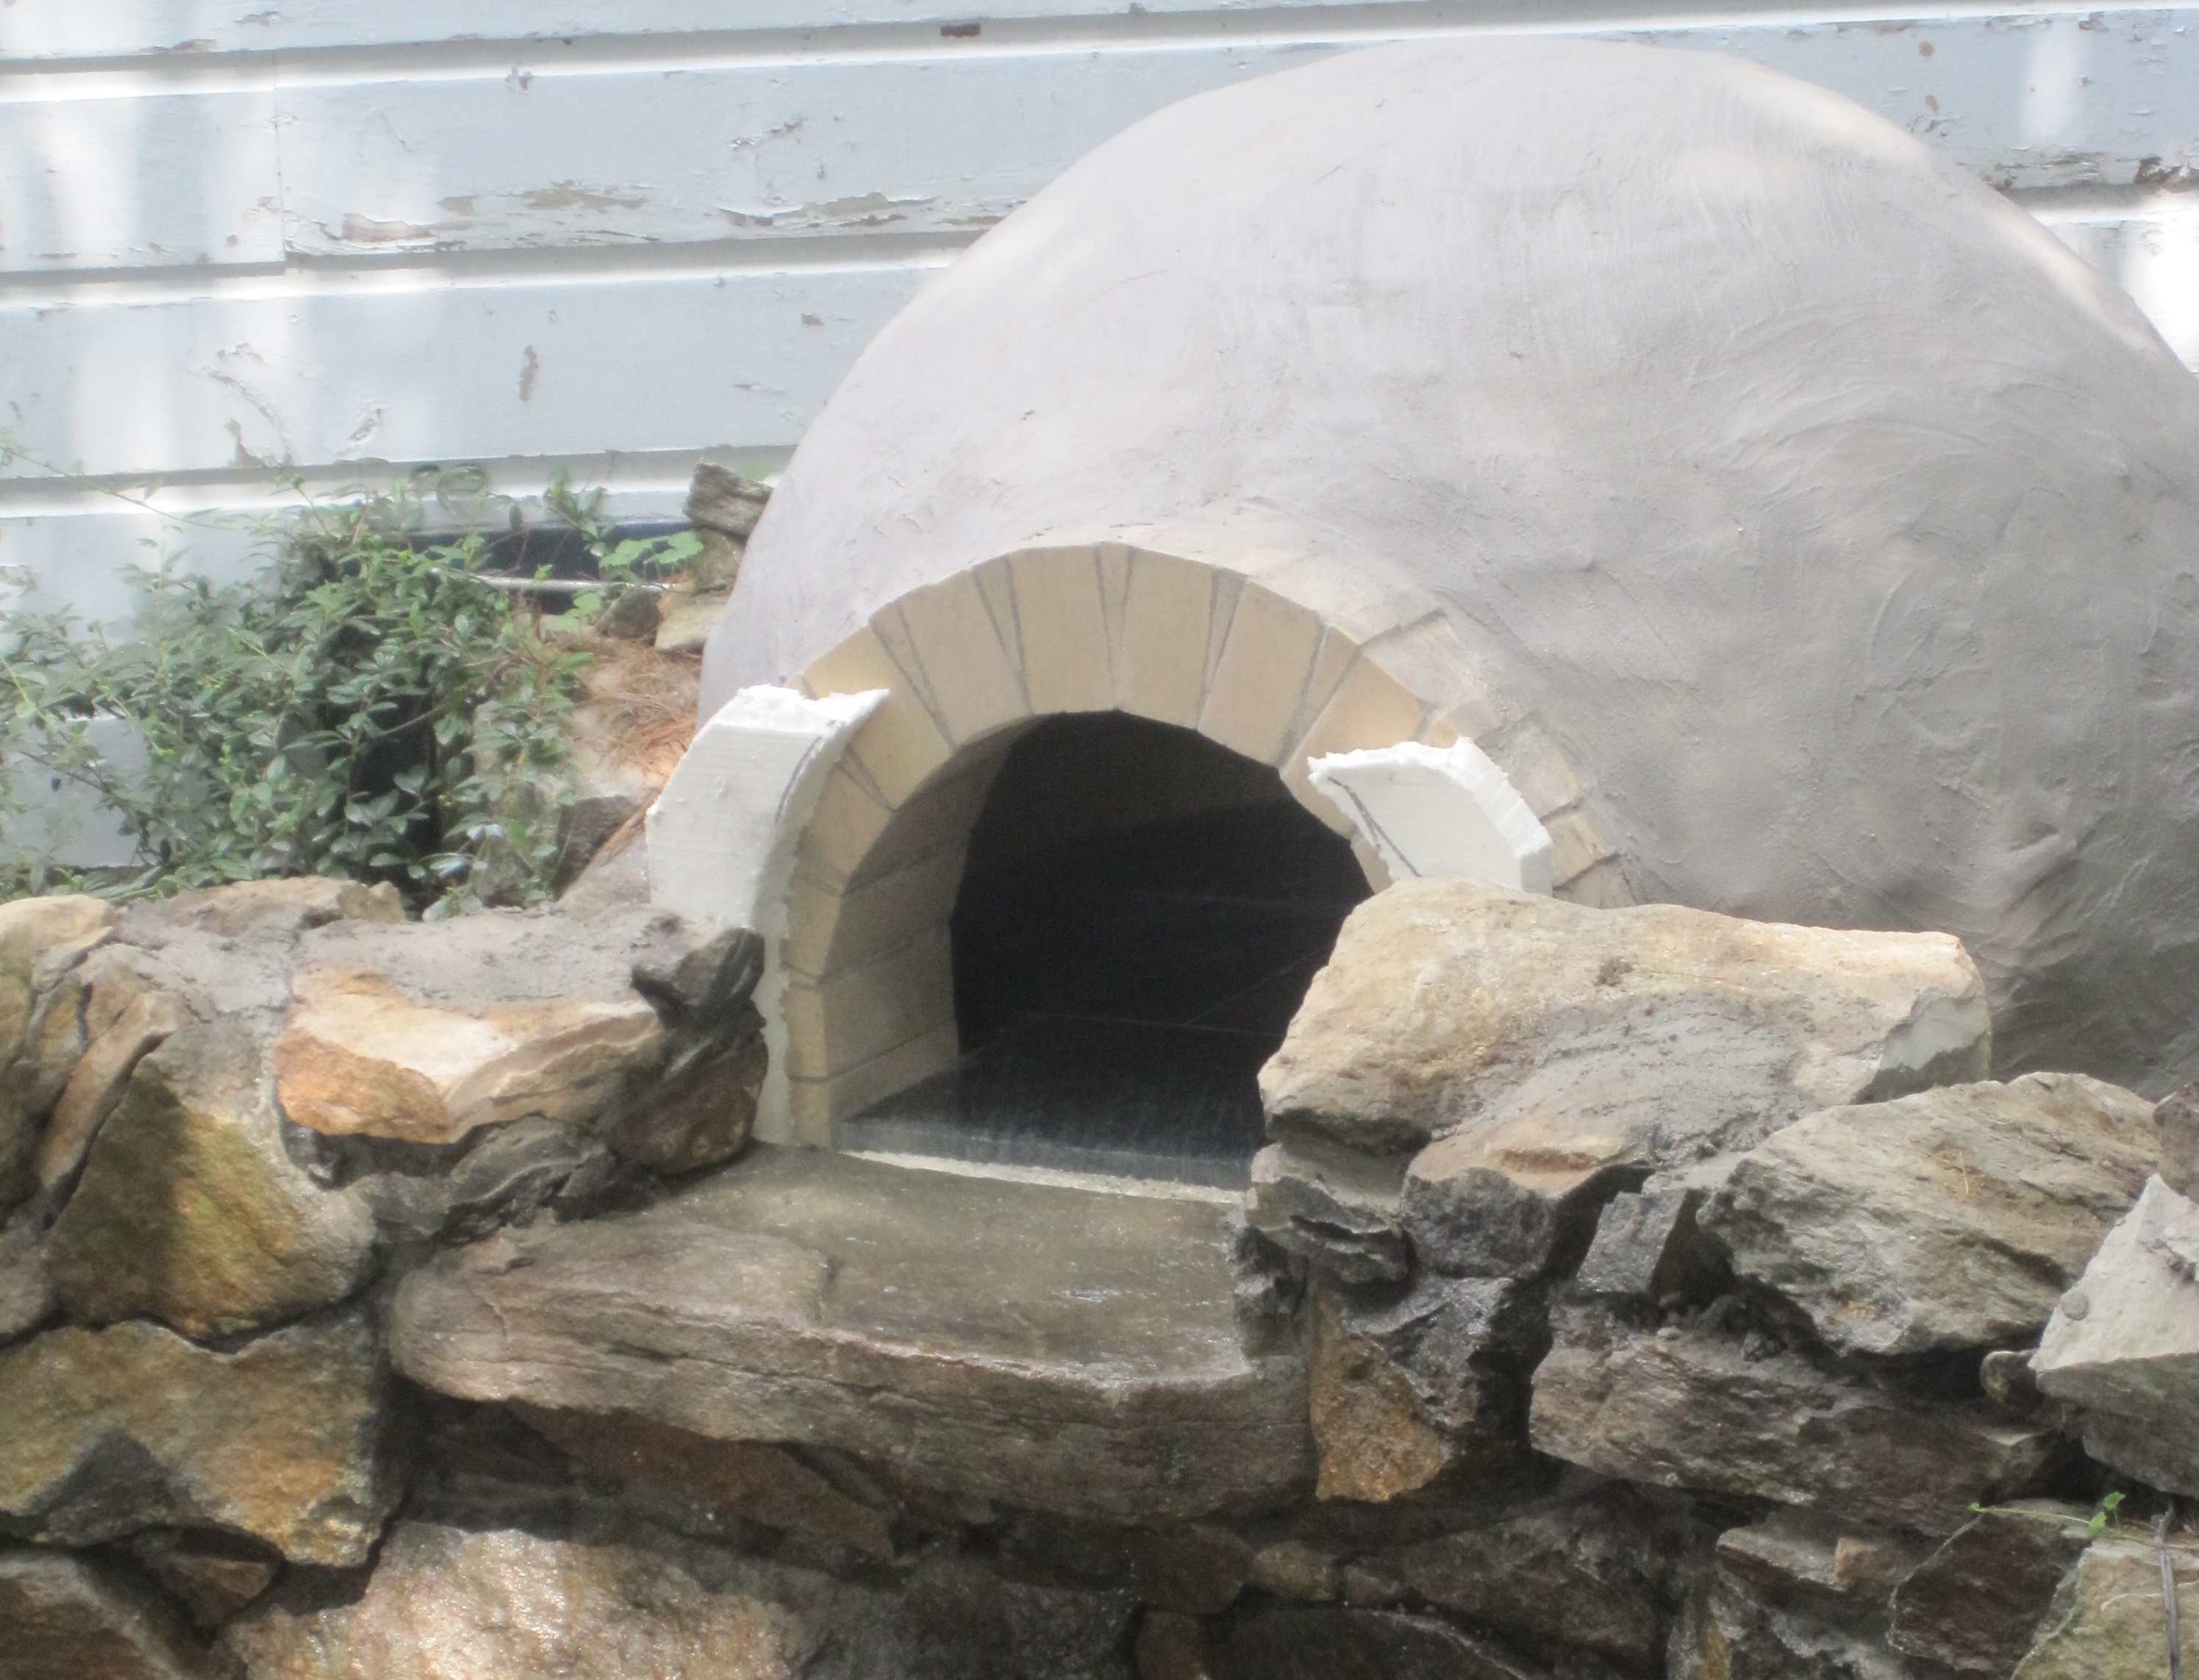
With the oven dome complete, work begins on outside of the oven.
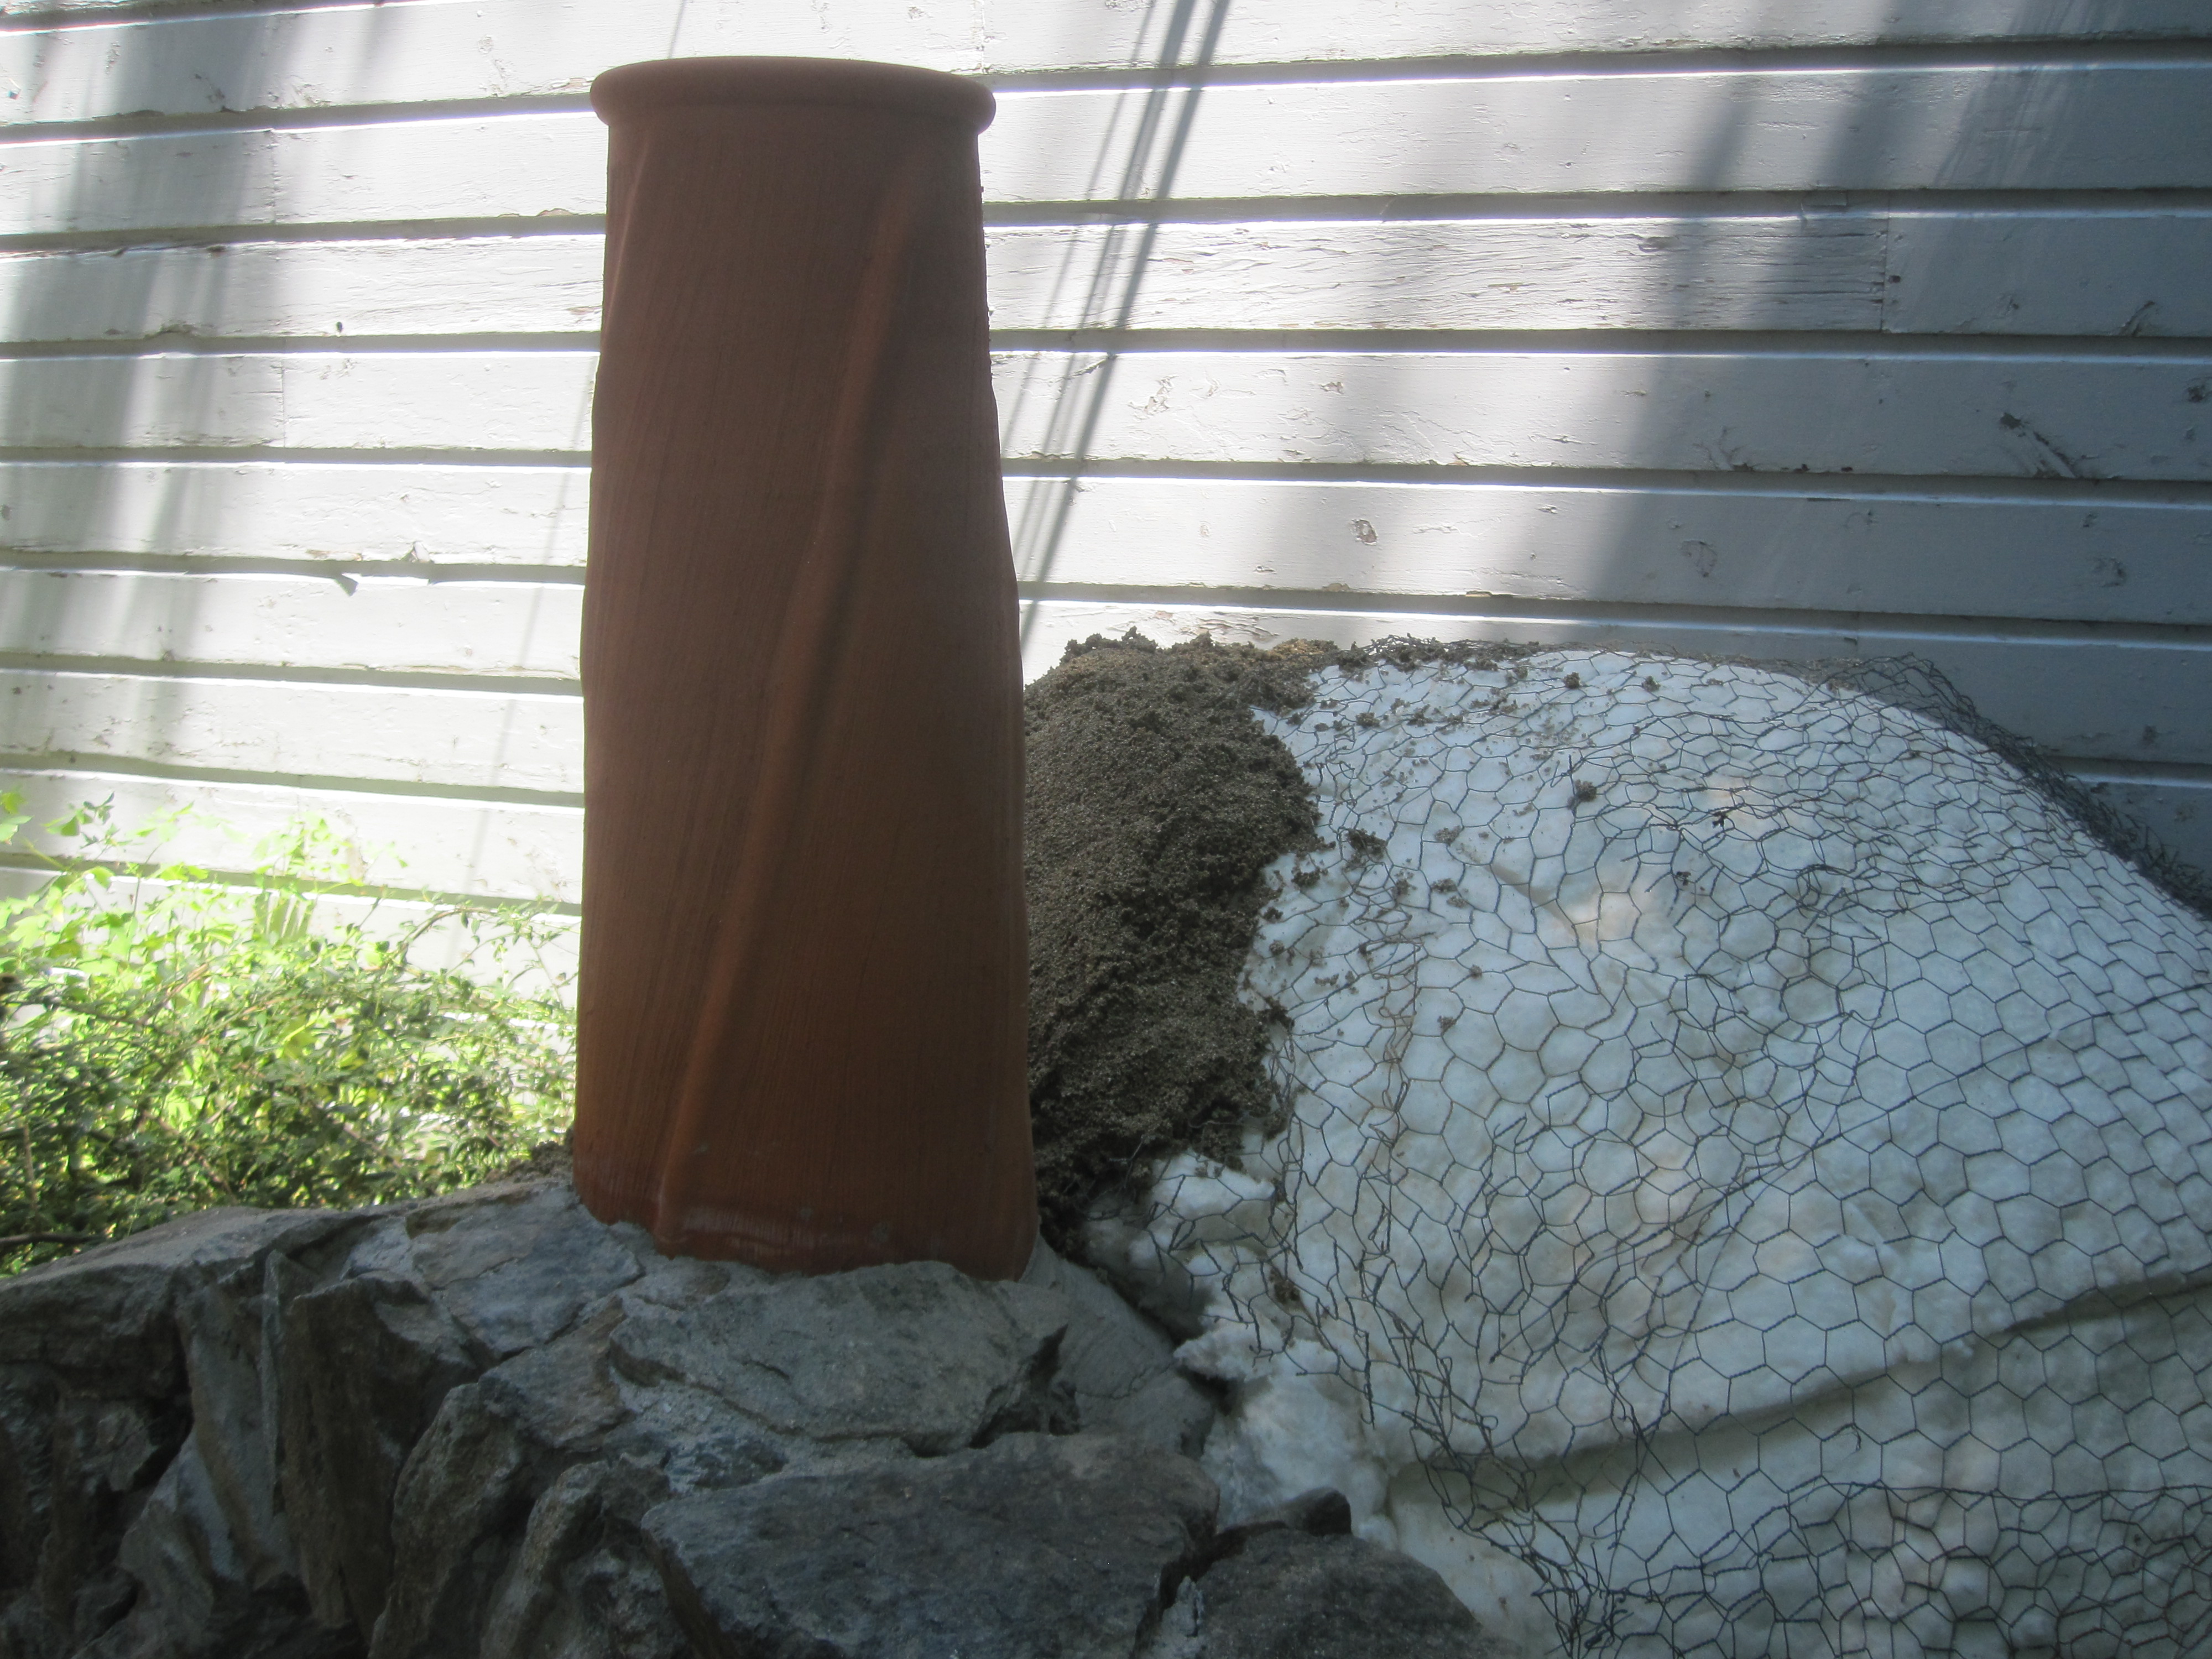
Over the dome goes three layers of 1" fiber ceramic insulation blankets held in place with chicken wire.
Over that, a 4 or 5" layer of vermiculite/ concrete, mixed at a 12:1 ratio.
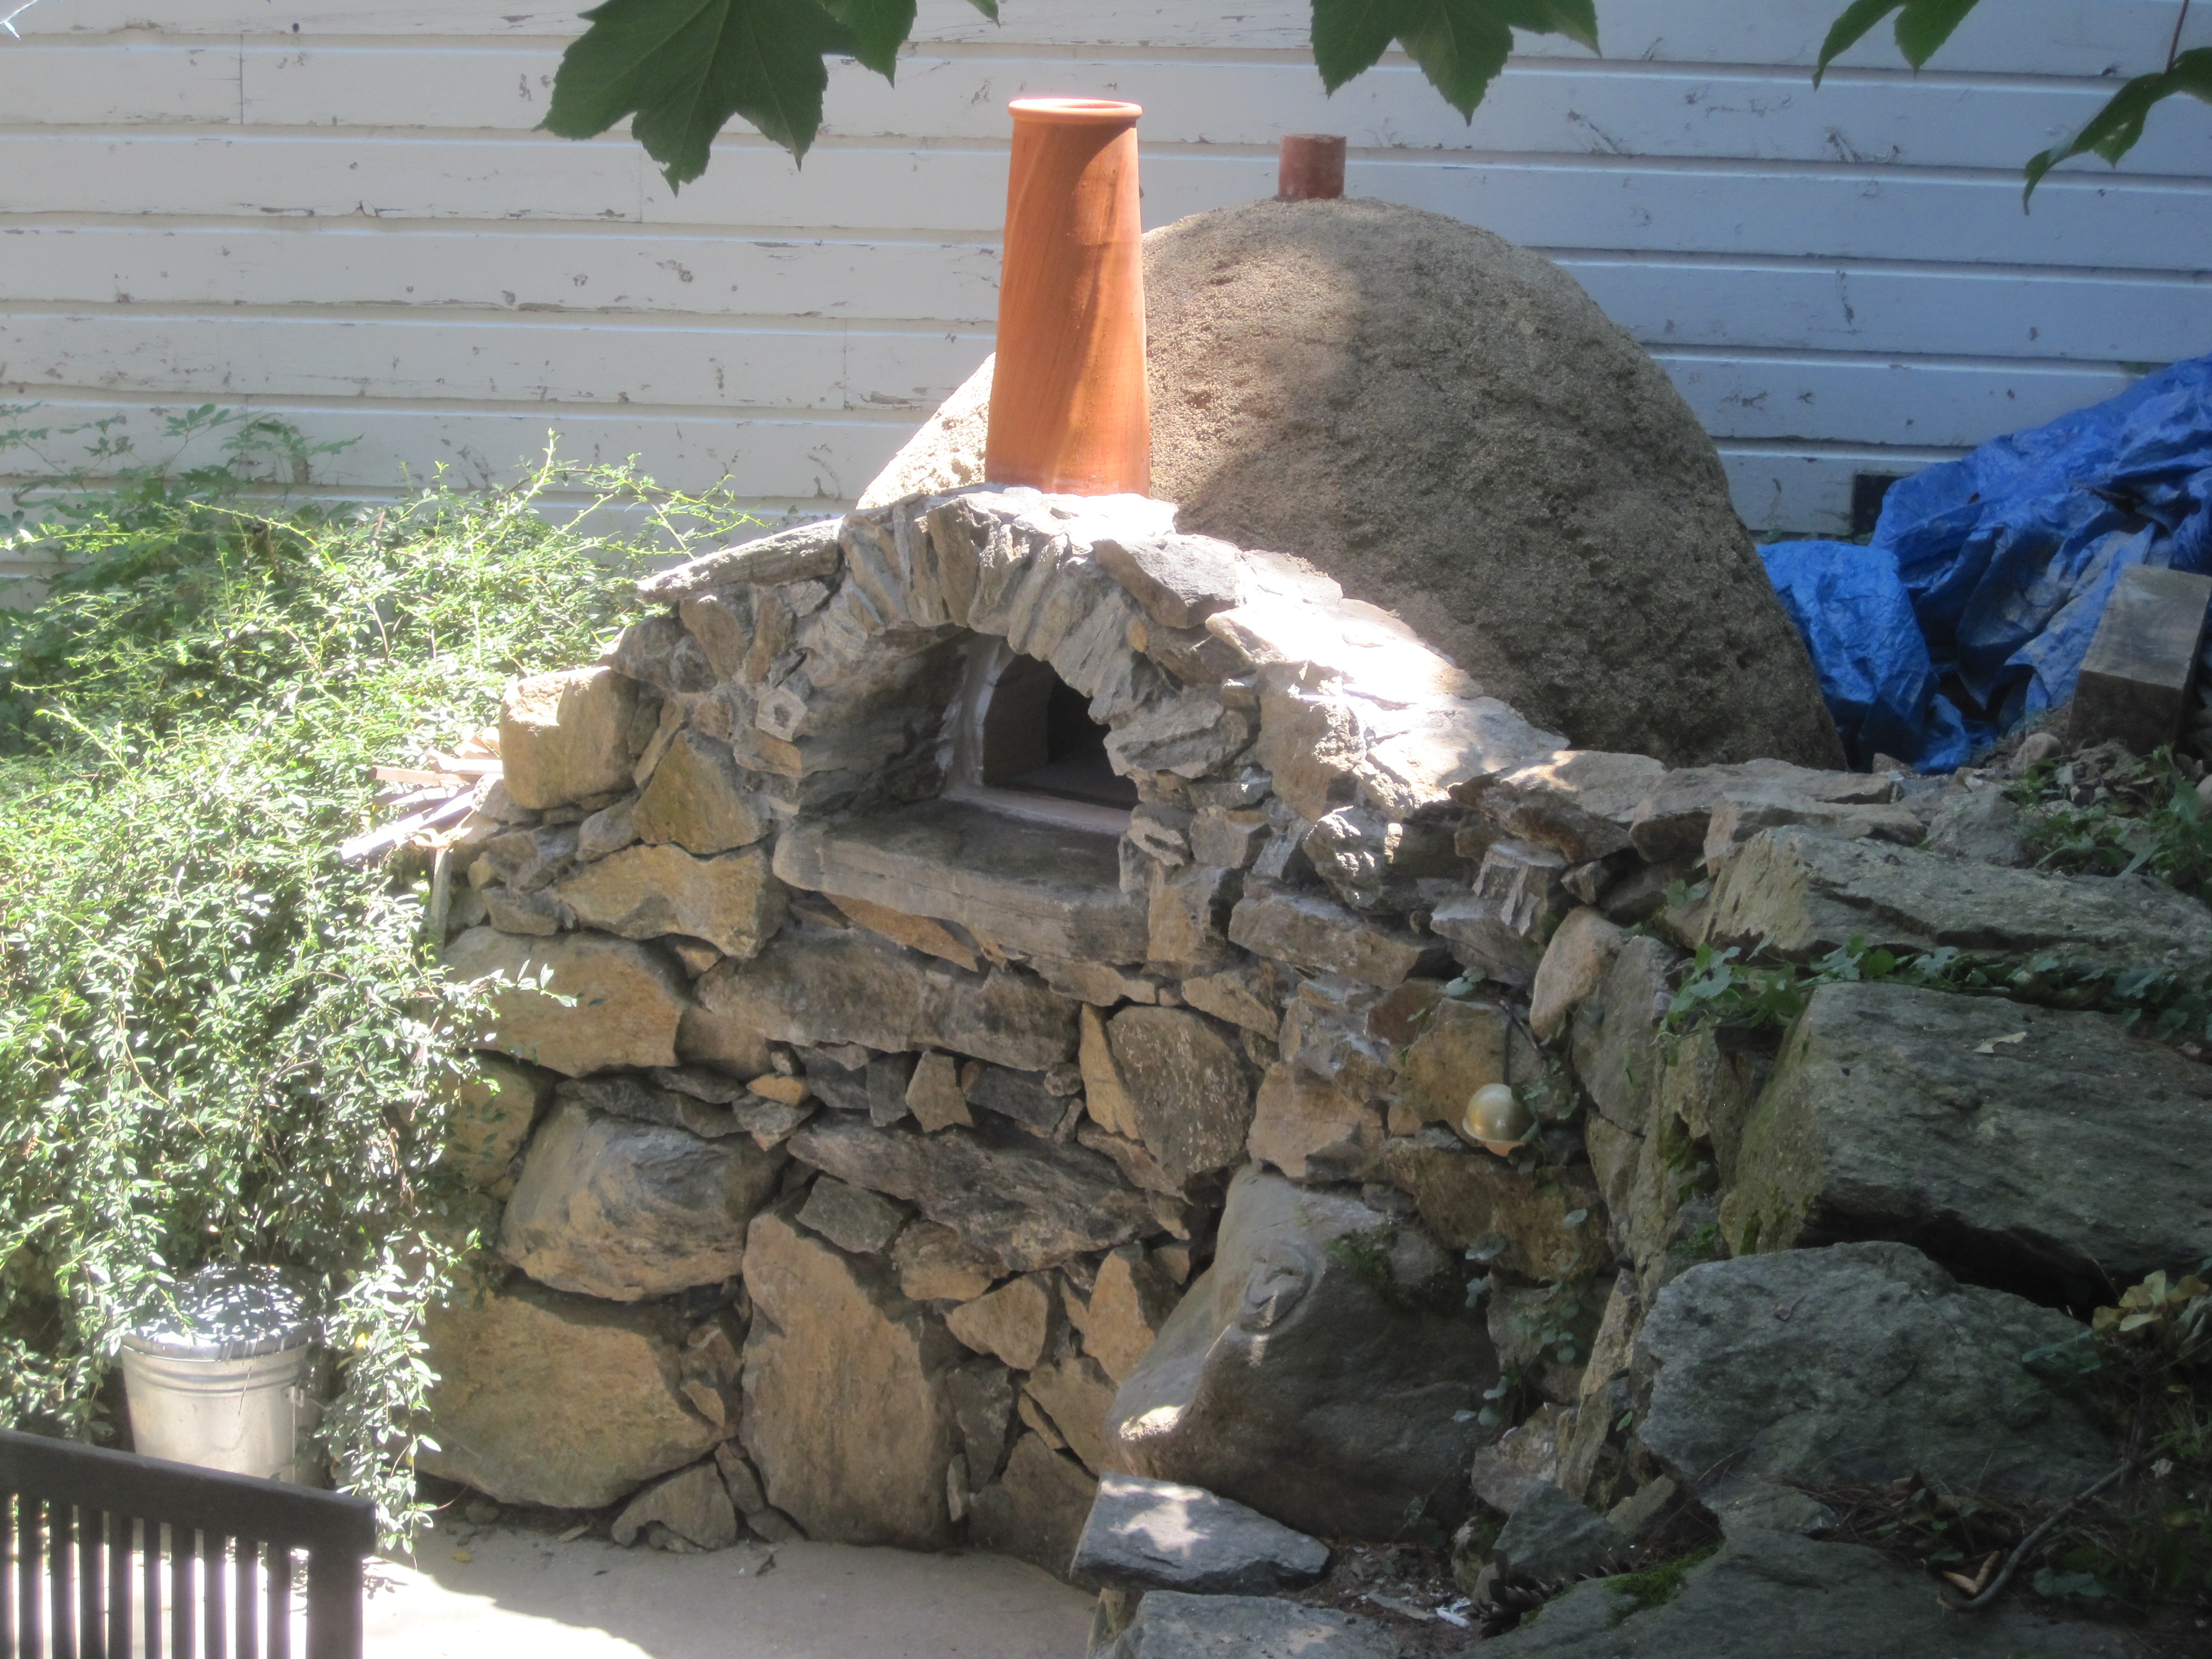
At the top of the dome, I added a vent that will allow moisture that might collect in the insulation layers to escape
through what will be an outer 2" of stucco. The oven itself has a chimney in the front, which I got from
http://www.grillsnovens.com/insulation-accessories.html. It closely matches chimney post we used on the house from Superior Clay, but are at a smaller scale, are not as thick,
and - most importantly - are 1/6th the price.
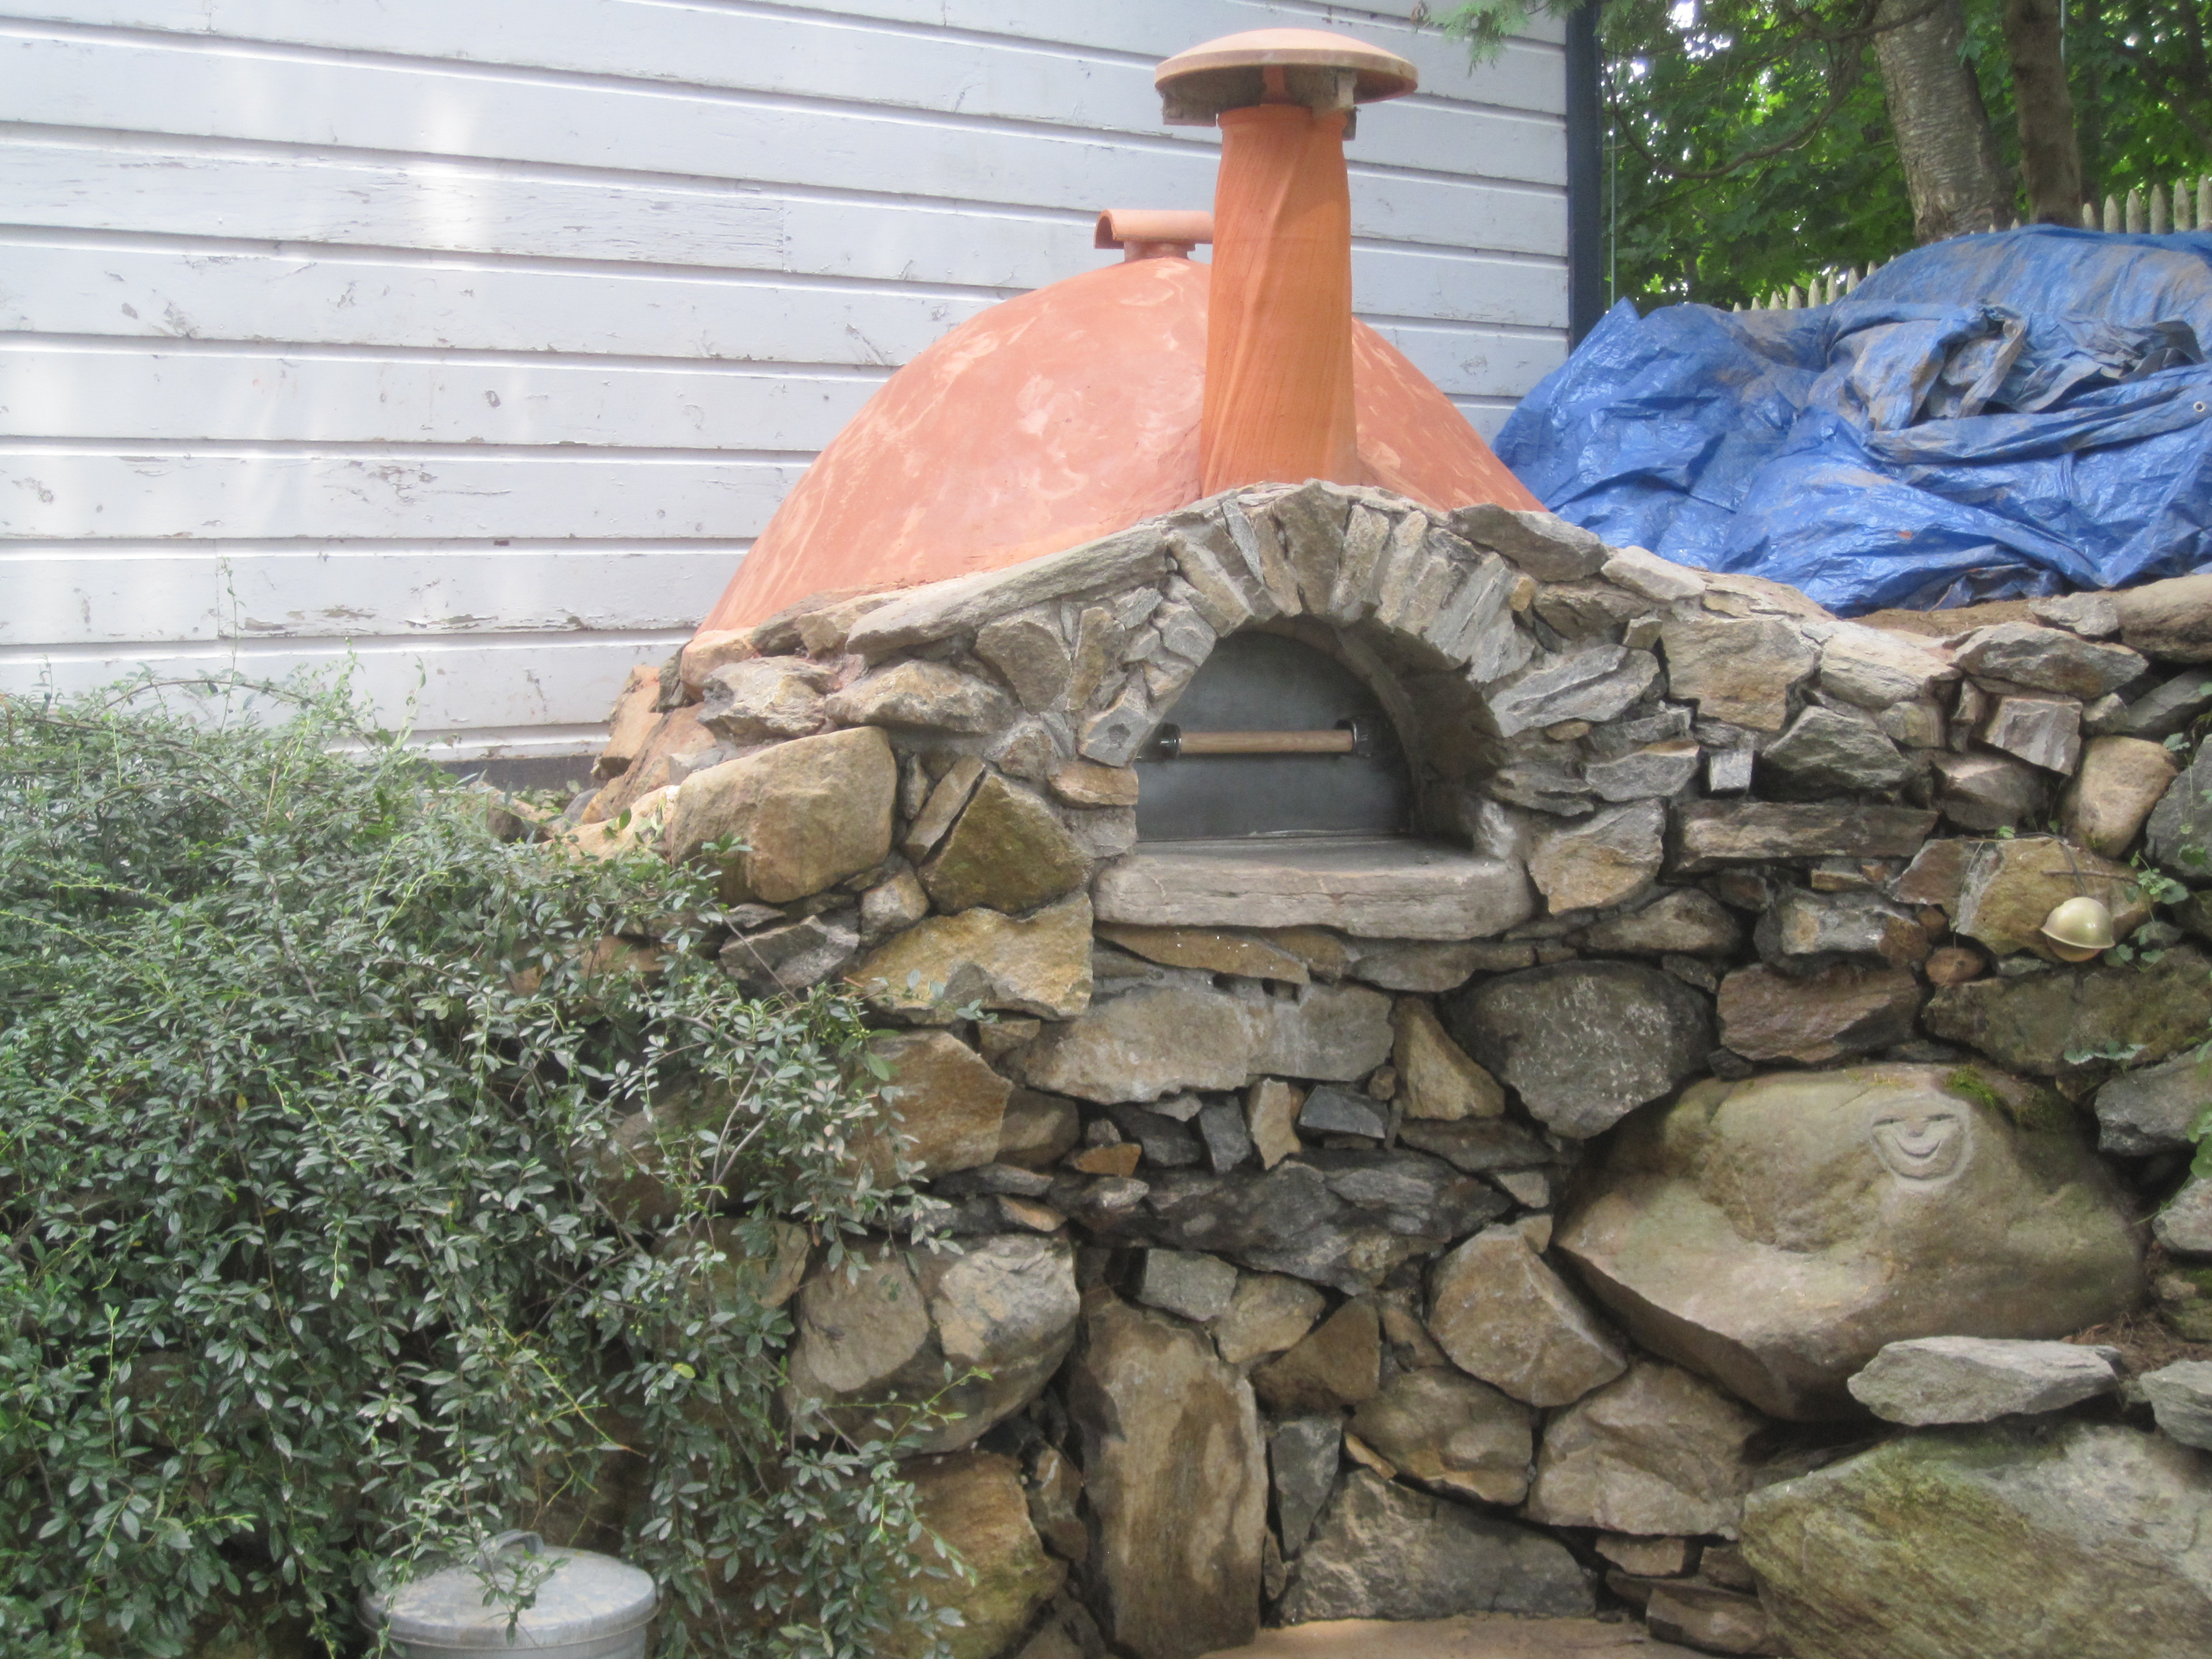
And here is the completed oven with the final 2" stucco coat. The oven door was built by a local welding
shop for me from plans and a template I provided. It has a 2" core of fiber ceramic insulation board, and is faced
with 1/4 steel on all sides.
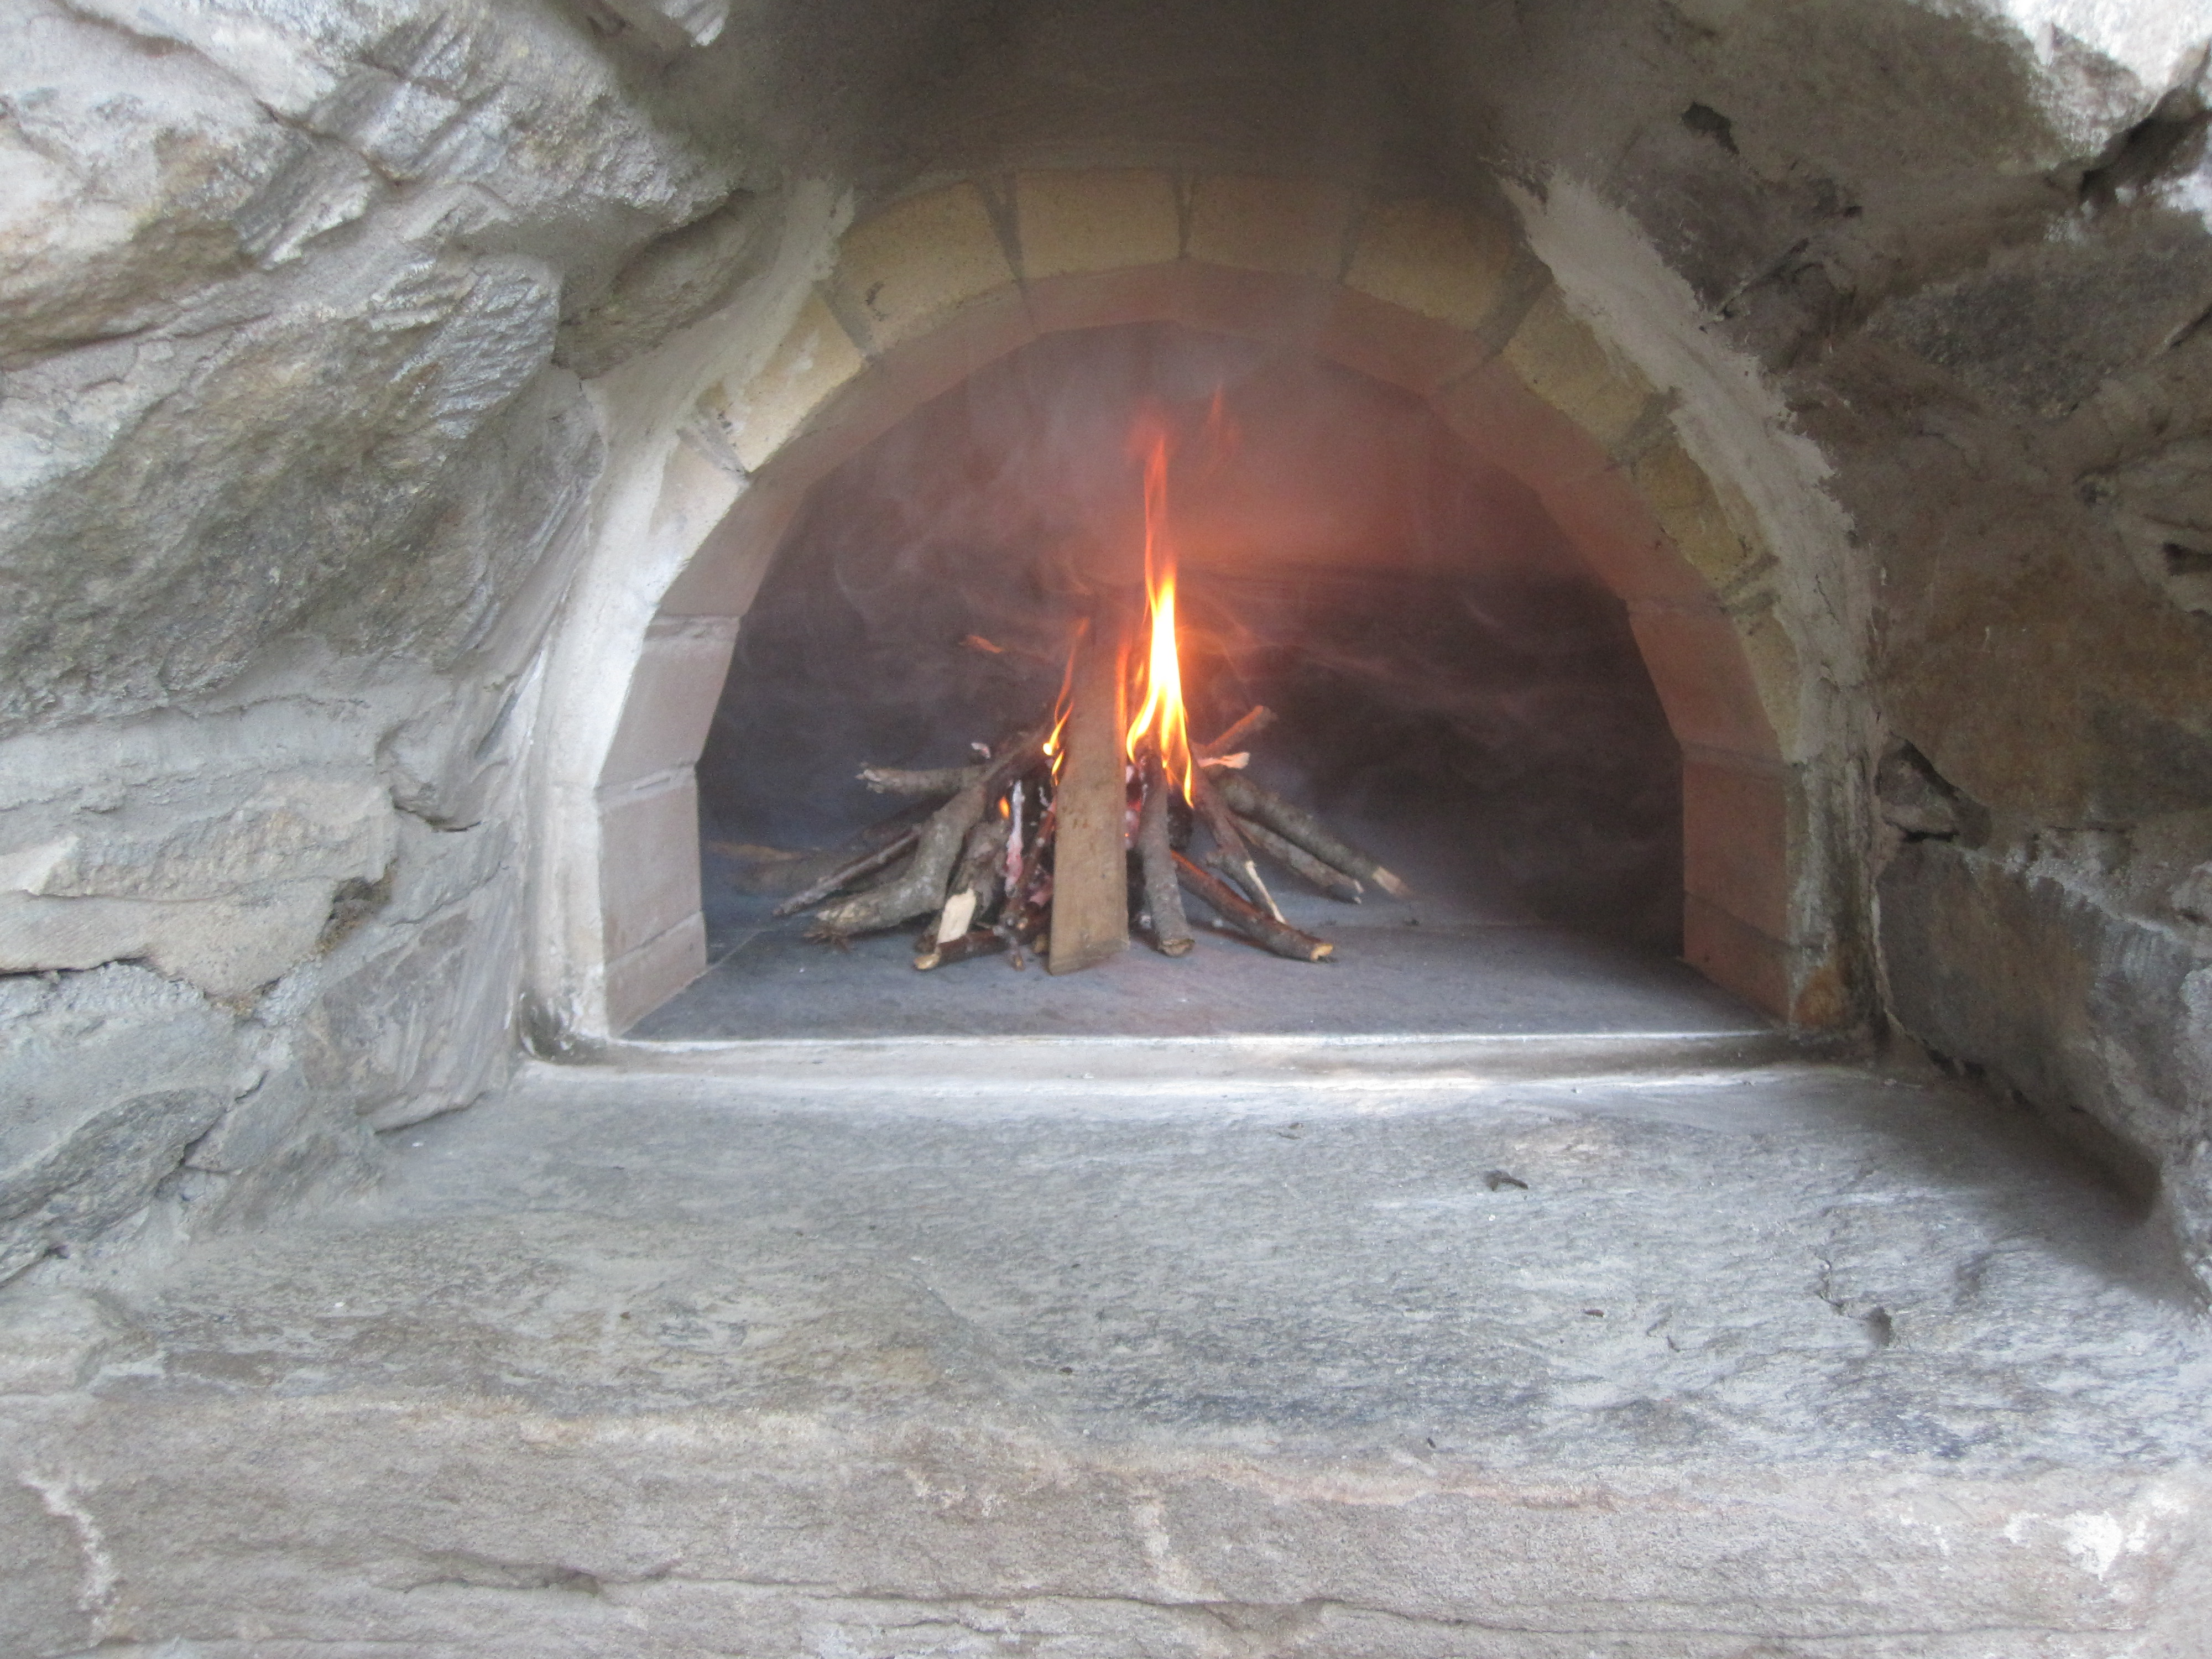
After curing for a week, I started building and maintaining a set of fires each day, gradually increasing the size of
the fires and oven temperature over five days.
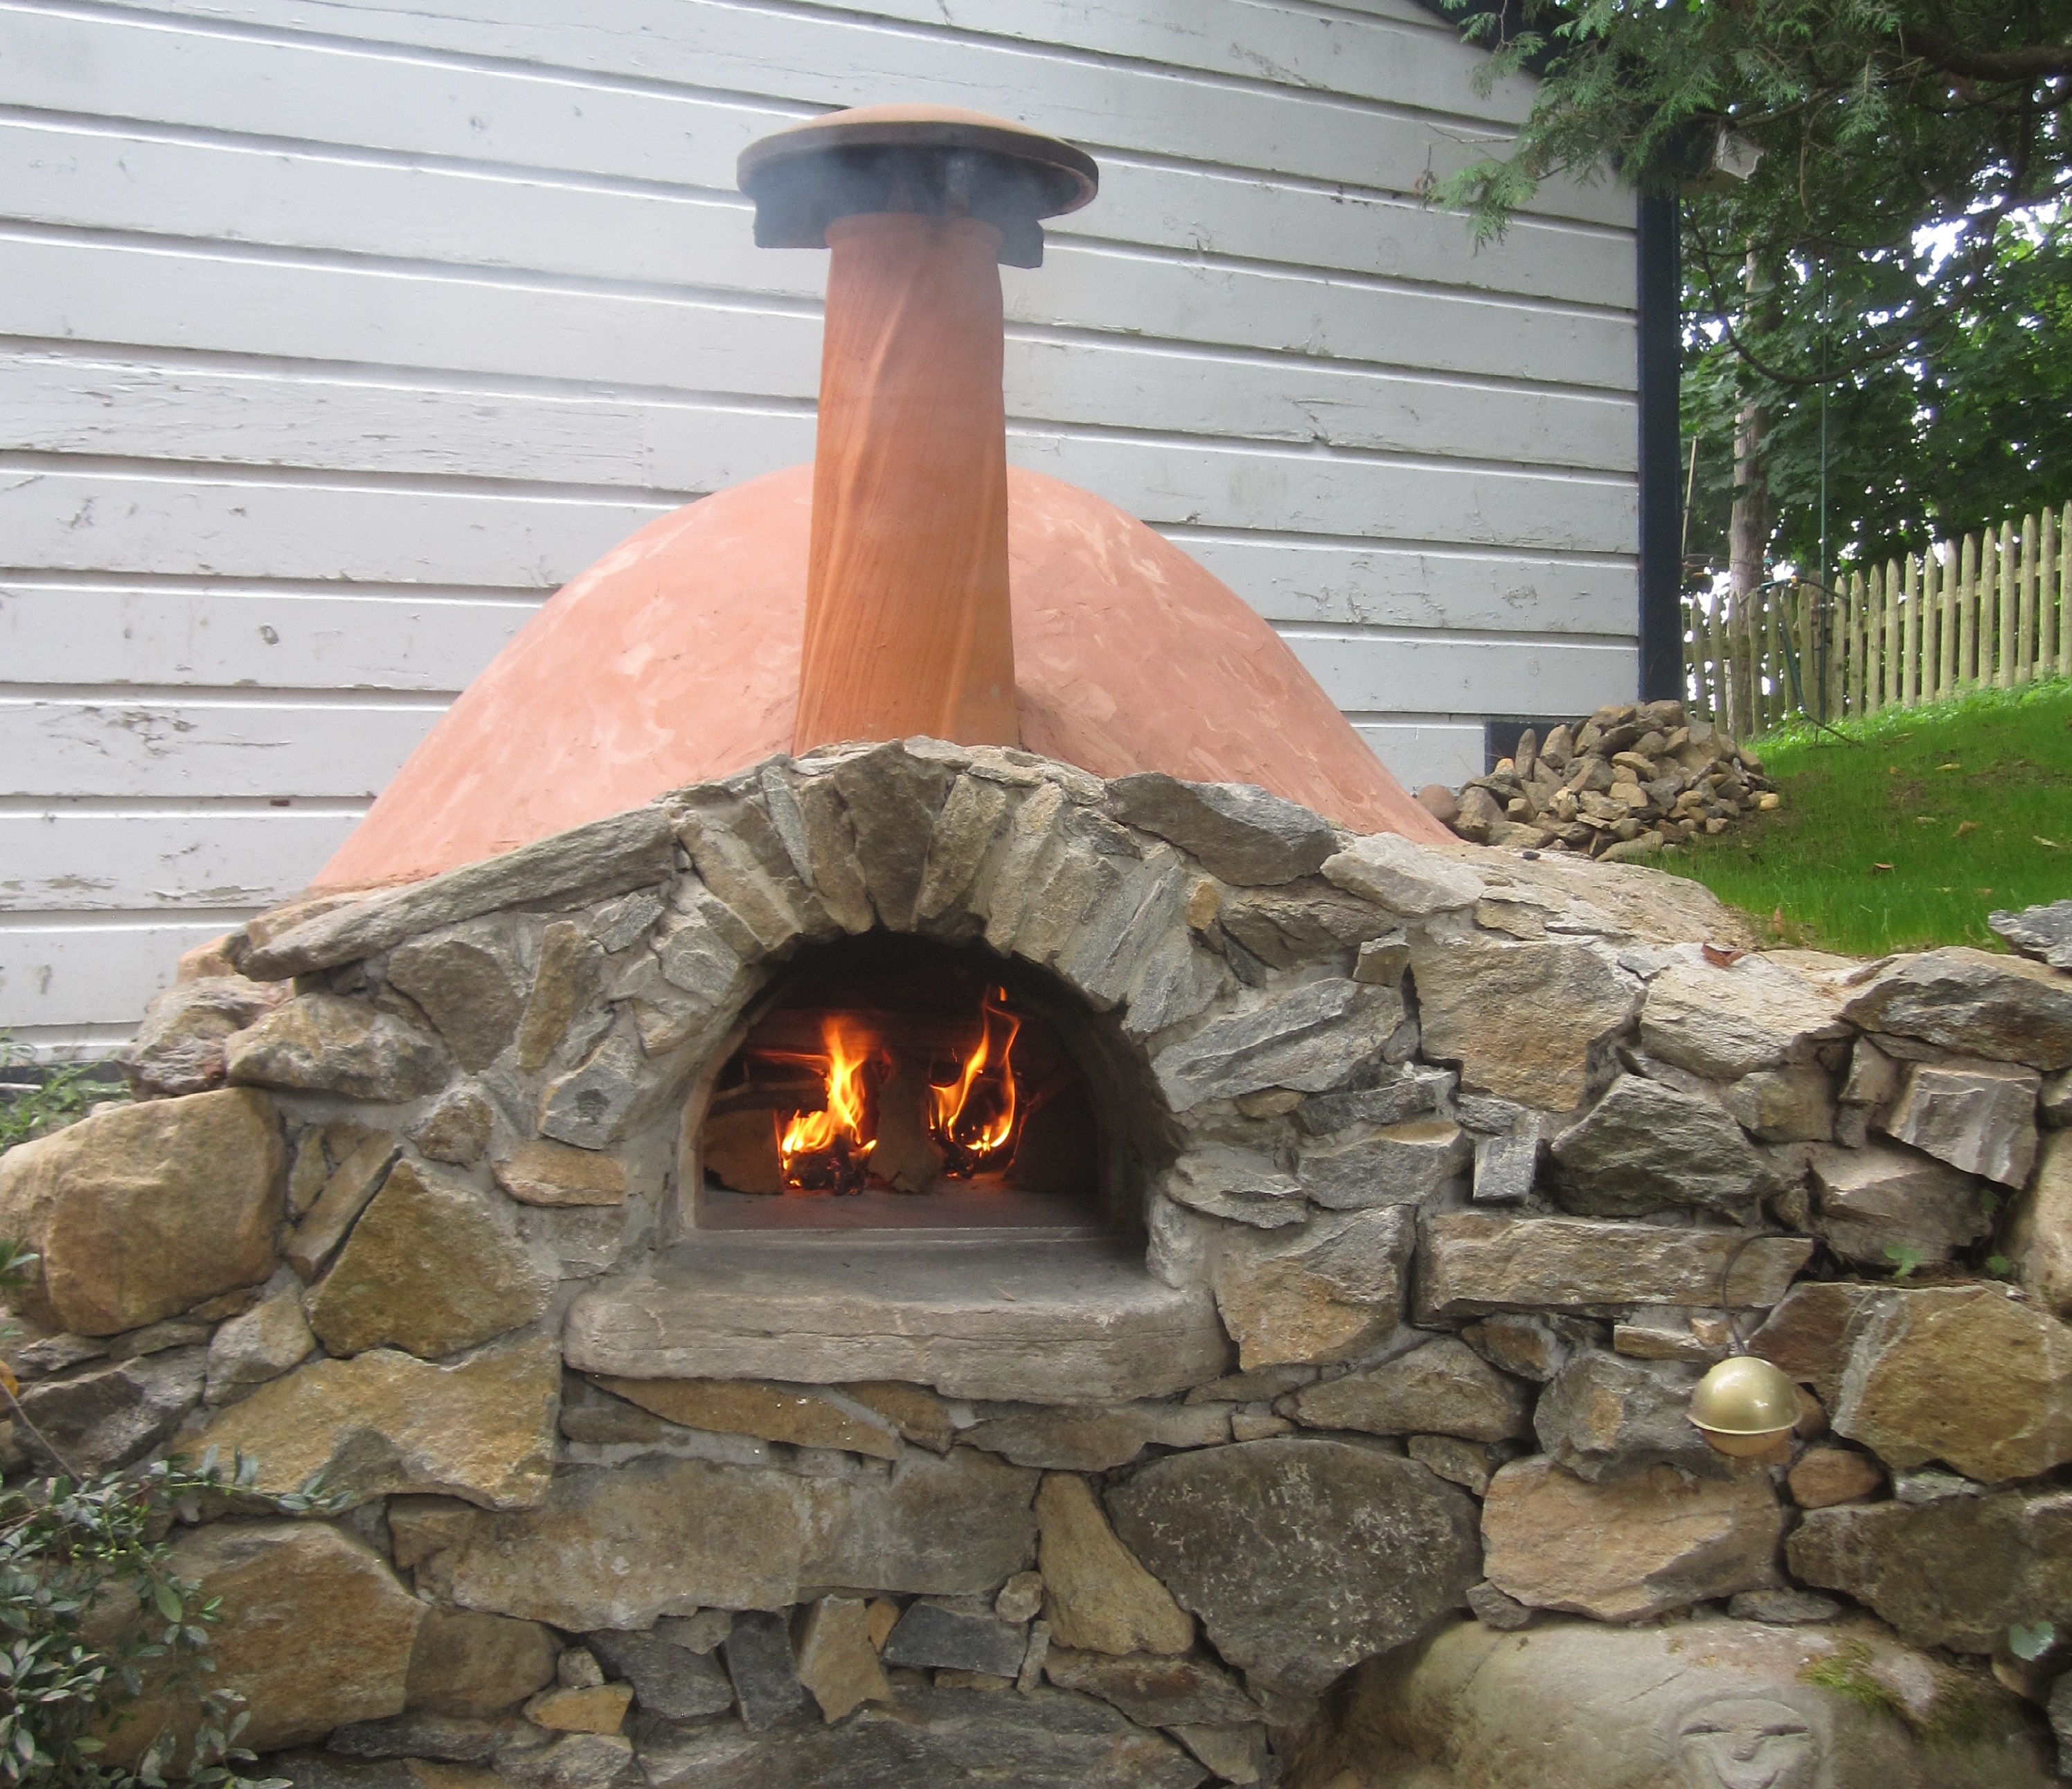
After that, we were ready to build a cooking fire. The oven took about an hour and a half to get up to temperature
- 850 degrees at the floor, with more then 1000 degrees at the top of the dome.
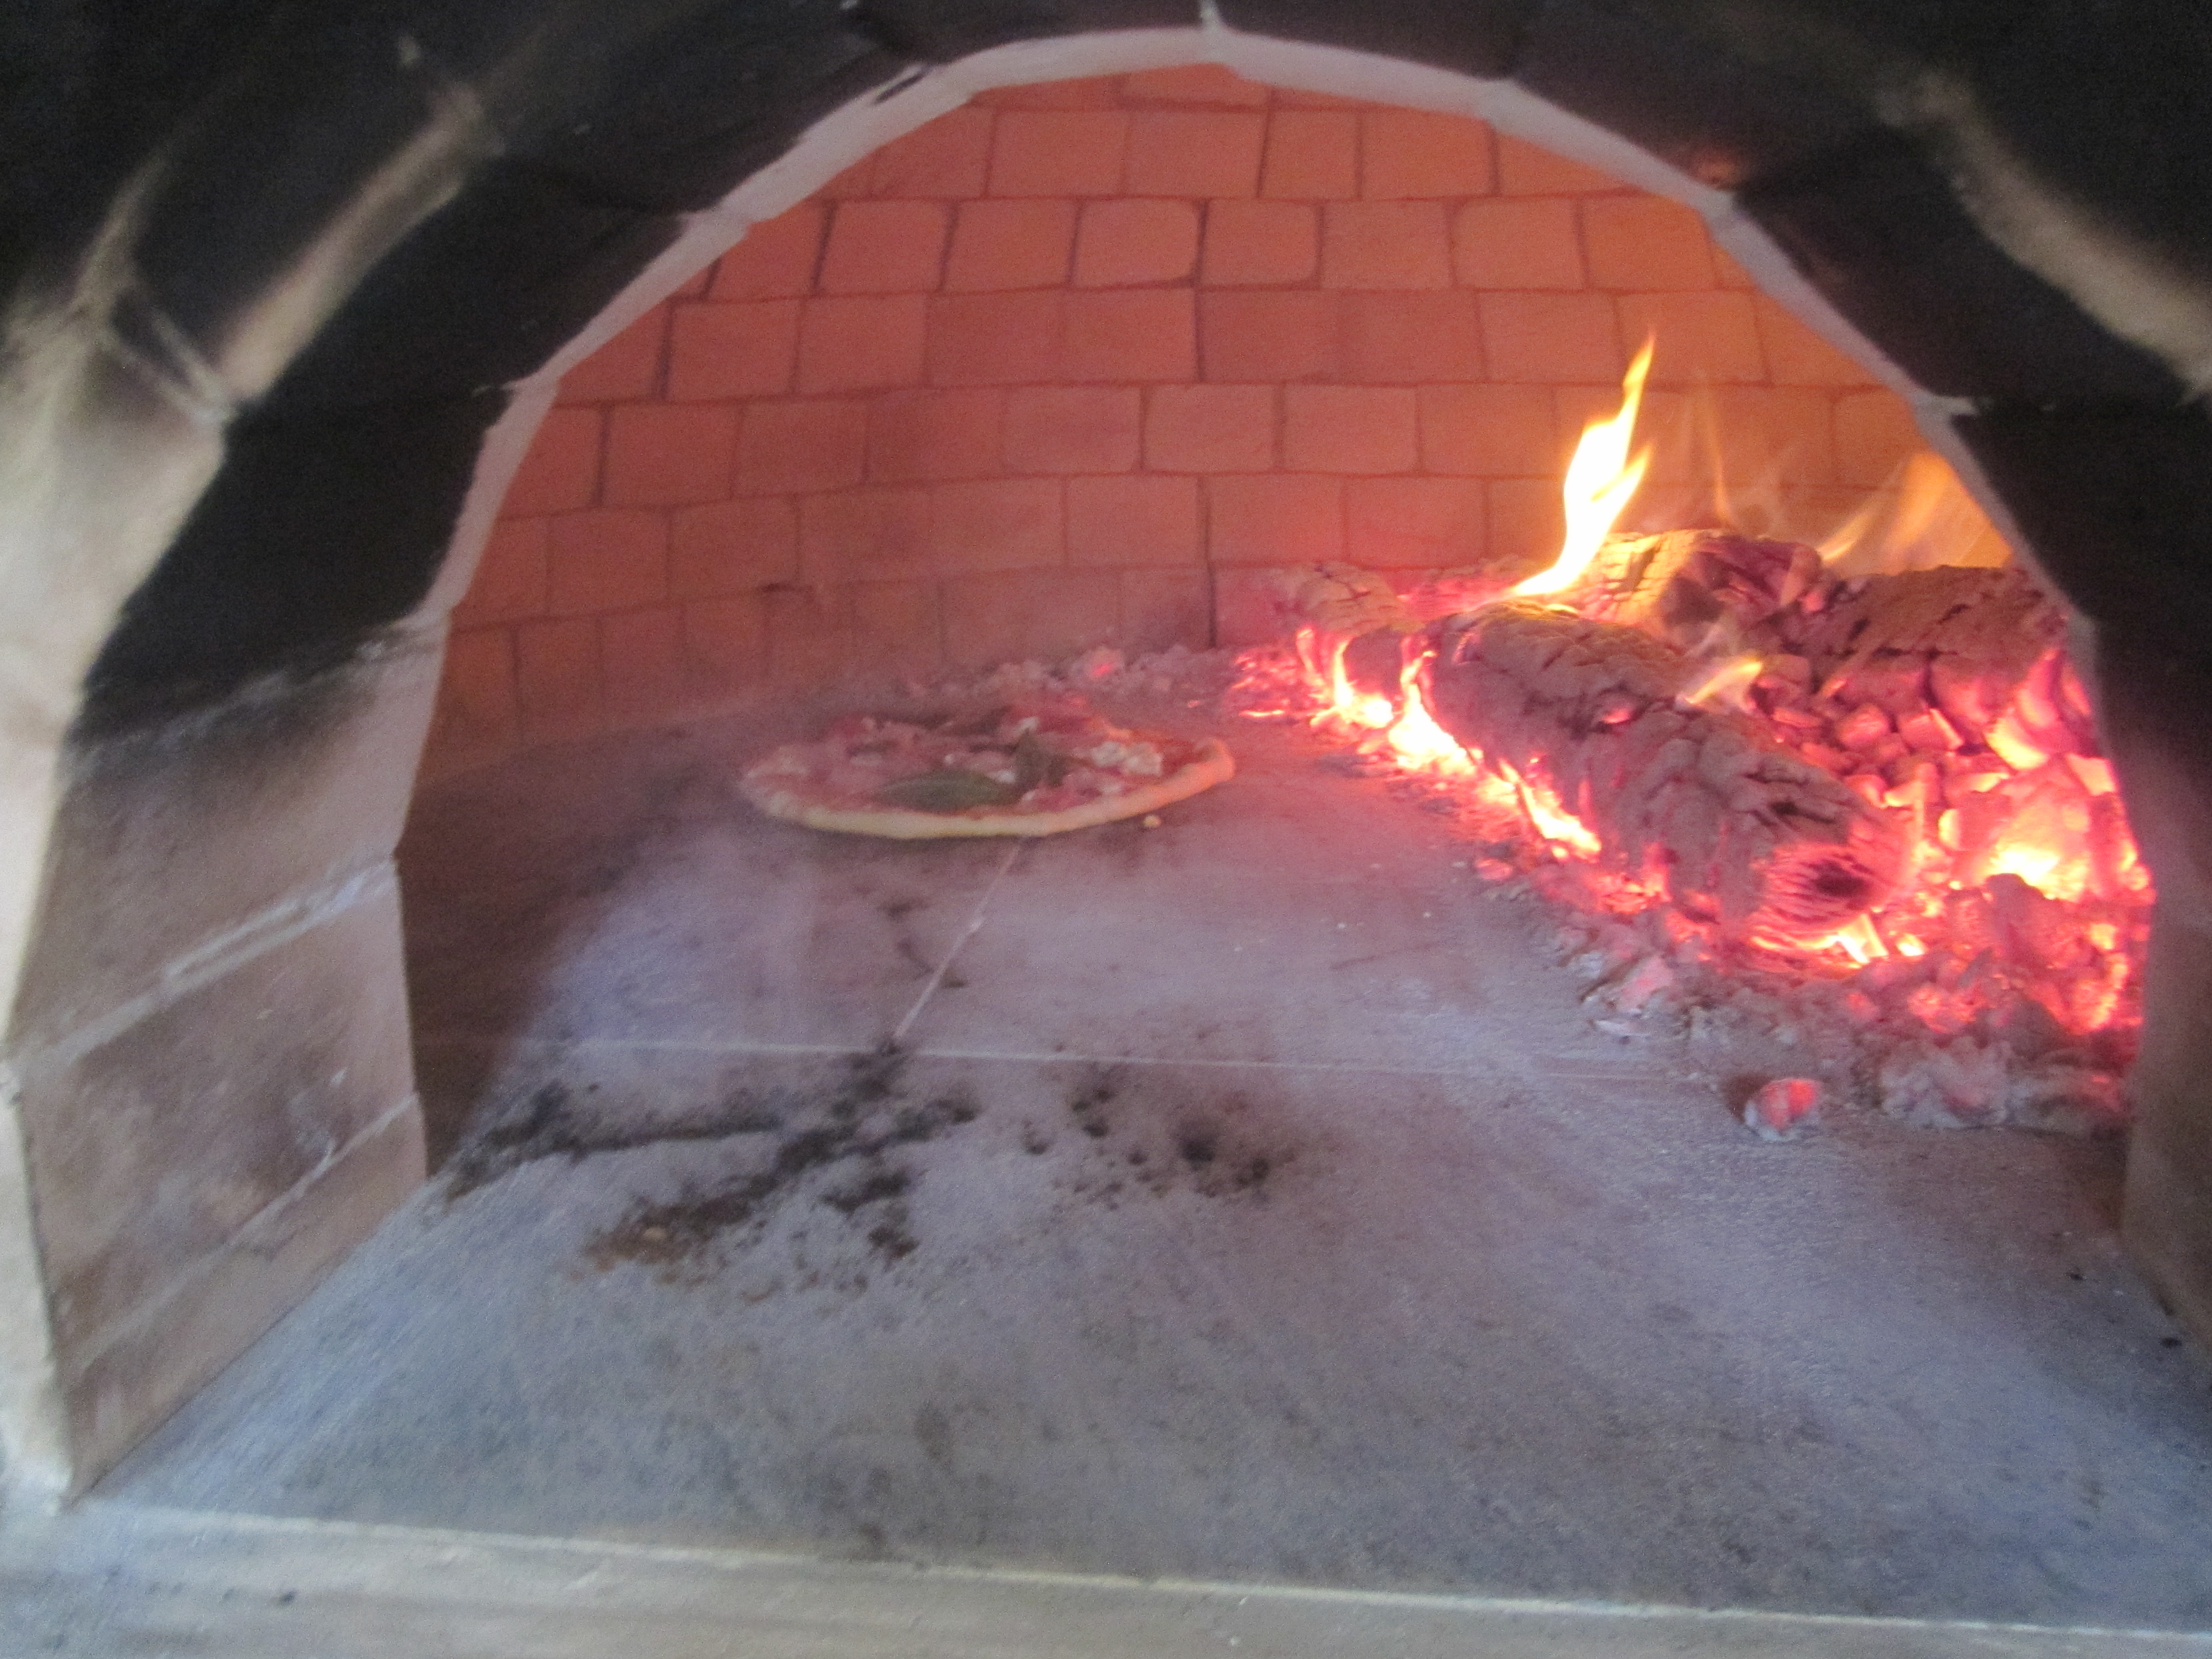
First pizza goes in!
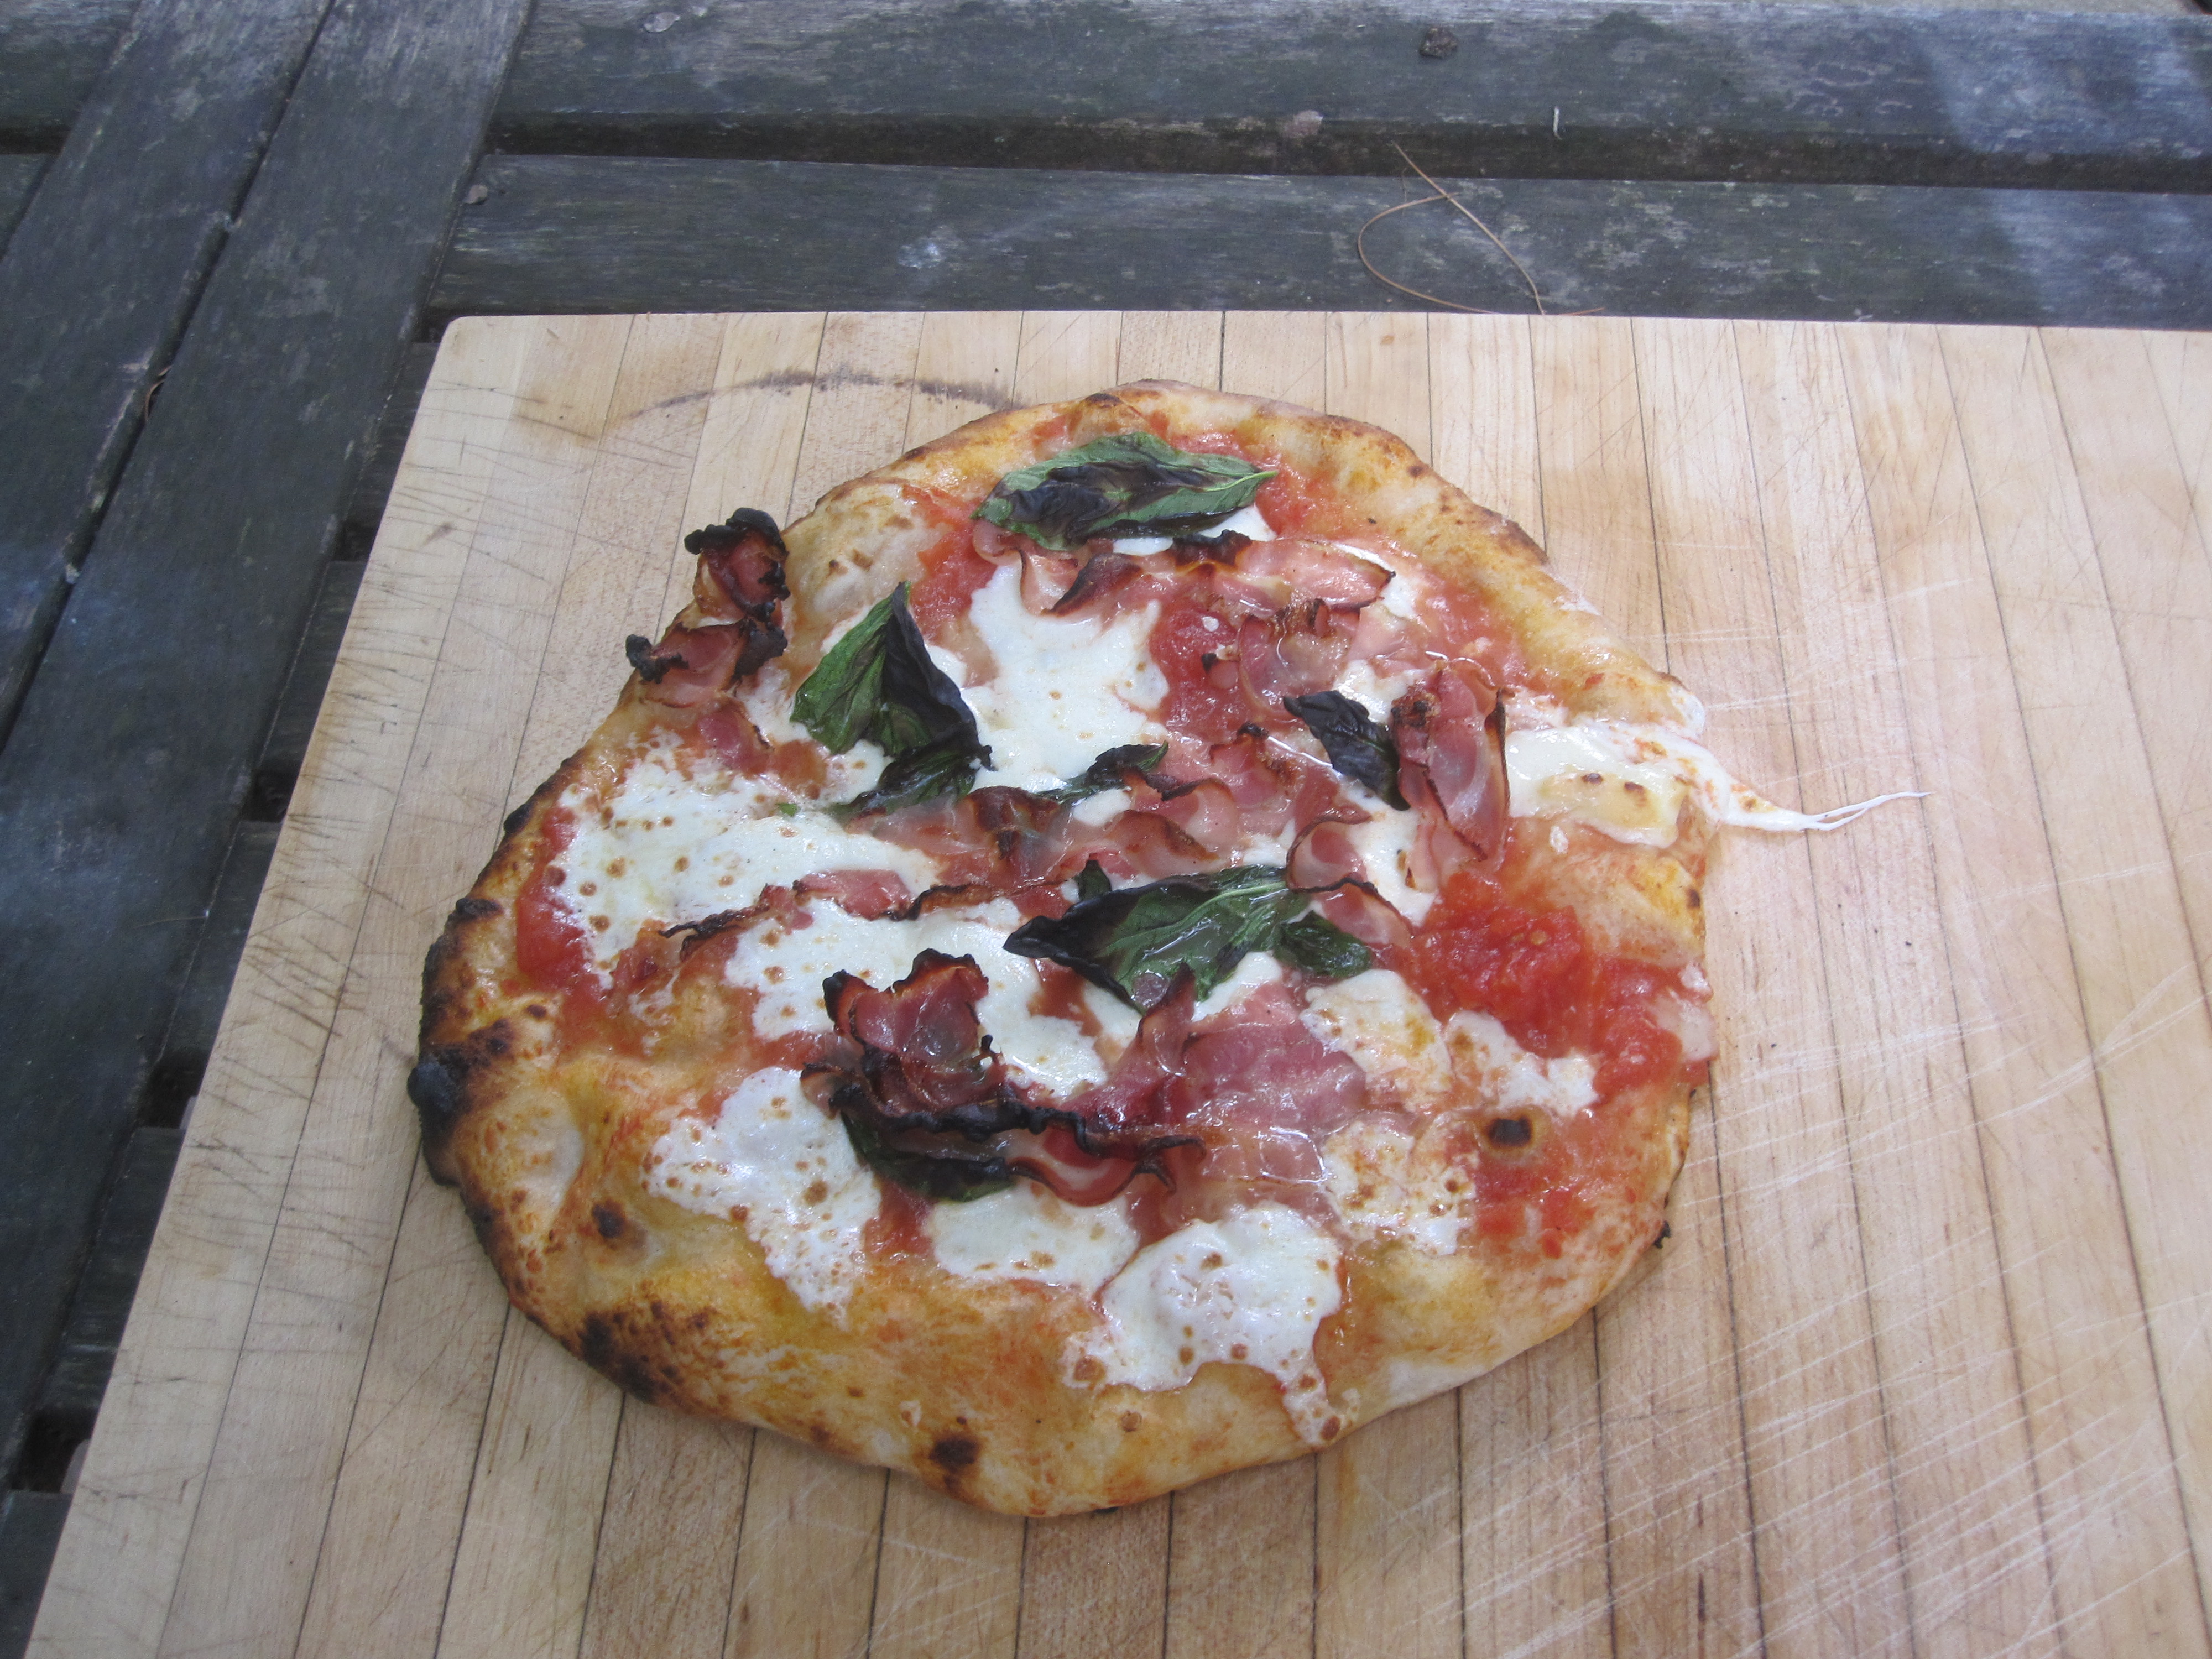
And cooks in about 90 seconds!
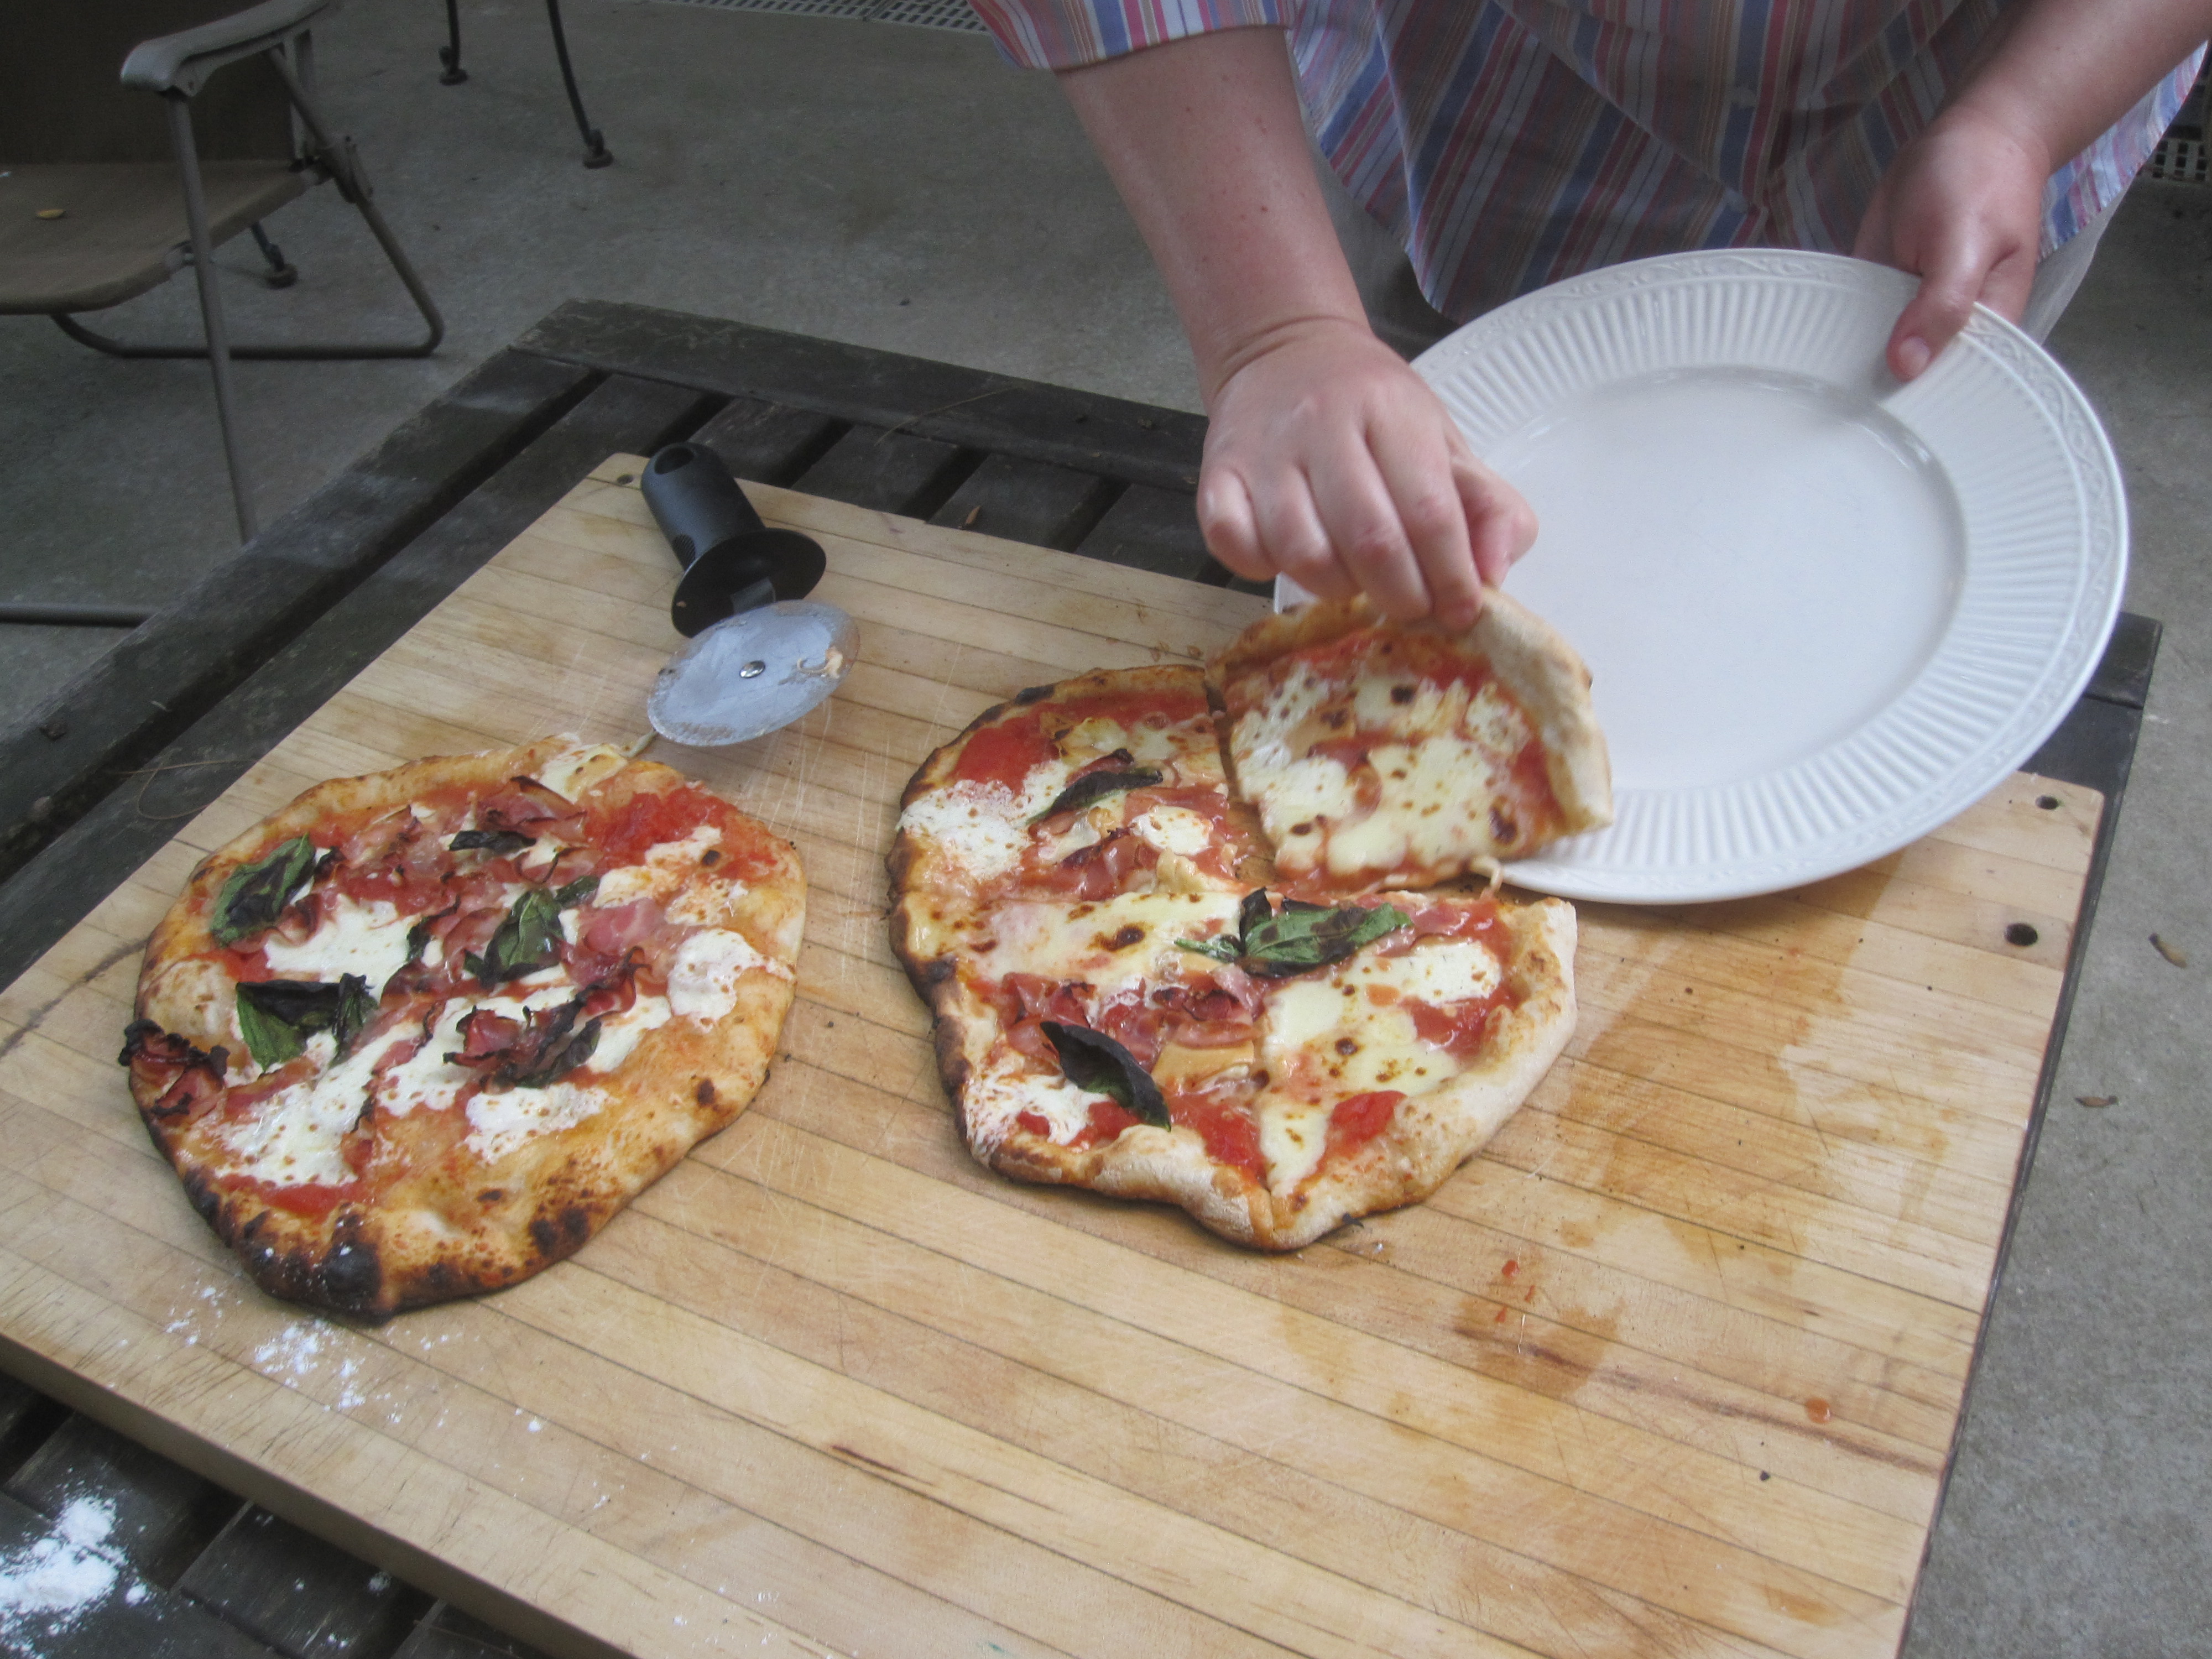
second one done!
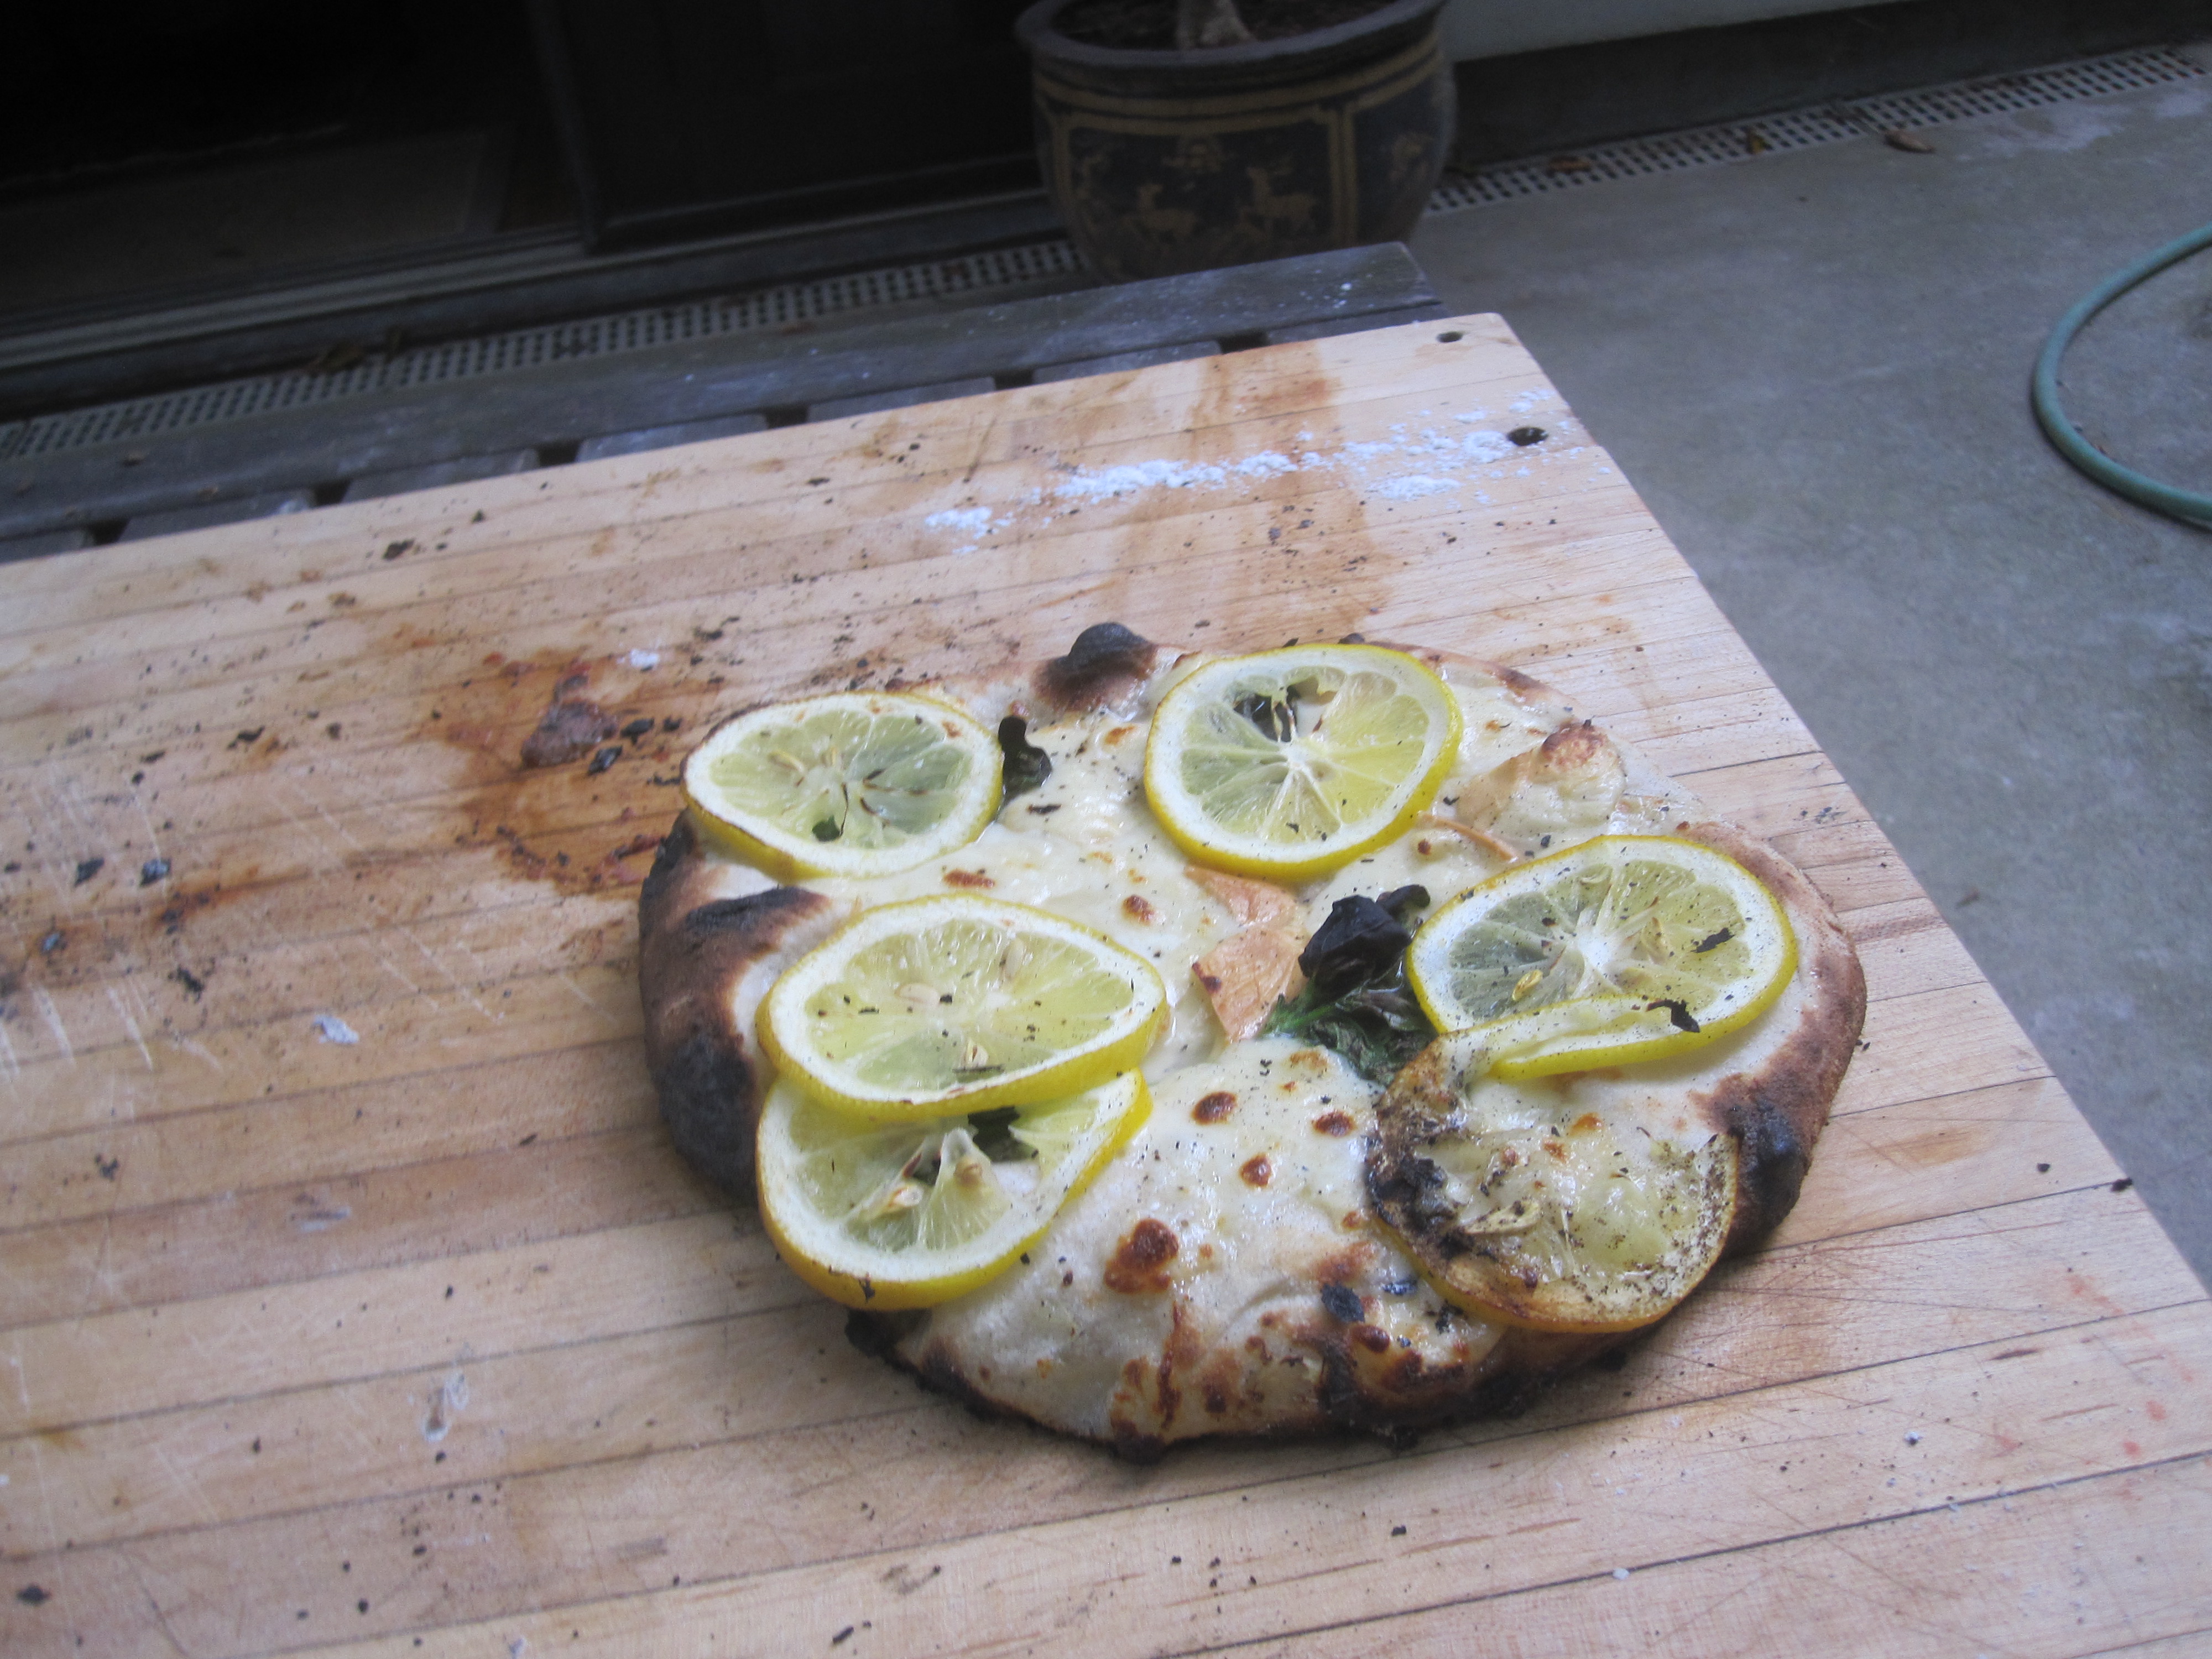
And finally one that's a little different - smoked mozzarella, basil and lemon. Yum!


